
Oh my gosh, let me tell you about my absolute go-to weeknight lifesaver – these crispy oven-baked chicken tenders! I swear, they’ve saved me from more than one “what’s for dinner?” panic attack. My kids go crazy for them (even the picky one!), and I love that they’re way healthier than the fried version without sacrificing that satisfying crunch. The best part? You probably have everything you need in your pantry right now. I can’t count how many times I’ve thrown these together after soccer practice when everyone’s hangry – they’re ready in 30 minutes flat and disappear even faster!
Why You’ll Love These Oven-Baked Chicken Tenders Recipe Ideas
Listen, I know chicken tenders aren’t exactly groundbreaking, but these? These are special. Here’s why you’re going to fall head over heels for them:
- Weeknight superhero: From fridge to table in 30 minutes – even faster than waiting for delivery!
- Healthier without the guilt: All that crunch comes from the oven, not a deep fryer (your waistline will thank you)
- Kid-approved magic: My picky eater calls these “better than nuggets” – high praise indeed
- Crispy perfection: That golden, shatter-crisp exterior? It’s all about the Parmesan-panko combo
- Spice it your way: Add more paprika for heat or Italian herbs for comfort food vibes – it’s your kitchen!
Trust me, once you try these, that freezer bag of processed nuggets is gonna collect dust.
Ingredients for Oven-Baked Chicken Tenders Recipe Ideas
Okay, let’s talk ingredients – and I promise, nothing fancy here! I’ve made these tenders with whatever’s in my pantry more times than I can count. Here’s what you’ll need to make that crispy magic happen:
- 1 lb chicken tenders (or slice breasts into strips if that’s what you’ve got)
- 1 cup breadcrumbs (go for panko – that’s my secret for extra crunch!)
- 1/2 cup grated Parmesan cheese (the powdery kind that comes in a shaker works great)
- 1 tsp garlic powder (because everything’s better with garlic)
- 1 tsp paprika (smoked if you’re feeling fancy)
- 1/2 tsp salt (I use kosher – it sticks to the chicken better)
- 1/4 tsp black pepper (freshly cracked if you can)
- 2 eggs (large ones – they coat better)
- 2 tbsp olive oil (just enough to help them crisp up)
Got allergies or preferences? No sweat! Here’s how to switch it up:
- Gluten-free? Almond flour or gluten-free panko work beautifully
- Dairy-free? Skip the Parmesan or use nutritional yeast
- Want more heat? Add a pinch of cayenne to the breadcrumb mix
See? Nothing complicated – just good, simple ingredients that come together to make something amazing. Now let’s get cooking!
Equipment Needed
Alright, let’s talk tools – and don’t worry, you won’t need anything fancy here. Just the basic stuff you probably already have in your kitchen drawers. Here’s what you’ll want to grab:
- A good baking sheet (I swear by my half-sheet pan – that extra inch makes all the difference)
- Parchment paper (trust me, it’s worth the 10 seconds to line your pan for easy cleanup)
- Two mixing bowls (one for dry stuff, one for eggs – medium size works great)
- Tongs or a fork (for flipping those beauties halfway through – fingers can’t take that heat!)
- Measuring spoons (eyeballing garlic powder is a dangerous game, my friend)
That’s it! No food processors, no stand mixers – just simple tools for simple, delicious food. Now, if you really want to up your game, a wire rack that fits your baking sheet will give you next-level crispiness all around, but it’s totally optional. Ready to get your hands dirty?
How to Make Oven-Baked Chicken Tenders Recipe Ideas
Alright, let’s get down to business! Making these crispy beauties is easier than you think, but I’ve got some tricks up my sleeve to make sure they come out perfect every single time. Follow these steps, and you’ll be biting into golden, crunchy chicken tenders before you know it!
Step 1: Prep the Coating
First things first – grab that medium mixing bowl (you know, the one that’s about 3 quarts) and let’s make magic happen. Dump in your breadcrumbs, Parmesan, garlic powder, paprika, salt, and pepper. Now here’s my secret: use your fingers to mix it all together. Sounds silly, but you’ll feel when everything’s perfectly combined – no clumps of spices hiding anywhere!
Oh! And do this right before you’re ready to coat the chicken. If you let it sit too long, the Parmesan can make the breadcrumbs a bit damp. We want that coating crisp, people!
Step 2: Coat the Chicken
Okay, chicken time! Crack those eggs into your other bowl and give them a good whisk – you want them completely smooth, no streaks of white. Now here’s how we do it:
Take one tender (dry it off with a paper towel if it’s damp – moisture is the enemy of crispiness!) and dunk it in the egg. Let the excess drip off for a second – too much egg makes the coating slide right off. Then plop it into your breadcrumb mixture and press firmly with your other hand. Flip it, press again. Really get in there! The more contact, the better the coating sticks.
Pro tip: Use one hand for wet ingredients and one for dry. Otherwise, you’ll end up with fingers coated in cement-like breadcrumb gunk. Not that I’ve ever done that… more than once.
Step 3: Bake to Perfection
Pop that oven to 400°F (200°C) if you haven’t already – this is the sweet spot for golden crispiness without drying out the chicken. Arrange your tenders on the parchment-lined baking sheet with some breathing room – no touching! Crowding leads to steaming, and steaming leads to soggy sadness.
Drizzle or brush on that olive oil (this is what makes them beautifully golden) and slide them into the oven. Set your timer for 10 minutes – when it goes off, flip each one carefully with tongs. You’ll see they’re already getting gorgeous! Bake another 10 minutes or until they’re deep golden brown and the internal temp hits 165°F (75°C).
Want extra crunch? For the last 2 minutes, turn on the broiler – but watch like a hawk! They can go from golden to charcoal in seconds. When they’re done, resist eating them immediately (I know, torture) and let them rest for 5 minutes. This helps the coating set up perfectly crisp. Now dig in!
Tips for Crispy Oven-Baked Chicken Tenders Recipe Ideas
Alright, let me spill all my crispy chicken secrets – these are the little tricks I’ve picked up after making these tenders approximately eleventy billion times. Some were happy accidents, others were learned the hard way (R.I.P. to that batch I forgot under the broiler). Here’s how to guarantee perfect crunch every single time:
- Pat those tenders dry! Seriously, grab a paper towel and blot them before dipping. Moisture is crispy coating’s worst enemy.
- Wire rack = game changer. Baking right on parchment works fine, but placing a rack on your baking sheet lets hot air circulate underneath for crunch all around.
- Broil with caution. That last-minute broil gives amazing color, but stay put and watch like it’s the season finale of your favorite show – they burn FAST.
- Don’t skip the oil. That drizzle seems small, but it’s what makes the coating turn golden rather than pasty. Use a pastry brush if you want precise coverage.
- Flip with confidence. When it’s time to turn them halfway, commit! Tentative flipping makes breadcrumbs fall off. Quick, decisive motions are key.
- Let them rest. I know it’s hard, but giving them 5 minutes off the baking sheet lets the crust set up properly. Otherwise, it can peel right off.
- Room temp eggs coat better. Cold eggs don’t cling to chicken as well. If you forgot to take yours out early, just dunk the bowl in warm water for a minute.
Oh! And one bonus tip from my mom – if your coating seems bland, mix a teaspoon of chicken bouillon powder into your breadcrumb mixture. It adds this incredible savory depth that’ll have people begging for your “secret ingredient.” Now go forth and crispify!
Serving Suggestions for Oven-Baked Chicken Tenders
Now for the best part – loading up your plate with these golden beauties and all the delicious things that go with them! I’ve served these tenders about a million different ways over the years, depending on whether it’s a lazy weeknight or game day with friends. Here are my all-time favorite ways to enjoy them:
Dipping Sauce Extravaganza
Let’s be real – half the fun of chicken tenders is dunking them in something delicious. My fridge door is basically a dipping sauce museum! Here’s what’s on permanent rotation:
- Classic honey mustard: Just mix equal parts mayo and Dijon with a big squeeze of honey
- Bang bang sauce: Sriracha + mayo + sweet chili sauce = spicy-sweet perfection
- Buttermilk ranch: The packet kind – I don’t mess with tradition
- Maple-dijon: My kids’ favorite – maple syrup whisked into grainy mustard
Sidekick Superstars
These tenders play well with pretty much anything, but here are my dream team pairings:
- Waffle fries: Because everything’s better when it’s fry-shaped
- Simple arugula salad: The peppery greens cut through the richness perfectly
- Mac and cheese: For when only comfort food will do
- Roasted sweet potatoes: Tossed with smoked paprika – so good!
For parties, I love making “chicken tender boards” – just pile the tenders in the middle of a big platter with bowls of different sauces, some veggies, maybe some biscuits… it’s always a hit. And don’t even get me started on how amazing these are chopped up over a Caesar salad for lunch the next day. Honestly, they’re so versatile, you really can’t go wrong!
Storing and Reheating
Okay, real talk – these tenders are so good they rarely last long enough to store. But on the off chance you’ve got leftovers (maybe you made a double batch – smart move!), here’s how to keep that crispy magic alive:
Fridge Storage
Pop any cooled leftovers in an airtight container with a paper towel underneath to absorb moisture. They’ll stay crispy for about 3 days in the fridge – though I doubt they’ll last that long! Pro tip: if you’re meal prepping, store them before adding dipping sauce to prevent sogginess.
Freezer Hack
These freeze like a dream! Here’s my foolproof method:
- Let cooked tenders cool completely on a wire rack
- Arrange in a single layer on a parchment-lined baking sheet
- Freeze until solid (about 2 hours)
- Transfer to freezer bags, squeezing out all the air
They’ll keep for 2-3 months this way. No need to thaw before reheating – just add a couple extra minutes to the cook time.
Reheating Like a Pro
Microwaving? Just… don’t. You’ll end up with sad, rubbery chicken in a soggy breadcrumb blanket. Instead:
- Oven method: 375°F (190°C) on a wire rack for 10-12 minutes – good as new!
- Toaster oven: Even faster! About 8 minutes at the same temp
- Air fryer: 5 minutes at 375°F (190°C) for maximum crisp revival
See that? Now you’ve got crispy chicken tenders ready whenever the craving hits – which, let’s be honest, will be often!
Nutritional Information
Alright, let’s talk numbers – I know some folks like to keep an eye on what they’re eating (though personally, I’m usually too busy shoving these crispy tenders in my face to count calories). Here’s the scoop on what you’re getting in each serving, but remember – these are estimates. Your exact numbers might dance around a bit depending on your ingredients.
For 1 serving (about 4 beautiful tenders):
- 280 calories – way less than fried versions!
- 28g protein – hello, muscle fuel
- 12g fat (only 3g saturated)
- 15g carbs (with 1g fiber)
- 450mg sodium (use less salt if you’re watching this)
A few things to note – these numbers assume you’re using all the ingredients as written. Swap in gluten-free breadcrumbs? Your carbs might change. Skip the Parmesan? The protein and fat will shift a bit. That’s why I always say – cook first, calculate later. The most important number is how many happy faces you see around the table!
FAQs About Oven-Baked Chicken Tenders Recipe Ideas
Okay, let’s tackle those burning questions I always get about these crispy wonders! Trust me, I’ve heard them all – and probably asked most of them myself at some point.
“Can I use chicken breasts instead of tenders?”
Absolutely! Just slice boneless, skinless breasts into strips about 1-inch thick. Pro tip: Cut against the grain for maximum tenderness. The cook time might need an extra 2-3 minutes since breasts are thicker than tenders.
“Why do mine turn out soggy?”
Oh honey, we’ve all been there! The usual culprits are: not patting the chicken dry, overcrowding the pan (give those babies space!), or skipping the oil drizzle. Also – resist opening the oven door too much! Every peek lets heat escape and invites sogginess.
“Can I prep these ahead?”
You bet! Here’s my favorite trick: Coat the tenders up to the baking step, then arrange them on a parchment-lined baking sheet and freeze uncovered. Once frozen solid (about 2 hours), pop them in a freezer bag. When ready, bake straight from frozen – just add 5-7 minutes to the cook time.
“What if I don’t have panko breadcrumbs?”
No worries! Regular breadcrumbs work fine – just know they’ll be slightly less crunchy. For emergencies, crushed cornflakes or even crushed pork rinds (for keto folks!) make surprisingly great substitutes.
“Help! My coating keeps falling off!”
The classic struggle! Three things that’ll save you: 1) Make sure your eggs are well-beaten (no streaks), 2) Let excess egg drip off completely before coating, and 3) Press that breadcrumb mixture on firmly – none of this gentle sprinkling business!
Got more questions? Hit me up anytime – I could talk crispy chicken tenders all day long!
Print
Crispy Oven-Baked Chicken Tenders In 30 Minutes
- Total Time: 30 minutes
- Yield: 4 servings 1x
- Diet: Low Calorie
Description
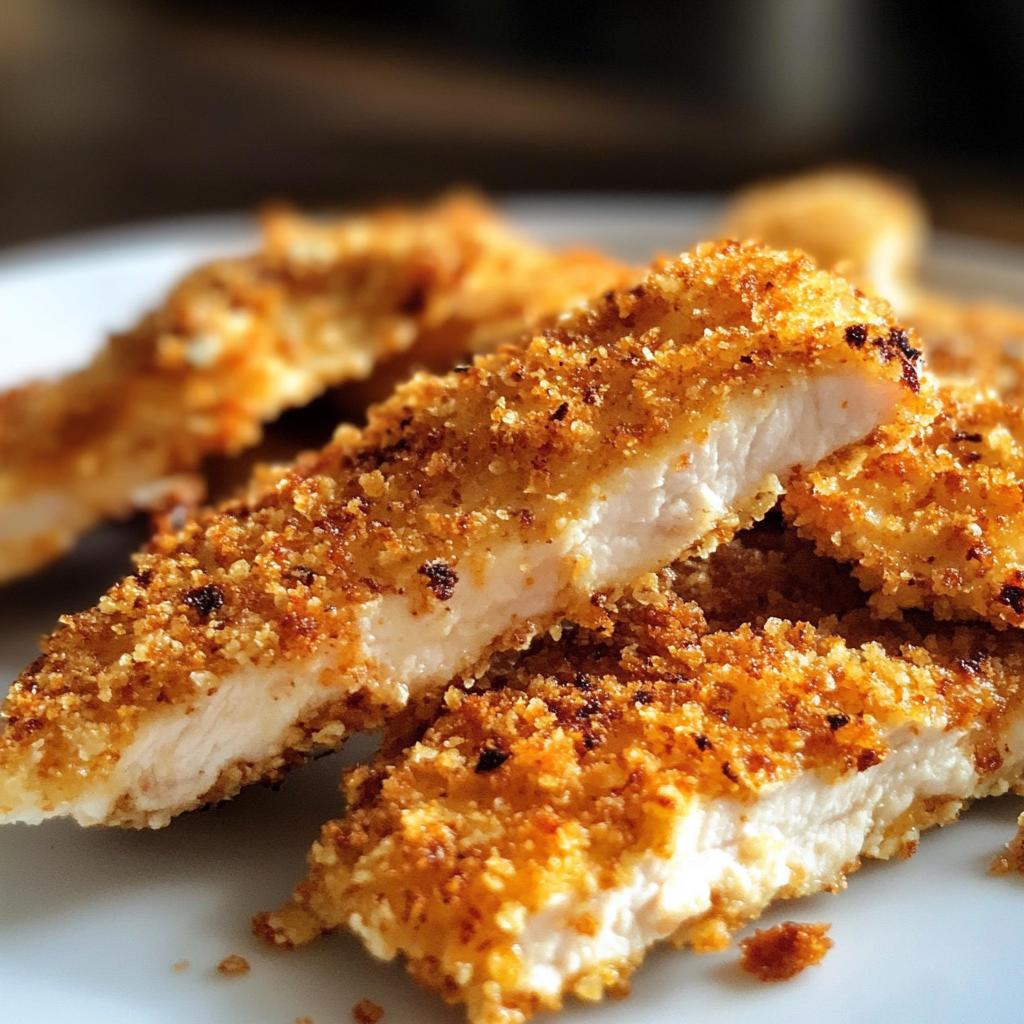
Crispy oven-baked chicken tenders with a golden crust. Easy to make and perfect for a quick meal.
Ingredients
- 1 lb chicken tenders
- 1 cup breadcrumbs
- 1/2 cup grated Parmesan cheese
- 1 tsp garlic powder
- 1 tsp paprika
- 1/2 tsp salt
- 1/4 tsp black pepper
- 2 eggs
- 2 tbsp olive oil
Instructions
- Preheat oven to 400°F (200°C). Line a baking sheet with parchment paper.
- In a bowl, mix breadcrumbs, Parmesan, garlic powder, paprika, salt, and pepper.
- Beat eggs in another bowl.
- Dip each chicken tender in egg, then coat with the breadcrumb mixture.
- Place tenders on the baking sheet. Drizzle with olive oil.
- Bake for 15-20 minutes, flipping halfway, until golden and cooked through.
Notes
- For extra crispiness, broil for the last 2 minutes.
- Use panko breadcrumbs for a crunchier texture.
- Serve with your favorite dipping sauce.
- Prep Time: 10 minutes
- Cook Time: 20 minutes
- Category: Main Course
- Method: Baking
- Cuisine: American
Nutrition
- Serving Size: 1 serving (4 tenders)
- Calories: 280
- Sugar: 1g
- Sodium: 450mg
- Fat: 12g
- Saturated Fat: 3g
- Unsaturated Fat: 7g
- Trans Fat: 0g
- Carbohydrates: 15g
- Fiber: 1g
- Protein: 28g
- Cholesterol: 120mg
Keywords: oven-baked chicken tenders, crispy chicken, easy chicken recipe, healthy chicken tenders


