
Nothing says Christmas like the smell of freshly baked cookies filling the house. Every year, I swear I can feel my grandma smiling down on me as I pull out her old mixing bowls to make these classic Christmas cookies. They’re the same ones she used to stack high on her holiday platter—simple, buttery rounds with just the right amount of sweetness that somehow taste like childhood and joy all at once.
What I love most about this recipe is how effortlessly it brings people together. Whether it’s my kids fighting over who gets to lick the spoon or neighbors stopping by unexpectedly (drawn in by that irresistible vanilla scent), these cookies become little edible invitations to celebrate. They’re not fussy or complicated—just honest-to-goodness comfort in cookie form with that nostalgic flavor we all crave this time of year.
When I bite into one still warm from the oven, I’m instantly transported back to snowy afternoons at Grandma’s kitchen table, where flour dusted everything like edible snow and cookie cutters were our most prized toys. Now I get to pass that magic on—and trust me, once you try this recipe, you’ll understand why it’s been our family’s secret weapon for creating holiday happiness for generations.
Why You’ll Love These Classic Christmas Cookies
Listen, I know holiday baking can feel overwhelming—but these cookies? They’re your secret weapon. Here’s why:
- Effortless magic: Just 7 basic ingredients (you probably have them right now!) and 25 minutes from bowl to plate
- Gifting gold: Stack them in mason jars tied with ribbon, and suddenly you’re the most thoughtful person at the cookie exchange
- Kid-approved: My littles go wild for the dough balls (perfect little hands can help roll them!)
- Endlessly adaptable: Add orange zest, dip half in chocolate, or go crazy with sprinkles—they’ll still taste like Christmas morning
Seriously, these are the cookies that turn kitchen newbies into holiday heroes. The recipe’s survived three generations in my family for a reason!
Ingredients for Classic Christmas Cookies
Okay, let’s gather our cookie-making treasures! Here’s what you’ll need for these classic Christmas cookies (and yes, I’ve learned the hard way that substitutions can be risky – but I’ll share my approved swaps too):
- 2 1/4 cups all-purpose flour – spooned and leveled, please! Packing flour leads to hockey pucks, not cookies
- 1/2 teaspoon baking powder – the secret lift that makes them just puffy enough
- 1/4 teaspoon salt – trust me, it makes the sweetness sing
- 3/4 cup unsalted butter, softened – not melted! Leave it out for 30 minutes until your finger leaves a gentle dent
- 3/4 cup granulated sugar – regular white sugar works best here for that classic crisp edge
- 1 large egg – straight from the fridge is fine, it’ll warm up while you cream the butter
- 1 teaspoon vanilla extract – the good stuff! Though almond extract makes a lovely holiday twist
See? Nothing fancy – just pantry staples ready to become magic. Now let’s talk tools…
Essential Equipment
You don’t need fancy gadgets for these cookies! My must-haves:
- 2 mixing bowls (one for dry, one for wet ingredients)
- Hand mixer or strong arm + wooden spoon
- 2 baking sheets (trust me, you’ll want a rotation going)
- Wire racks for cooling (prevents soggy bottoms!)
That’s it! Though I won’t judge if you sneak in a cookie scoop for perfect portions.
How to Make Classic Christmas Cookies
Alright, let’s get these holiday beauties in the oven! I’ve made this recipe so many times I could do it in my sleep – but I’ll walk you through every step so yours turn out just as perfect as Grandma’s always did.
Preparing the Dough
First things first – preheat that oven to 375°F (190°C). Nothing worse than ready dough and a cold oven, am I right?
- Whisk together the flour, baking powder, and salt in a medium bowl. I like to give it a good 30-second whisk to make sure everything’s evenly distributed – no one wants a salty bite!
- Cream the butter and sugar in a large bowl until light and fluffy. This is where the magic happens! Use your hand mixer on medium for about 2 minutes until it looks like pale yellow clouds. Scrape down the sides halfway through – those sneaky butter bits love to hide.
- Beat in the egg and vanilla until fully incorporated. The mixture might look slightly curdled at first – don’t panic! Just keep mixing until it smooths out.
- Gradually add the dry ingredients to the wet mixture, mixing on low speed until just combined. The dough should pull away from the sides of the bowl but still feel soft. If it’s sticky, pop it in the fridge for 15-20 minutes – cold dough holds its shape better.
Baking and Cooling
Now for the best part – baking these little rounds of joy!
- Roll the dough into 1-inch balls (about a tablespoon each) and place them 2 inches apart on ungreased baking sheets. They’ll spread just enough to become perfect little circles.
- Bake for 8-10 minutes until the edges are lightly golden. The centers might still look slightly underdone – that’s perfect! They’ll firm up as they cool. Resist the urge to overbake unless you want hockey pucks.
- Let cool on the baking sheet for 2 minutes before transferring to wire racks. This brief rest helps them set without sticking. Wait at least 10 minutes before decorating – warm cookies melt icing faster than snow in July!
Pro tip: Rotate your baking sheets halfway through baking if your oven has hot spots. And if you’re doing multiple batches, let the sheets cool completely between batches – hot pans make cookies spread too much.
Tips for Perfect Classic Christmas Cookies
After burning more cookies than I’d like to admit, here are my hard-won secrets for guaranteed success every time:
- Flour measuring matters: Always spoon flour into your measuring cup and level it off – packing it down leads to dry, crumbly disasters
- Parchment paper is magic: No more stuck cookies! Bonus: you can slide the whole sheet off for instant cooling
- Rotate those pans: Switch baking sheets halfway through for even browning (especially in finicky ovens)
- The butter test: Your butter should dent gently when pressed – too soft and cookies spread, too firm and they won’t cream properly
Follow these, and you’ll be the cookie hero of every holiday gathering!
Decorating and Variations
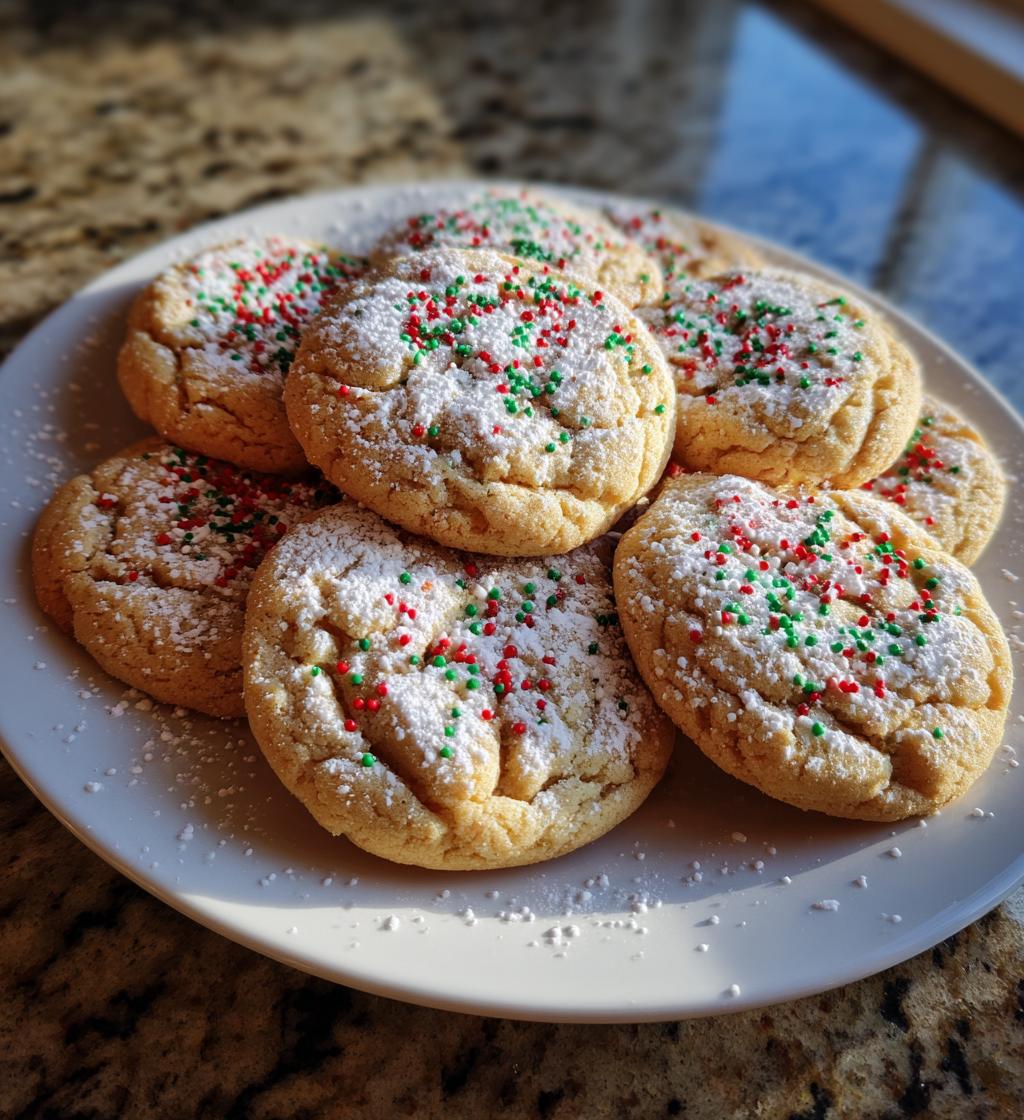
Oh, the fun part! These classic Christmas cookies are like blank canvases waiting for your creative touch. My kids go wild with rainbow sprinkles pressed into the dough balls before baking – they puff up into little jeweled treasures. For grown-up flair, try mixing orange zest into the dough or dusting cooled cookies with cinnamon-sugar.
The vanilla version is perfect as-is, but sometimes I swap in almond extract for a subtle marzipan twist. Feeling adventurous? Add 1/2 teaspoon of nutmeg to the dry ingredients – it’ll make your kitchen smell like Santa’s workshop. Royal icing, melted chocolate drizzles, or even crushed candy canes all turn these simple rounds into holiday showstoppers!
Storing and Freezing Classic Christmas Cookies
Here’s my foolproof system for keeping these cookies fresh (because let’s be honest – they rarely last more than a day in my house!). Store cooled cookies in an airtight container at room temperature for up to a week – layer them with parchment paper to prevent sticking. For longer storage, freeze the baked cookies in zip-top bags for up to 3 months. My secret? I always freeze half the dough balls raw on a baking sheet before transferring to a freezer bag. That way, I can bake just a few whenever holiday cravings strike!
Classic Christmas Cookies Nutritional Information
Okay, let’s be real – nobody eats Christmas cookies for their health benefits! But since we should probably know what we’re indulging in, here’s the scoop per cookie (based on my exact recipe):
- Calories: 120 (worth every one!)
- Fat: 6g (that’s the butter doing its magic)
- Sugar: 7g (holiday happiness in every bite)
- Protein: 1.5g (surprise! cookies do have some nutrients)
Remember, these values can change based on your specific ingredients and how generously you decorate (ahem, me with that extra thick icing layer). The numbers are estimates – your mileage may vary depending on butter brands, flour types, and whether you snitch extra dough like I always do!
Common Questions About Classic Christmas Cookies
After years of baking (and plenty of happy accidents), here are the questions I get asked most about these holiday treats:
How do I keep my cookies from spreading too thin?
This used to drive me crazy! The secret is using properly softened (not melted) butter and chilling the dough for 30 minutes if your kitchen is warm. Also, make sure your baking sheets are completely cool between batches – I keep extras on rotation.
Can I freeze the cookie dough?
Absolutely! I always stash some dough balls in the freezer – they’ll keep for 3 months. Just pop them straight onto a baking sheet (no thawing needed) and add 1-2 minutes to the bake time. This trick saved me last Christmas when surprise guests showed up!
Why are my cookies too cakey?
Oh honey, you’re probably over-measuring the flour. I learned the hard way – always spoon flour into your measuring cup and level it off. Also check your baking powder isn’t expired (been there!), as old leaveners can create weird textures.
Can I make these without a mixer?
You bet! I actually prefer making these by hand when I want that nostalgic feeling. Just make sure your butter is super soft, and use a sturdy wooden spoon to really cream it with the sugar until fluffy. Your arm might get sore, but the cookies taste just as delicious!
Share Your Holiday Creations
Now I want to see your cookie masterpieces! Snap a pic of your classic Christmas cookies and tag me – nothing makes me happier than seeing families carrying on these sweet traditions. Leave a comment below with your favorite decorating ideas or any clever twists you’ve tried!
Print
Irresistible Classic Christmas Cookies in Just 25 Minutes
- Total Time: 25 minutes
- Yield: 24 cookies 1x
- Diet: Vegetarian
Description
A simple recipe for classic Christmas cookies, perfect for holiday baking.
Ingredients
- 2 1/4 cups all-purpose flour
- 1/2 teaspoon baking powder
- 1/4 teaspoon salt
- 3/4 cup unsalted butter, softened
- 3/4 cup granulated sugar
- 1 large egg
- 1 teaspoon vanilla extract
Instructions
- Preheat oven to 375°F (190°C).
- Whisk flour, baking powder, and salt in a bowl.
- Cream butter and sugar until light and fluffy.
- Beat in egg and vanilla.
- Gradually mix in dry ingredients.
- Roll dough into balls and place on baking sheets.
- Bake for 8-10 minutes until edges are golden.
- Cool on wire racks before serving.
Notes
- Chill dough for 30 minutes if too soft.
- Decorate with icing or sprinkles if desired.
- Store in an airtight container for up to a week.
- Prep Time: 15 minutes
- Cook Time: 10 minutes
- Category: Dessert
- Method: Baking
- Cuisine: American
Nutrition
- Serving Size: 1 cookie
- Calories: 120
- Sugar: 7g
- Sodium: 25mg
- Fat: 6g
- Saturated Fat: 3.5g
- Unsaturated Fat: 2g
- Trans Fat: 0g
- Carbohydrates: 15g
- Fiber: 0.5g
- Protein: 1.5g
- Cholesterol: 20mg
Keywords: Christmas cookies, holiday baking, easy cookies


