
Oh, the smell of these vintage Christmas cookies baking takes me right back to my grandma’s kitchen! Every December, she’d pull out her old recipe box—the one with flour-dusted index cards and butter stains—to make these buttery, spiced treasures. The scent of cinnamon and nutmeg would fill the whole house, and we’d sneak bites of dough when she wasn’t looking (don’t tell!). These cookies aren’t just treats; they’re little bites of holiday magic, perfect for sharing with loved ones or leaving out for Santa. Trust me, once you try them, they’ll become your family’s new tradition too.
Why You’ll Love These Vintage Christmas Cookies
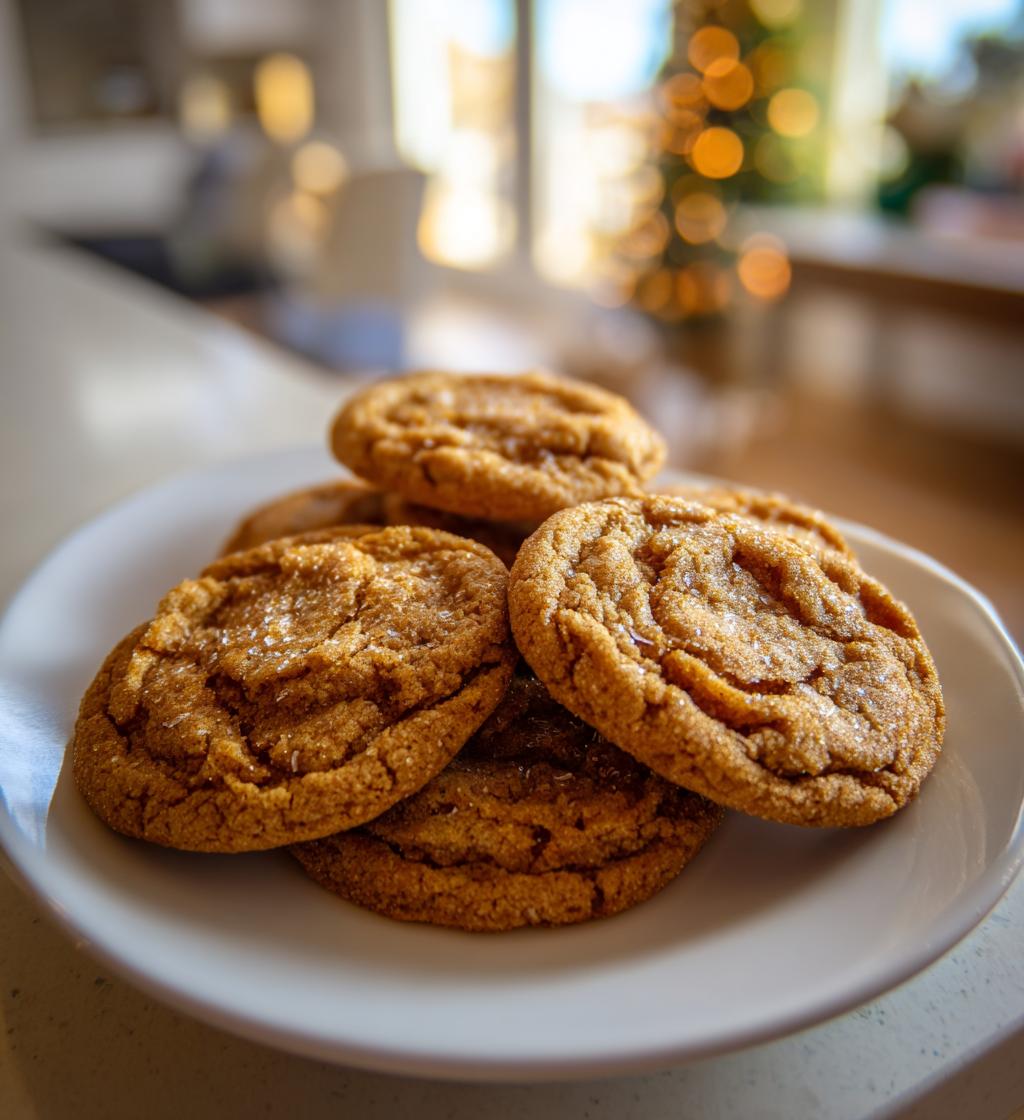
These cookies aren’t just delicious – they’re little pieces of holiday happiness! Here’s why they’ve been my family’s favorite for generations:
- So easy to make – No fancy techniques, just simple mixing and baking
- That nostalgic flavor – The warm cinnamon and nutmeg taste like childhood Christmases
- Perfect for gifting – Stack them in pretty tins or tie with ribbon for heartfelt presents
- Wonderful texture – Crisp edges with a slightly soft center that melts in your mouth
- Endless decorating fun – Dress them up or keep them simple, they’re delicious either way
Seriously, these cookies check all the boxes for the perfect holiday treat!
Ingredients for Vintage Christmas Cookies
Here’s everything you’ll need to make these nostalgic treats – trust me, keeping it simple is part of their charm! Gather these basics:
- 2 1/4 cups all-purpose flour – Spoon it gently into the measuring cup for perfect accuracy
- 3/4 cup unsalted butter, softened – Leave it out for about an hour – when you press it, your finger should leave a gentle indent
- 3/4 cup granulated sugar – That classic sweet base we all love
- 1 large egg – Room temperature helps it blend beautifully
- 1 tsp vanilla extract – The good stuff makes all the difference
- 1/2 tsp baking powder + 1/4 tsp salt – Our leavening dream team
- 1/2 tsp ground cinnamon + 1/4 tsp ground nutmeg – That warm, cozy spice blend that screams Christmas
See? Nothing fancy – just honest ingredients that work together to create pure holiday magic!
Equipment You’ll Need
Don’t worry—you won’t need any fancy gadgets for these cookies! Just grab these kitchen basics:
- Mixing bowls – One large for wet ingredients, one medium for dry
- Baking sheets – Standard half-sheet pans work perfectly
- Parchment paper – My secret for no-stick, easy cleanup cookies
- Wire racks – Lets them cool evenly without getting soggy bottoms
- Wooden spoon or hand mixer – Grandma used her trusty spoon, but I cheat with a mixer sometimes!
That’s it—see? Just like grandma used to keep it simple!
How to Make Vintage Christmas Cookies
Okay, let’s get baking! These cookies come together so easily, but I’ll walk you through each step to make sure they turn out perfect every time. Just follow along – you’ll be smelling that heavenly cinnamon-nutmeg aroma in no time!
Step 1: Preheat and Prep
First things first – turn that oven to 350°F (175°C) and let it heat up properly. While it’s warming, line your baking sheets with parchment paper. This little trick saves so much cleanup time and prevents sticking! I always prep 2-3 sheets since this recipe makes about 24 cookies.
Step 2: Mix Dry Ingredients
Grab your medium bowl and whisk together the flour, baking powder, salt, cinnamon, and nutmeg. Really whisk it well – you want those spices evenly distributed throughout the flour. I like to give it about 30 good whisks – it makes such a difference in getting that perfect spice flavor in every bite!
Step 3: Cream Butter and Sugar
Now the fun part! In your large bowl, beat the softened butter and sugar together until it’s light and fluffy. This is KEY – you want it pale yellow and almost whipped looking. If you’re using a mixer, medium speed for about 2 minutes does the trick. By hand? Just keep stirring vigorously until it looks like creamy frosting. Then beat in the egg and vanilla until everything’s beautifully combined.
Step 4: Combine and Shape
Time to bring it all together! Gradually mix the dry ingredients into the wet mixture. Go slow – I add about 1/3 at a time, mixing just until combined. The dough should be soft but not sticky. If it feels too soft (maybe your kitchen’s warm), pop it in the fridge for 20-30 minutes. Then roll into 1-inch balls – about the size of a walnut – and place them 2 inches apart on your prepared sheets.
Step 5: Bake and Cool
Into the oven they go! Bake for 10-12 minutes – you’ll know they’re done when the edges turn that perfect light golden color but the centers still look slightly soft. They’ll firm up as they cool. Let them rest on the baking sheet for 2 minutes, then transfer to wire racks to cool completely. Try not to eat them all at once – though I won’t judge if you sneak one warm cookie!
Tips for Perfect Vintage Christmas Cookies
After making these cookies for years (and eating my fair share of “experiments”), I’ve learned a few tricks that guarantee perfect results every time:
- Chill the dough if your kitchen’s warm – Just 30 minutes in the fridge prevents spreading and keeps those perfect round shapes
- Watch the clock like a hawk – Take them out when edges are barely golden (they’ll keep cooking on the hot pan!)
- Parchment paper is your best friend – No sticking, even baking, and zero messy cleanup
- Let them cool completely before decorating – Icing slides right off warm cookies (trust me, I’ve cried over melted sprinkles)
- Rotate pans halfway through baking – For even browning if your oven has hot spots like mine does
Follow these simple tips, and you’ll have cookies that look as good as Grandma’s – maybe even better!
Decorating Ideas
Oh, decorating these cookies is half the fun! For that true vintage Christmas look, I love keeping things simple but special. A quick dusting of powdered sugar makes them look like little snow-covered hills – so pretty piled on a holiday plate. Or try my grandma’s trick: dip the tops in a simple vanilla glaze (just powdered sugar and milk) and add a single red sprinkle for that classic old-fashioned touch. If you’re feeling fancy, pipe delicate icing snowflakes or polka dots – but honestly, these cookies are so flavorful they don’t need much dressing up!
Storage and Freezing Instructions
These cookies keep beautifully when stored right! Pop them in an airtight container at room temperature – they’ll stay fresh and delicious for up to a week. Want to get ahead? You can freeze the unbaked dough balls for 3 months (just add 1-2 minutes to the bake time when you’re ready). Baked cookies freeze well too – just layer them with parchment paper in a freezer bag. Nothing beats pulling out ready-to-enjoy holiday treats when guests drop by unexpectedly!
Nutritional Information
Just so you know what you’re enjoying (because let’s be real – we’re all having more than one!), here’s the nutritional breakdown per cookie. Keep in mind these are estimates that can vary based on your specific ingredients:
- Calories: 120
- Fat: 6g (3.5g saturated)
- Carbs: 15g
- Sugar: 6g
- Protein: 1.5g
Now go ahead and enjoy that second (or third) cookie – it’s Christmas!
FAQ
I get asked about these vintage Christmas cookies all the time – here are answers to the most common questions that pop up in my kitchen (and my inbox)!
Can I freeze baked cookies?
Absolutely! These freeze like a dream. Just make sure they’re completely cooled, then layer them between parchment paper in an airtight container. They’ll keep their flavor and texture for up to 3 months. Thaw at room temperature when the cookie craving hits!
What can I use instead of nutmeg?
If you’re out of nutmeg, try an equal amount of allspice – it gives a similar warm, cozy flavor. Or just bump up the cinnamon a tiny bit. My aunt swears by adding a pinch of cardamom instead for a unique twist!
Why did my cookies spread too much?
Oh no! Usually this means your butter was too soft or the dough needed chilling. Next time, try refrigerating the shaped dough balls for 30 minutes before baking. Also make sure you’re measuring the flour correctly – too little can cause spreading.
Can I make these gluten-free?
You bet! Use a 1:1 gluten-free flour blend (I like the ones with xanthan gum already added). The texture might be slightly different, but they’ll still have that wonderful spiced flavor we all love.
How far in advance can I make the dough?
The dough keeps wonderfully in the fridge for up to 3 days – just wrap it tightly in plastic. For longer storage, freeze the dough balls and bake straight from frozen (adding a minute or two to the bake time). Perfect for last-minute holiday baking emergencies!
Share Your Holiday Memories
Now it’s your turn! I’d love to hear how these vintage Christmas cookies turn out in your kitchen. Did they bring back memories of baking with your grandma like they do for me? Maybe you created a new family tradition with them this year? Drop a comment below and tell me all about it – I read every single one!
Here’s what I’d love to know:
- Did you decorate them special for someone?
- What childhood holiday baking memories do they remind you of?
- Any fun twists you added to the recipe?
- Who got to enjoy these cookies with you?
And if you snap a photo of your cookie creations, tag me on Instagram – nothing makes me happier than seeing these vintage treats spreading holiday cheer in kitchens everywhere! Happy baking, friends!
Print
3 Generations Love These Magical Vintage Christmas Cookies
- Total Time: 27 minutes
- Yield: 24 cookies 1x
- Diet: Vegetarian
Description
Classic vintage Christmas cookies with a buttery, spiced flavor. Perfect for holiday gatherings or gifting.
Ingredients
- 2 1/4 cups all-purpose flour
- 1/2 tsp baking powder
- 1/4 tsp salt
- 3/4 cup unsalted butter, softened
- 3/4 cup granulated sugar
- 1 large egg
- 1 tsp vanilla extract
- 1/2 tsp ground cinnamon
- 1/4 tsp ground nutmeg
Instructions
- Preheat oven to 350°F (175°C). Line baking sheets with parchment paper.
- Whisk flour, baking powder, salt, cinnamon, and nutmeg in a bowl.
- Cream butter and sugar until light and fluffy. Beat in egg and vanilla.
- Gradually mix in dry ingredients until dough forms.
- Roll dough into 1-inch balls and place on baking sheets.
- Bake for 10-12 minutes until edges are lightly golden.
- Cool on wire racks before serving or decorating.
Notes
- Dough can be chilled for 30 minutes if too soft.
- Decorate with icing or sprinkles for a festive touch.
- Store in an airtight container for up to 1 week.
- Prep Time: 15 minutes
- Cook Time: 12 minutes
- Category: Dessert
- Method: Baking
- Cuisine: American
Nutrition
- Serving Size: 1 cookie
- Calories: 120
- Sugar: 6g
- Sodium: 30mg
- Fat: 6g
- Saturated Fat: 3.5g
- Unsaturated Fat: 2g
- Trans Fat: 0g
- Carbohydrates: 15g
- Fiber: 0.5g
- Protein: 1.5g
- Cholesterol: 20mg
Keywords: vintage christmas cookies, holiday baking, classic cookies


