
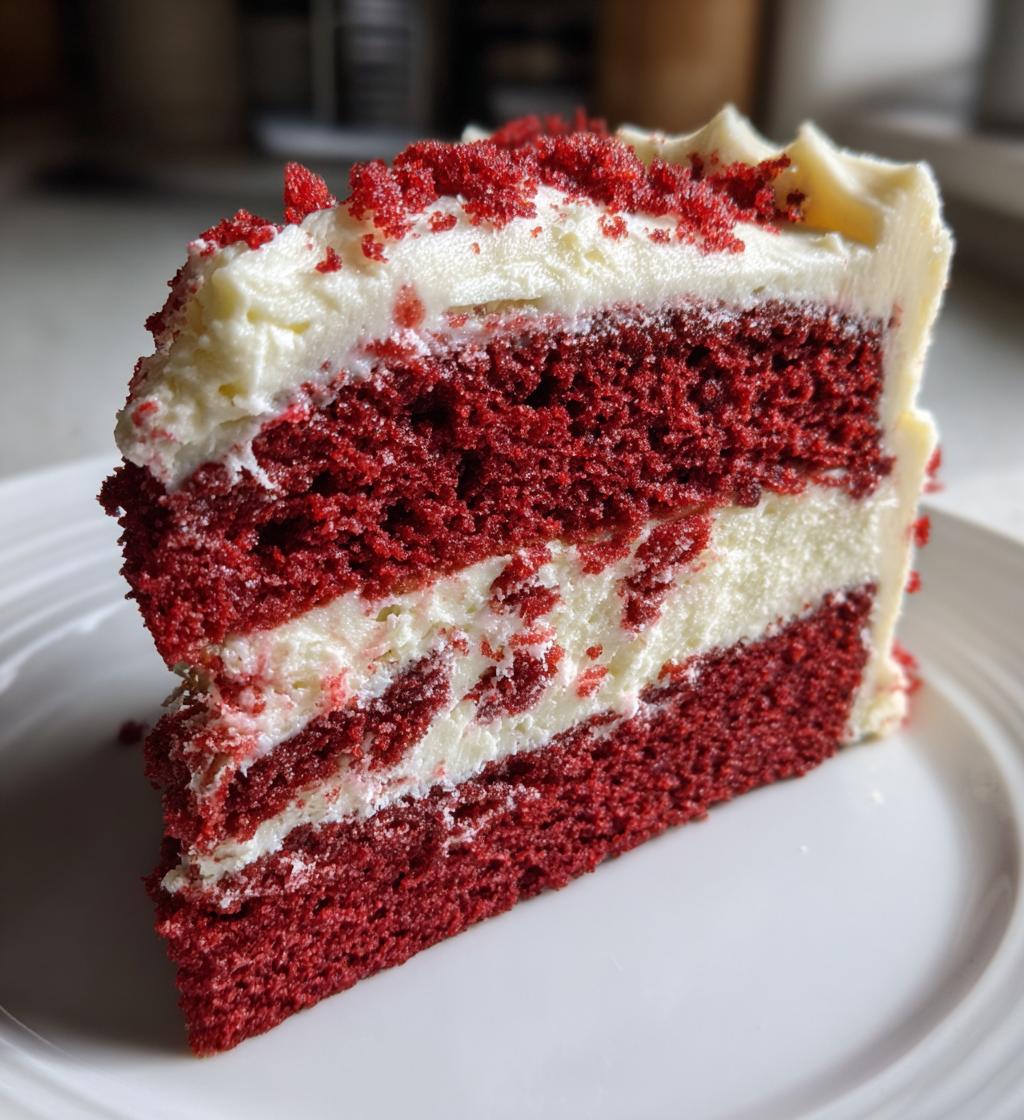
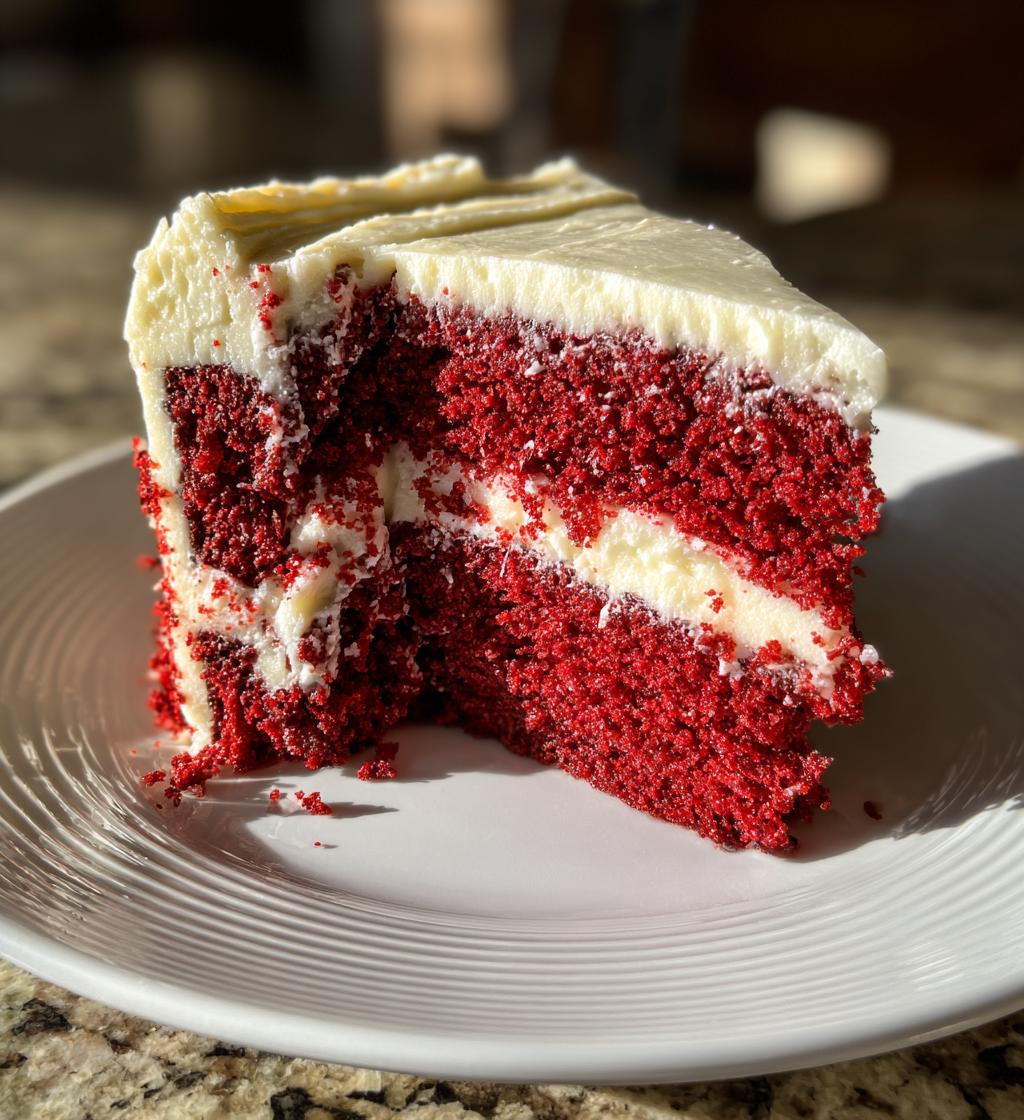
There’s something undeniably magical about a perfect red velvet cake—the deep crimson color, that subtle cocoa hint, and the way the cream cheese frosting melts in your mouth. I’ve baked this beauty for birthdays, anniversaries, and even just “because it’s Tuesday” days. My ultimate red velvet cake recipe has been my go-to for pure dessert bliss since I first perfected it during a snowstorm years ago. Now, friends beg me to bring it to every gathering. Trust me, once you taste that velvety crumb and tangy frosting, you’ll understand why this cake steals the show every single time.
Why You’ll Love The Ultimate Red Velvet Cake Recipe For Pure Dessert Bliss
Oh, this cake—it’s not just dessert, it’s an experience. Here’s why you’ll fall head over heels for it:
- That perfect bite: The moist, tender crumb with a hint of cocoa and that gorgeous red hue makes every forkful feel like a celebration
- Foolproof method: No fancy techniques here—just simple steps that come together like magic (even if you’re a baking newbie!)
- Crowd-pleaser magic: I’ve never met anyone who could resist a slice, especially with that tangy cream cheese frosting piled high
- Special occasion star: Birthdays, holidays, or just Tuesday nights—this cake turns any moment into something memorable
- Better the next day: The flavors deepen overnight, so it’s perfect for making ahead (if you can resist eating it all at once!)
Ingredients For The Ultimate Red Velvet Cake Recipe For Pure Dessert Bliss
Okay, let’s gather our cast of characters! Here’s everything you’ll need to create this showstopper:
- 2 1/2 cups all-purpose flour (spooned and leveled – don’t pack it!)
- 1 1/2 cups granulated sugar (the sweet backbone of our cake)
- 1 tsp baking soda (fresh is best – check the expiration date!)
- 1 tsp salt (just a pinch to balance the sweetness)
- 1 tsp cocoa powder (the secret background note)
- 1 1/2 cups vegetable oil (for that signature moist texture)
- 1 cup buttermilk, room temperature (the tangy magic maker)
- 2 large eggs, room temperature (they’ll incorporate better when not cold)
- 2 tbsp red food coloring (gel gives best color – see notes!)
- 1 tsp vanilla extract (pure, not imitation, for best flavor)
- 1 tsp white vinegar (trust me on this – it works with the baking soda)
Ingredient Notes & Substitutions
Baking is science, but I’ve got some wiggle room for you:
- Buttermilk substitute: No buttermilk? Mix 1 cup milk with 1 tbsp lemon juice or vinegar, let sit 5 minutes.
- Food coloring: Gel gives vibrant red with less liquid. Liquid works but you might need more (start with 2 tbsp).
- Vinegar: Apple cider vinegar works in a pinch, but white vinegar gives cleanest taste.
- Room temp is key! Cold ingredients don’t blend as smoothly. Pull eggs and buttermilk out 30 minutes before.
- Flour tip: Spoon flour into measuring cup, then level – don’t scoop directly from the bag!
How To Make The Ultimate Red Velvet Cake Recipe For Pure Dessert Bliss
Alright, let’s get baking! Follow these steps and you’ll have the most gorgeous red velvet cake that’ll make everyone think you’re a pastry pro:
- Preheat & prep: Get that oven to 350°F (175°C) – no cheating on preheating! Grease two 9-inch cake pans with butter, line the bottoms with parchment circles, then dust with flour. (This triple protection guarantees easy release!)
- Dry team: In a big bowl, whisk together the flour, sugar, baking soda, salt, and cocoa powder. I like to sift mine through a fine mesh strainer – it makes the crumb extra tender.
- Wet wonders: In another bowl (or your stand mixer), beat together the oil, buttermilk, eggs, food coloring, vanilla, and vinegar until smooth. The batter will look alarmingly red at this point – that’s perfect!
- Marry them: Gradually add the dry ingredients to the wet, mixing just until combined. Overmixing = tough cake, so stop when you stop seeing flour streaks.
- Divide & conquer: Pour the batter evenly between your prepared pans. Give each pan a gentle tap on the counter to release air bubbles.
- Bake magic: Pop them in the oven for 25-30 minutes. Start checking at 25 – the cakes are done when they pull slightly from the edges and a toothpick comes out with moist crumbs (not wet batter!).
- Cool patience: Let cakes cool in pans for 10 minutes (no cheating!), then flip onto wire racks to cool completely. Seriously – completely cold before frosting or you’ll have a melty mess!
Tips For The Perfect Red Velvet Cake
After making this cake more times than I can count, here are my golden rules:
- Sift for success: Those few extra seconds sifting dry ingredients makes the texture dreamily light.
- Mix with mercy: Stop mixing the second the batter comes together – overworked gluten equals dense cake.
- Cool completely: I know it’s tempting, but warm cakes make frosting slide right off. Wait at least 2 hours!
- Parchment power: Cut parchment circles for the pan bottoms – they’re insurance against cake disasters.
- Frosting finesse: Spread a thin “crumb coat” first, chill for 15 minutes, then add the final frosting layer for flawless looks.
Frequently Asked Questions About The Ultimate Red Velvet Cake Recipe For Pure Dessert Bliss
I’ve gotten so many questions about this cake over the years – here are the ones that pop up most often:
Can I use natural food coloring instead of artificial?
Oh, I get this one a lot! While you can use beet powder or other natural options, they won’t give that classic vibrant red hue. The color tends to bake out more brownish-pink. If you’re committed to natural, try reducing the oven temp by 25°F and baking slightly longer to preserve more color. But honestly? For that iconic red velvet look, gel food coloring works best.
How should I store leftovers?
(As if there ever are leftovers!) Cover any uneaten cake tightly with plastic wrap or store in an airtight container in the fridge for up to 5 days. The frosting actually helps keep it moist! For longer storage, you can freeze individual slices wrapped in plastic then foil for up to 3 months – just thaw overnight in the fridge.
Can I make cupcakes instead of a layer cake?
Absolutely! This batter makes about 24 perfect cupcakes. Fill liners 2/3 full and bake at the same temperature for 18-22 minutes. They’re adorable with a little swirl of frosting and red sprinkles on top. Pro tip: Use an ice cream scoop to portion the batter evenly – no messy drips!
Why vinegar? That seems weird in a cake!
I know, right? But that little teaspoon works with the baking soda to give the cake its signature slight tang and tender texture. Don’t worry – you won’t taste vinegar at all. It’s one of those magical baking chemistry things my grandma swore by!
Can I make this cake ahead of time?
You’re speaking my language! The unfrosted cake layers actually taste better after resting overnight. Bake them up to 2 days ahead, wrap tightly in plastic once cooled, and store at room temp. Frost the day you’re serving for freshest results. The assembled cake holds beautifully for a day in the fridge – just let it sit at room temp for 30 minutes before serving.
Serving & Storing The Ultimate Red Velvet Cake Recipe For Pure Dessert Bliss
Now comes the best part – enjoying your masterpiece! Here’s how to serve and keep your red velvet cake tasting fresh:
Serving suggestions that’ll make it even better:
- Let refrigerated cake sit at room temp for 20 minutes before serving – that cream cheese frosting tastes best when not ice-cold
- Pair with strong coffee or cold milk to balance the sweetness (my grandpa always said it’s the perfect combo)
- For extra flair, top slices with fresh berries or a dusting of cocoa powder right before serving
- Use a warm knife to cut clean slices – just dip it in hot water and wipe dry between cuts
Storage tips to keep it fresh:
- Room temp: If eating within 24 hours, you can cover it with a cake dome (frosted cakes last about 1 day out)
- Refrigerator: For longer storage, pop it in an airtight container – it’ll stay moist for up to 5 days (if it lasts that long!)
- Freezing: Wrap unfrosted layers tightly in plastic wrap, then foil, and freeze for up to 3 months. Thaw overnight in the fridge before frosting
- Leftover slices: Individually wrap them in plastic and freeze – perfect for when you need a sweet treat fast!
Pro tip from my many cake fails – if your cake dries out a bit, a quick microwave zap (10 seconds!) brings back that just-baked moisture. But honestly? This cake never lasts long enough in my house to get dry!
Nutritional Information For The Ultimate Red Velvet Cake Recipe For Pure Dessert Bliss
Okay, let’s be real – we’re not eating red velvet cake for the health benefits! But since you asked (or maybe just out of curiosity), here’s the nutritional breakdown per slice. Remember, these are estimates – your exact numbers might vary slightly depending on your specific ingredients.
- Calories: 450 (Hey, it’s a celebration cake!)
- Total Fat: 25g (That luscious moistness comes from somewhere)
- Saturated Fat: 4g
- Unsaturated Fat: 18g
- Trans Fat: 0g
- Cholesterol: 45mg
- Sodium: 350mg
- Total Carbohydrates: 55g (Worth every bite)
- Dietary Fiber: 1g
- Sugars: 30g (What makes it so darn delicious)
- Protein: 5g
Important note: These values are calculated using standard ingredients and serving sizes. Your actual nutrition facts might differ based on the specific brands you use, exact measurements, and how generously you frost your cake (no judgment here!).
My grandma always said, “A little indulgence keeps the soul happy.” So enjoy your slice without guilt – life’s too short not to savor the sweet moments!
Share Your Red Velvet Cake Experience
Okay, baking buddy – now it’s your turn! There’s nothing I love more than seeing how your red velvet creations turn out. Did you add a personal twist? Maybe some chocolate shavings on top or a splash of espresso in the batter? I want to hear all about it!
Leave a comment below telling me:
- What special occasion (or random Tuesday) you baked this for
- Any clever modifications you made
- How many people asked for seconds (I’m betting it was everyone!)
Better yet – snap a photo of your masterpiece and tag me on Instagram @[yourhandle] so I can see that gorgeous red crumb and perfect frosting swirls. Nothing makes my day like scrolling through your beautiful cake photos with my morning coffee!
And if you loved this recipe as much as I do, please give it a 5-star rating – it helps other bakers find this little slice of red velvet heaven. Happy baking, and can’t wait to see what you create!
Print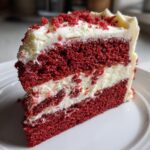
Irresistible Ultimate Red Velvet Cake Recipe You Must Try Now
- Total Time: 50 minutes
- Yield: 12 servings 1x
- Diet: Vegetarian
Description
A rich and moist red velvet cake with a creamy frosting, perfect for any occasion.
Ingredients
- 2 1/2 cups all-purpose flour
- 1 1/2 cups granulated sugar
- 1 tsp baking soda
- 1 tsp salt
- 1 tsp cocoa powder
- 1 1/2 cups vegetable oil
- 1 cup buttermilk
- 2 large eggs
- 2 tbsp red food coloring
- 1 tsp vanilla extract
- 1 tsp white vinegar
Instructions
- Preheat oven to 350°F (175°C). Grease and flour two 9-inch cake pans.
- In a bowl, mix flour, sugar, baking soda, salt, and cocoa powder.
- Add oil, buttermilk, eggs, food coloring, vanilla, and vinegar. Mix until smooth.
- Divide batter evenly between the pans.
- Bake for 25-30 minutes or until a toothpick comes out clean.
- Cool cakes in pans for 10 minutes, then transfer to a wire rack.
- Frost with cream cheese frosting once completely cooled.
Notes
- Use gel food coloring for a deeper red color.
- Ensure all ingredients are at room temperature for best results.
- Store leftovers in an airtight container in the fridge.
- Prep Time: 20 minutes
- Cook Time: 30 minutes
- Category: Dessert
- Method: Baking
- Cuisine: American
Nutrition
- Serving Size: 1 slice
- Calories: 450
- Sugar: 30g
- Sodium: 350mg
- Fat: 25g
- Saturated Fat: 4g
- Unsaturated Fat: 18g
- Trans Fat: 0g
- Carbohydrates: 55g
- Fiber: 1g
- Protein: 5g
- Cholesterol: 45mg
Keywords: red velvet cake, dessert, homemade cake, cream cheese frosting


