
There’s something magical about decorating cookies, isn’t there? I can still remember the first time I helped my mom make sugar cookies for the holidays. We spent hours rolling out dough, cutting out shapes, and then the best part—frosting them with the sweetest, most colorful icing! This *sugar cookie icing recipe* brings back those cherished memories and makes decorating a breeze. It’s quick, easy, and allows for so much creativity! I can picture my little ones now, giggling as they squeeze icing from bags, turning simple cookies into festive masterpieces. Whether it’s for a birthday party or just a cozy Saturday afternoon, the joy of decorating cookies is something I hold dear. And trust me, once you try this icing, you’ll be hooked on the fun of creating edible art! So, let’s roll up our sleeves and dive into this delightful recipe together!
Ingredients List
- 2 cups powdered sugar – make sure it’s sifted for a smooth icing!
- 2 tablespoons milk – this adds just the right amount of creaminess.
- 1 tablespoon light corn syrup – it gives the icing that beautiful shine and helps it set.
- 1 teaspoon vanilla extract – for a hint of sweetness and flavor that elevates everything!
- Food coloring (optional) – get creative with colors if you want to make your cookies pop!
How to Prepare the Sugar Cookie Icing Recipe
Now that we’ve got our ingredients ready, it’s time to whip up this delightful icing! Follow along, and I promise you’ll have a smooth and sweet glaze that’s perfect for your cookies!
Step 1: Mix the Ingredients
First things first, grab a mixing bowl and add your 2 cups of sifted powdered sugar. This is super important because it helps achieve that dreamy smooth texture we all love! Next, pour in 2 tablespoons of milk, followed by 1 tablespoon of light corn syrup and 1 teaspoon of vanilla extract. This combination is like a warm hug for your cookies! Now, using a whisk or a spatula, mix everything together until it’s completely smooth. You don’t want any lumps here—just a glossy, beautiful icing that you can’t wait to spread!
Step 2: Achieve the Right Consistency
Once you’ve got that smooth mixture, it’s time to check the consistency. If it feels a bit too thick for your liking, don’t worry! Just add a tiny splash more of milk, about a teaspoon at a time, until you reach that perfect pourable state. You want it to flow easily but still hold its shape when you pipe it onto the cookies. If it’s too runny, just add a bit more powdered sugar. Easy peasy!
Step 3: Optional Coloring
If you’re feeling adventurous and want to jazz up your icing, now’s the time to divide it into smaller bowls and add your food coloring! A drop or two goes a long way, so start small and mix until you reach your desired hue. Make sure to stir well to incorporate the color evenly throughout the icing. Wow, look at those vibrant colors! It’s like a rainbow in your kitchen!
Step 4: Decorate Your Cookies
Now for the fun part—decorating! You’ll want to use the icing immediately while it’s fresh and creamy. Grab a piping bag or a simple zip-top bag with a corner snipped off, and let your creativity flow! You can outline your cookies first and then fill them in, or go wild with swirls and dots. Just remember to let the icing dry completely before stacking those beautiful cookies, so they don’t stick together. And there you have it! Enjoy your festive treats and the smiles they bring!
Why You’ll Love This Recipe
- Quick preparation: You can whip this up in just 10 minutes, so you’ll be decorating cookies in no time!
- Easy to use: The simple mixing process makes it perfect for bakers of all skill levels, even kids!
- Customizable: The option to add food coloring allows you to create a rainbow of designs for any occasion.
- Perfect consistency: Whether you want a thin glaze or a thicker icing for piping, you can easily adjust it to your liking.
- Delicious flavor: The hint of vanilla makes every bite delightful, enhancing your cookies even more!
Tips for Success
To ensure your sugar cookie icing turns out perfectly every time, here are some pro tips that I swear by!
- Use sifted powdered sugar: This step is crucial! Sifting helps prevent lumps in your icing, giving you that smooth, velvety finish.
- Check your consistency: Remember, you can always adjust! If your icing is too thick, add milk a little at a time. If it’s too thin, sprinkle in more powdered sugar.
- Work quickly: Icing can dry out fast, so pipe it onto your cookies as soon as it’s mixed. If you need to take a break, cover the bowl with a damp cloth to keep it from crusting over.
- Let it dry completely: Patience is key! Allow the icing to dry fully before stacking or storing your cookies to avoid any sticky mishaps.
- Experiment with techniques: Don’t be afraid to try different piping techniques! Each method adds a unique touch to your cookie designs.
Storage & Reheating Instructions
If you have any leftover icing (which is rare because it’s so good!), you can easily store it for later use. Just transfer it into an airtight container and make sure to seal it tightly. This will keep your icing fresh for about a week in the fridge. When you’re ready to use it again, simply take it out and let it sit at room temperature for a bit. If it’s thickened up, you can stir in a tiny splash of milk to get it back to that perfect consistency. Easy as pie—or should I say, easy as cookies!
Nutritional Information
When it comes to enjoying your sugar cookie icing, it’s good to know what you’re getting! Here’s a quick look at the typical nutritional values for one tablespoon of this delightful icing. Keep in mind that these values are estimates, but they give you a handy reference:
- Calories: 50
- Sugar: 12g
- Sodium: 0mg
- Fat: 0g
- Carbohydrates: 13g
- Protein: 0g
This icing is a sweet treat, so enjoy it in moderation as you decorate your cookies and spread joy with every bite! Remember, it’s all about balance while indulging in these delicious creations.
FAQ Section
Got questions about this *sugar cookie icing recipe*? I’ve got you covered! Here are some common queries that come up:
- How can I make the icing thicker? If you want a thicker icing for piping, simply add more powdered sugar a tablespoon at a time until you reach your desired consistency. It should hold its shape beautifully!
- How long does the icing take to dry? Generally, the icing takes about 4-6 hours to dry completely, depending on the thickness. Just be patient; this helps prevent smudging!
- Can I make the icing in advance? Absolutely! You can prepare the icing up to a week ahead. Just store it in an airtight container in the fridge and give it a good stir with a splash of milk before using.
- What if my icing is too runny? If your icing turns out too runny, don’t panic! Just mix in a little more powdered sugar until it thickens up to your liking.
- Can I add flavors other than vanilla? Sure thing! Feel free to get creative by adding almond extract or lemon juice for a fun twist on flavor!

Sugar Cookie Icing Recipe: 4 Easy Steps to Fun
- Total Time: 10 minutes
- Yield: 2 cups 1x
- Diet: Vegetarian
Description
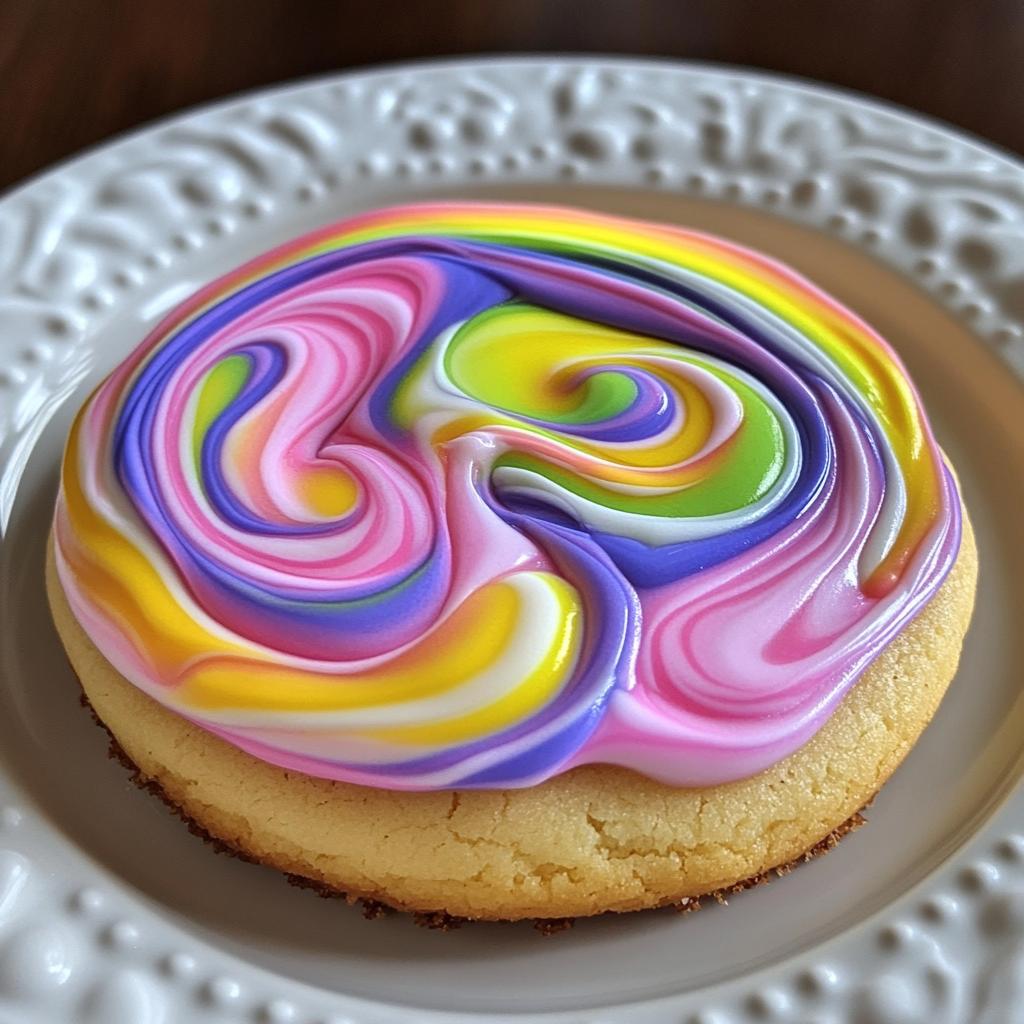
This sugar cookie icing recipe provides a smooth and sweet glaze perfect for decorating cookies.
Ingredients
- 2 cups powdered sugar
- 2 tablespoons milk
- 1 tablespoon light corn syrup
- 1 teaspoon vanilla extract
- Food coloring (optional)
Instructions
- In a bowl, mix powdered sugar, milk, corn syrup, and vanilla.
- Stir until the mixture is smooth.
- If desired, divide the icing and add food coloring.
- Use immediately to decorate cookies.
Notes
- Adjust the consistency with more milk for a thinner icing.
- Let the icing dry completely before stacking cookies.
- Store leftover icing in an airtight container.
- Prep Time: 10 minutes
- Cook Time: 0 minutes
- Category: Dessert
- Method: Mixing
- Cuisine: American
Nutrition
- Serving Size: 1 tablespoon
- Calories: 50
- Sugar: 12g
- Sodium: 0mg
- Fat: 0g
- Saturated Fat: 0g
- Unsaturated Fat: 0g
- Trans Fat: 0g
- Carbohydrates: 13g
- Fiber: 0g
- Protein: 0g
- Cholesterol: 0mg
Keywords: sugar cookie icing recipe


