
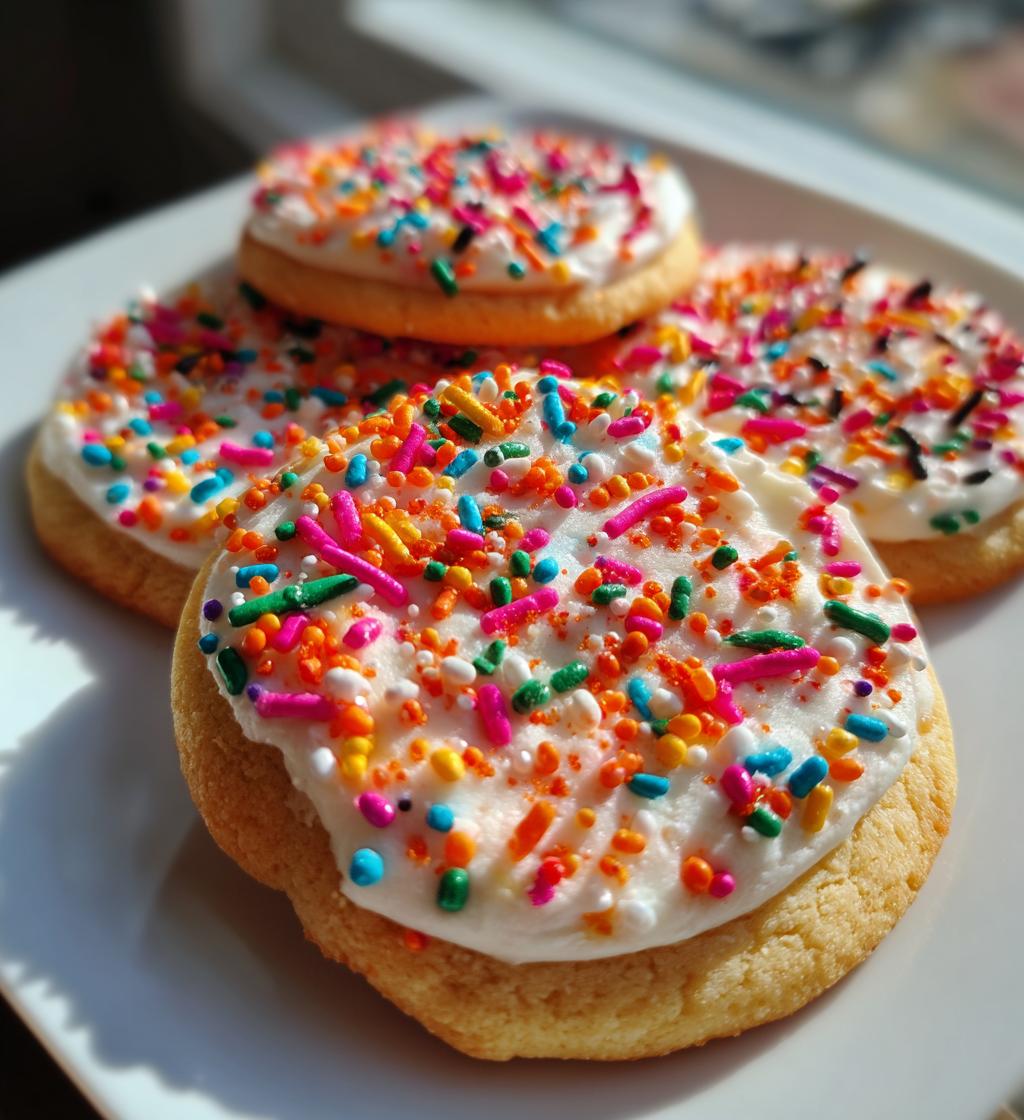
Spring is the perfect time to celebrate with colorful treats, and let me tell you, these *spring cookies decorated* with vibrant icing and delightful sprinkles are a must! They’re not just cookies; they’re little bursts of joy that brighten up any gathering. Whether you’re throwing a birthday party, hosting a baby shower, or just want to add a touch of festivity to your afternoon tea, these cookies fit the bill beautifully.
Imagine your loved ones’ faces lighting up as they bite into these sweet delights, each one uniquely decorated to match the cheerful spirit of the season. The best part? They’re super simple to make, so you can whip up a batch in no time and dive right into the decorating fun. Get ready to impress your friends and family with these eye-catching cookies that taste as good as they look!
Ingredients List
Gather these simple ingredients to make your *spring cookies decorated* come to life:
- 2 cups all-purpose flour
- 1 cup unsalted butter, softened to room temperature
- 1 cup granulated sugar
- 1 large egg
- 1 teaspoon vanilla extract
- 1 teaspoon baking powder
- 1/2 teaspoon salt
- 2 cups powdered sugar
- 2 tablespoons milk
- Food coloring (your choice of colors)
- Sprinkles (for that fun, festive touch!)
Having everything prepped and measured before you start will make the process so much smoother and more enjoyable. Trust me, it’s all about that organized kitchen vibe!
How to Prepare Spring Cookies Decorated
Now let’s dive into the fun part—making those *spring cookies decorated*! I promise, it’s not just baking; it’s a delightful experience that’ll fill your kitchen with sweet smells and colorful sights. Here’s how to do it step by step:
Step-by-Step Instructions
1. Preheat the oven: First things first, preheat your oven to 350°F (175°C). This ensures it’s nice and hot when you’re ready to bake and helps the cookies rise perfectly.
2. Cream the butter and sugar: In a large mixing bowl, cream together the softened unsalted butter and granulated sugar. Use a hand mixer or a sturdy wooden spoon until the mixture is light and fluffy—this usually takes about 3-5 minutes. You want it to look like whipped cream, so take your time with this step!
3. Add the egg and vanilla: Crack in the large egg and pour in the vanilla extract. Mix them in well until everything is combined and smooth. This is where the magic of flavor starts to happen!
4. Mix the dry ingredients: In another bowl, whisk together the all-purpose flour, baking powder, and salt. This helps to evenly distribute the baking powder and ensures your cookies rise nicely.
5. Combine the mixtures: Gradually add the dry ingredients to your wet mixture. I like to do this in three parts, mixing gently after each addition until everything is just combined. Be careful not to overmix; a few flour streaks are totally okay!
6. Shape the cookies: Roll the dough into balls about 1 inch in diameter and place them on a baking sheet lined with parchment paper. Make sure to leave some space between each cookie, as they’ll spread out a bit while baking.
7. Bake: Pop the cookies in your preheated oven and bake for 10-12 minutes. Keep an eye on them—you’re looking for lightly golden edges. They might look a bit soft in the center, but they’ll firm up as they cool.
8. Cool the cookies: Once baked, let the cookies cool on the baking sheet for about 5 minutes before transferring them to a wire rack. This helps them set perfectly and prevents breakage!
9. Make the icing: While the cookies are cooling, get your icing ready! In a separate bowl, mix the powdered sugar and milk until smooth. If it’s too thick, add a splash more milk. This will be your canvas for decoration!
10. Decorate: Add your favorite food coloring to the icing and mix until you achieve the desired shades. Grab a piping bag or a simple zip-top bag with the corner snipped off to pipe the icing onto your cooled cookies. Don’t forget to sprinkle on those fun sprinkles while the icing is still wet for that extra pop!
And there you have it! Your *spring cookies decorated* are ready to impress. Just remember, the best part is having fun while you create; so let your creativity shine through!
Nutritional Information
These *spring cookies decorated* are not just a treat for the eyes but also come with some nutritional information to keep in mind. Here’s a breakdown of the estimated values per cookie:
- Calories: 120
- Fat: 6g
- Saturated Fat: 4g
- Unsaturated Fat: 1g
- Trans Fat: 0g
- Carbohydrates: 15g
- Sugar: 10g
- Fiber: 0g
- Protein: 1g
- Cholesterol: 20mg
- Sodium: 50mg
Keep in mind that these values are estimates and can vary based on your specific ingredients and portion sizes. But hey, it’s all about enjoying those sweet moments, right?
Why You’ll Love This Recipe
- Quick and Easy: With just a short prep time of about 20 minutes, you can have these delightful cookies ready to bake in no time!
- Colorful Creations: The vibrant icing and fun sprinkles make these cookies eye-catching and perfect for brightening up any occasion.
- Customizable: You can easily switch up the colors and decorations to match any celebration—birthdays, holidays, or just a sunny spring afternoon!
- Fun for All Ages: Decorating these cookies is a great activity for kids and adults alike, making it a perfect family bonding experience.
- Deliciously Sweet: The combination of buttery cookies and sweet icing is simply irresistible and will have everyone coming back for more!
- Perfect for Gifting: These cookies make adorable gifts for friends and neighbors, wrapped up in a cute box or bag!
Tips for Success
To make sure your *spring cookies decorated* come out perfectly every time, I’ve got some handy tips that I swear by! Follow these, and you’ll be a cookie decorating pro in no time:
Chill the Dough
If you find the dough a bit sticky while rolling into balls, don’t hesitate to pop it in the fridge for about 30 minutes. This will firm it up and make handling it a breeze! Chilled dough also helps the cookies maintain their shape during baking.
Use Parchment Paper
Line your baking sheets with parchment paper. Not only does this prevent sticking, but it also provides a nice, even baking surface. Plus, clean-up becomes so much easier!
Don’t Overbake
Keep an eye on your cookies as they bake! It’s tempting to leave them in for just another minute, but trust me, they’ll continue to firm up after you take them out. Aim for lightly golden edges and a soft center for that perfect melt-in-your-mouth texture!
Let Them Cool Completely
Before you dive into decorating, make sure your cookies are completely cool. Otherwise, the icing will melt right off! I usually let them cool for at least 30 minutes on a wire rack to ensure they’re ready for their colorful makeover.
Get Creative with Decorations
When it comes to decorating, don’t hold back! Use different piping tips for various icing designs, and mix up your food coloring for a vibrant palette. You can even add edible glitter or themed sprinkles based on the occasion.
Practice Makes Perfect
If you’re new to decorating, don’t worry if your first few cookies aren’t Instagram-worthy! It’s all about having fun and expressing your creativity. The more you practice, the better you’ll get at those intricate designs.
Remember, the joy of making these *spring cookies decorated* comes not just from how they look, but from sharing them with loved ones. So, relax and enjoy the process!
Variations
One of the best parts about these *spring cookies decorated* is how versatile they are! You can easily switch things up to keep things fresh and exciting. Here are some fun variations to consider:
Flavor Twists
- Chocolate Chip Delight: Mix in a cup of chocolate chips to the dough for a decadent twist. The chocolate pairs wonderfully with the sweet icing!
- Citrus Zing: Add the zest of one lemon or orange to the dough for a refreshing citrus flavor. It adds a lovely brightness that’s perfect for spring!
- Almond Joy: Substitute a teaspoon of almond extract for the vanilla to give your cookies a delightful nutty flavor.
Alternative Decorations
- Royal Icing: For a more polished look, use royal icing instead of the powdered sugar icing. It dries hard and is perfect for intricate designs!
- Fresh Fruit Toppers: After icing, consider adding thin slices of strawberries, kiwi, or blueberries for a beautiful and tasty decorative touch.
- Chocolate Drizzle: Melt some chocolate and drizzle it over the iced cookies for a sophisticated flair and an extra layer of sweetness.
Themed Ideas
- Holiday Themes: For Easter, use pastel colors and add bunny or egg-shaped sprinkles. For Halloween, switch to orange and black icing with spooky decorations!
- Birthday Bash: Decorate with bright colors and fun sprinkles. You can even write names or messages on the cookies for a personal touch.
- Seasonal Variations: For summer, think tropical—add coconut flavoring and decorate with bright colors. In fall, use warm spices like cinnamon and nutmeg, and top with autumn leaves sprinkles.
With these variations, you can make your *spring cookies decorated* reflect any occasion or flavor preference. So, go ahead and let your creativity run wild! Happy baking!
Storage & Reheating Instructions
Now that you’ve created these delightful *spring cookies decorated*, you’ll want to make sure they stay fresh and delicious for as long as possible. Here’s how to store them properly and even how to reheat them, if needed!
Storing Your Cookies
Once your cookies are completely cool, it’s time to store them. Place them in an airtight container to keep them moist and flavorful. I like to layer the cookies between sheets of parchment paper to prevent them from sticking together, especially if you’ve gone wild with the icing and sprinkles!
Store the container at room temperature for up to a week. If you want to keep them longer, you can also freeze them! Just make sure to wrap each cookie individually in plastic wrap and then place them in a freezer-safe bag or container. They can last up to three months in the freezer. When you’re ready to enjoy them, simply take them out and let them sit at room temperature for about 30 minutes before decorating or serving.
Reheating Instructions
If you find yourself with leftover cookies that you want to enjoy warm, reheating them is a breeze! Preheat your oven to 300°F (150°C) and spread the cookies out on a baking sheet. Heat them for about 5-7 minutes, just until they’re warmed through. This method helps revive that fresh-baked taste without making them dry.
Avoid using the microwave, as it can make the cookies chewy rather than keeping that lovely texture we all love. Trust me, reheating in the oven is the way to go!
So, whether you’re saving them for later or enjoying a warm treat, following these storage and reheating tips will ensure your *spring cookies decorated* stay delightful and delicious!
Serving Suggestions
When it comes to presenting your *spring cookies decorated*, the possibilities are as delightful as the cookies themselves! Here are some fun ideas to make your cookie display truly shine:
Colorful Cookie Platters
Create a beautiful cookie platter by arranging your decorated cookies on a large, vibrant serving tray. Mix in some fresh fruit like strawberries, blueberries, or citrus slices for a pop of color and a refreshing contrast. Trust me, the bright colors will draw everyone in and make your cookies the star of the show!
Pair with Beverages
Consider serving your cookies alongside a selection of refreshing drinks. A sweet iced tea or lemonade complements the cookies perfectly. For a cozy gathering, a light tea or coffee can enhance the flavors and make for a lovely afternoon treat. You could even make a fun “cookie bar” with different drink options for guests to choose from!
Themed Decor
If you’re hosting a special event, think about matching your cookie display to the theme. For a spring brunch, use pastel-colored tablecloths and floral centerpieces. You can even place little cards next to each cookie with creative names or fun facts about the flavors. It adds a personal touch that your guests will appreciate!
Gift Boxes
These cookies make fantastic gifts! Package them in cute boxes or clear bags tied with colorful ribbons. You can even add a handwritten note or a small card with a sweet message. They’re perfect for giving to friends, family, or even neighbors during the spring season, making someone’s day a little sweeter!
Cookie Decorating Party
Why not turn serving your cookies into an interactive experience? Set up a cookie decorating station at your gathering where guests can add their own icing and sprinkles. Provide a variety of colors and toppings, and let everyone unleash their creativity! It’s a fun way to engage your guests and create lasting memories together.
Whichever way you choose to serve your *spring cookies decorated*, just remember that it’s all about sharing the joy of these sweet treats with those you love. Enjoy every bite and every smile they bring!
Print
Spring Cookies Decorated to Brighten Your Day: 10 Tips
- Total Time: 32 minutes
- Yield: 24 cookies 1x
- Diet: Vegetarian
Description
These spring cookies are decorated with colorful icing and sprinkles, perfect for any celebration.
Ingredients
- 2 cups all-purpose flour
- 1 cup unsalted butter, softened
- 1 cup granulated sugar
- 1 large egg
- 1 teaspoon vanilla extract
- 1 teaspoon baking powder
- 1/2 teaspoon salt
- 2 cups powdered sugar
- 2 tablespoons milk
- Food coloring
- Sprinkles
Instructions
- Preheat the oven to 350°F (175°C).
- In a bowl, cream together the butter and sugar until light and fluffy.
- Add the egg and vanilla extract, mixing well.
- In another bowl, whisk together the flour, baking powder, and salt.
- Gradually add the dry ingredients to the wet mixture until well combined.
- Roll the dough into balls and place them on a baking sheet.
- Bake for 10-12 minutes, or until the edges are lightly golden.
- Let cool completely before decorating.
- In a separate bowl, mix powdered sugar and milk to make icing.
- Add food coloring and decorate cookies as desired. Sprinkle with sprinkles.
Notes
- Store cookies in an airtight container.
- Use different colors for different occasions.
- Experiment with various sprinkles for added fun.
- Prep Time: 20 minutes
- Cook Time: 12 minutes
- Category: Dessert
- Method: Baking
- Cuisine: American
Nutrition
- Serving Size: 1 cookie
- Calories: 120
- Sugar: 10g
- Sodium: 50mg
- Fat: 6g
- Saturated Fat: 4g
- Unsaturated Fat: 1g
- Trans Fat: 0g
- Carbohydrates: 15g
- Fiber: 0g
- Protein: 1g
- Cholesterol: 20mg
Keywords: spring cookies, decorated cookies, festive cookies


