
Oh my goodness, let me tell you about the joy of making snow ice cream! There’s something magical about stepping outside on a snowy day, filling a bowl with fresh, fluffy snow, and turning it into a delightful treat. It’s like nature’s gift just waiting to be transformed into something sweet and satisfying. This *snow ice cream recipe easy* is not only quick, but it also requires just a few basic ingredients that you probably already have at home. Seriously, who knew snow could be so delicious? The best part? You can customize it however you like! So, grab your mittens, and let’s dive into this fun, nostalgic recipe that will have you reminiscing about childhood winters in no time!
Ingredients List
- 4 cups of fresh, clean snow
- 1 cup whole milk
- 1/2 cup granulated sugar
- 1 teaspoon pure vanilla extract
It’s super important to use fresh snow for the best flavor and texture, so make sure to gather it right after a snowfall. I like to go for the fluffy, powdery stuff, not the packed snow, which can get a bit icy. And when it comes to milk, whole milk gives the richest taste, but feel free to use your favorite milk alternative if you prefer! The sugar adds sweetness, but you can always adjust it to your liking. That splash of vanilla extract? It’s the secret touch that elevates this simple treat into something truly delightful!
How to Prepare the Snow Ice Cream Recipe Easy
Step 1: Gather Fresh Snow
Alright, let’s get started! First things first, you need to gather your fresh snow. Head outside right after a snowfall and find a clean spot to collect it—preferably away from any trees or pathways to avoid dirt and debris. I like to use a large, clean bowl to scoop up about 4 cups of that fluffy, powdery snow. Trust me, the more pristine the snow, the better your ice cream will taste! Don’t let it sit outside too long, or you’ll end up with a crunchy texture that’s not quite as fun. Aim for that light, airy snow that looks like it just fell from the sky!
Step 2: Mix Milk, Sugar, and Vanilla
Now that you have your snow, let’s whip up the creamy mixture! In a separate bowl, combine 1 cup of whole milk, 1/2 cup of granulated sugar, and 1 teaspoon of pure vanilla extract. I usually start by adding the sugar to the milk and giving it a good stir. You want to make sure that the sugar is fully dissolved before you move on, so give it a minute or two—no one likes a gritty ice cream! If you’re feeling fancy, you can even warm the milk slightly in the microwave to help the sugar dissolve quicker, but don’t overdo it; we want it cool enough to mix with the snow!
Step 3: Combine the Mixtures
Once your milk mixture is all set, it’s time for the fun part! Pour that sweet, creamy goodness right over the bowl of snow. Here’s a little tip: do this slowly and gently! You want to preserve the fluffy texture of the snow, so just pour it in and stir carefully. Use a spatula or a big spoon and gently fold the mixture into the snow. Be cautious not to over-mix it, or you’ll lose that delightful snow-like consistency. You’re aiming for a thick, creamy blend that still has some of that airy snow texture peeking through!
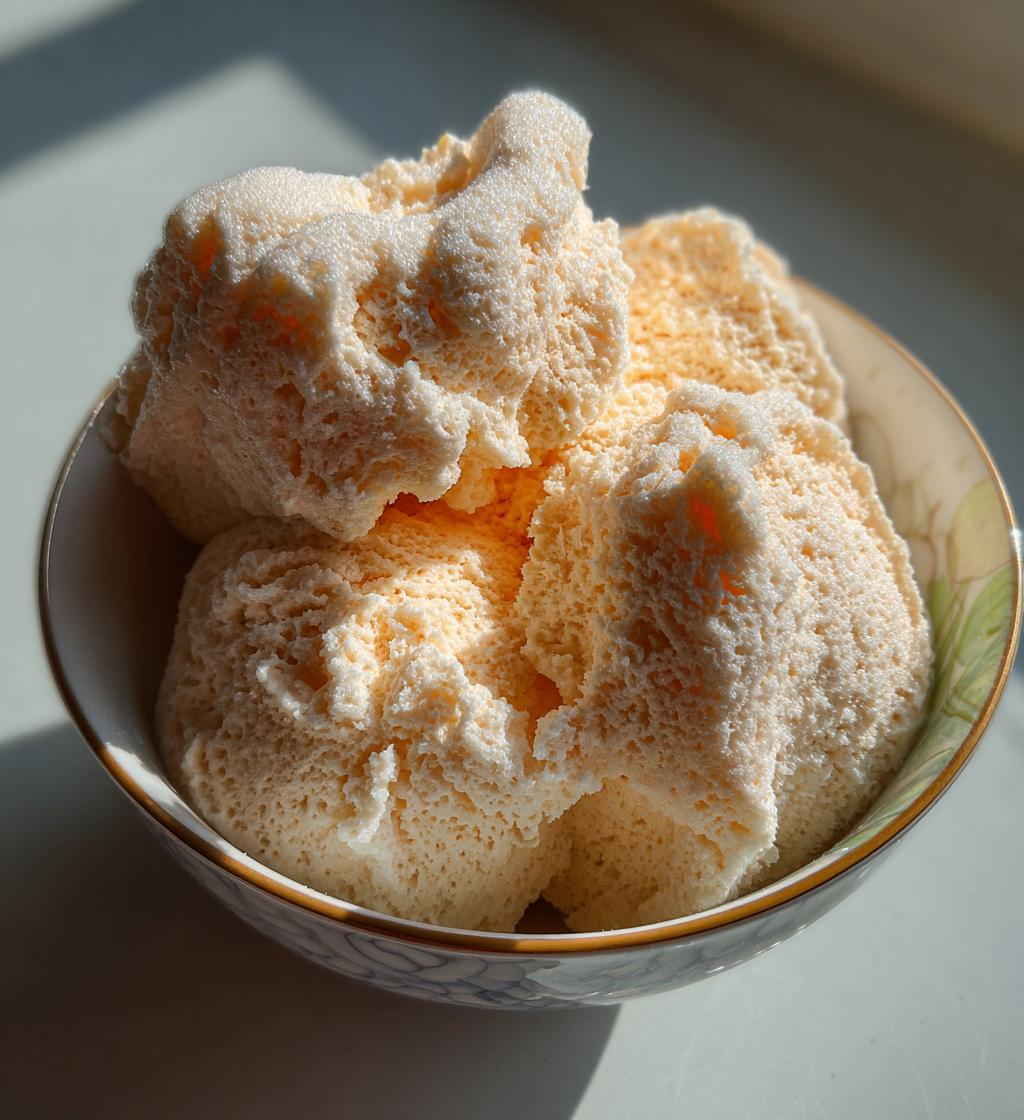
Step 4: Serve Immediately
And now, the moment we’ve all been waiting for: serving up this delicious snow ice cream! You’ll want to enjoy this treat right away for the best texture and flavor. Scoop it into bowls and get ready for a delightful taste of winter! If you wait too long, it might start to melt and lose that lovely fluffy texture. So, gather your friends or family around and dig in! It’s the perfect sweet surprise on a snowy day.
Tips for Success
Now that you’re all set to make your snow ice cream, here are some handy tips to ensure it turns out absolutely perfect each time!
- Adjusting Sugar Levels: Sweetness is subjective! If you find your snow ice cream a bit too sweet or not sweet enough, don’t hesitate to adjust the sugar to your taste. Start with the recommended amount, and then tweak it in small increments until it’s just right for you.
- Experiment with Flavors: The beauty of this recipe is how customizable it is! If you’re feeling adventurous, try adding some cocoa powder for a chocolatey twist. Just mix in about 2-3 tablespoons with the milk, and you’ll have a rich chocolate snow ice cream that’s hard to resist!
- Ensure the Best Snow Quality: Not all snow is created equal! Aim for fresh, fluffy snow that’s clean and powdery. Avoid any snow that’s yellowed or compacted, as that can affect both the taste and texture of your ice cream. If you can, gather snow from an untouched area away from roads and dirt.
- Go Wild with Toppings: Once you’ve created your snow ice cream, consider adding fun toppings! Sprinkles, chocolate chips, or even a drizzle of caramel or chocolate syrup can take your creation to the next level. It’s all about making it your own!
- Keep It Cold: If you’re making a big batch for a group, consider serving it in a chilled bowl to help maintain its icy texture while everyone digs in. Nothing beats that frosty feel on a snowy day!
With these tips in your back pocket, you’re all set to create an unforgettable snow ice cream experience. Enjoy every scoop!
Variations on the Snow Ice Cream Recipe Easy
The best part about this *snow ice cream recipe easy* is how versatile it is! You can take the basic ingredients and transform them into a variety of delicious flavors that suit your taste buds. Here are some fun variations to try out:
- Chocolate Snow Ice Cream: For all the chocolate lovers out there, simply add 2-3 tablespoons of cocoa powder to the milk mixture before pouring it over the snow. You’ll end up with a rich chocolatey treat that’s just to die for!
- Fruit Flavored Snow Ice Cream: Want to brighten up your snow ice cream? Try adding a splash of fruit juice or puree! For example, a couple of tablespoons of strawberry or blueberry puree mixed into the milk gives you a fruity explosion of flavor. You can even fold in some fresh fruit pieces for added texture!
- Coconut Snow Ice Cream: If you’re a coconut fan, swap out the whole milk for coconut milk and add a bit of shredded coconut to the mix. This will give your snow ice cream an exotic twist that tastes like a tropical vacation!
- Mint Chocolate Chip Snow Ice Cream: Add a few drops of peppermint extract to the milk mixture for a refreshing minty flavor. Once combined with the snow, fold in some mini chocolate chips for that classic mint chocolate chip experience.
- Nutty Snow Ice Cream: If you enjoy a bit of crunch, try mixing in chopped nuts like almonds or pecans into the final snow ice cream. Just be sure to add them gently so they don’t overpower the fluffy texture!
Feel free to get creative and experiment with your favorite flavors. Each variation makes this snowy treat even more exciting, so have fun with it! Whatever you choose, I promise it’ll be a delightful way to enjoy the winter wonderland around you.
Nutritional Information
Here’s a quick look at the estimated nutritional data for each serving of this delightful snow ice cream. Keep in mind that these values are approximate and can vary based on the specific ingredients you use, especially when it comes to milk and sugar. But this should give you a good idea!
- Calories: 150
- Fat: 5g
- Saturated Fat: 3g
- Trans Fat: 0g
- Cholesterol: 20mg
- Sodium: 100mg
- Carbohydrates: 24g
- Sugar: 22g
- Fiber: 0g
- Protein: 3g
This snow ice cream is a fun treat that’s perfect for sharing, so gather your loved ones and enjoy this sweet scoop of winter magic together! Just remember, it’s best eaten fresh to truly savor the fluffy texture and delightful flavors.
FAQ Section
Can I use store-bought snow?
Oh, I wish it were that easy! Unfortunately, store-bought snow isn’t a thing, and you really want to use fresh, clean snow for the best flavor and texture. The joy of this snow ice cream is in using the real stuff that comes straight from a snowy day!
What if I don’t have vanilla extract?
No worries at all! If you don’t have vanilla extract on hand, you can substitute it with almond extract for a different flavor twist or even skip it entirely if you’re in a pinch. Your snow ice cream will still taste delightful, just with a slightly different essence!
How do I store leftover snow ice cream?
Honestly, snow ice cream is best enjoyed fresh, so I don’t recommend storing it. But if you somehow have leftovers, you can put it in an airtight container and pop it in the freezer. Just keep in mind that it might lose its fluffy texture and turn a bit icy, so try to eat it as soon as you can!
Why You’ll Love This Recipe
This *snow ice cream recipe easy* isn’t just a fun treat; it comes with a bunch of awesome perks that make it perfect for everyone! Here’s why you’re going to love it:
- Quick Prep Time: With just 5 minutes to whip up this delightful dessert, it’s the perfect last-minute treat when the snow starts falling!
- Minimal Ingredients: You only need four simple ingredients that you probably already have in your kitchen. No complicated grocery lists here!
- Fun for All Ages: Whether you’re a kid or just a kid at heart, making snow ice cream is a fun activity that everyone can enjoy together. It’s a great way to create sweet memories on a snowy day!
- Customizable Flavors: You can easily tweak the recipe to suit your taste buds, making it a versatile treat. Want chocolate? Go for it! How about a fruity twist? Yes, please!
- Perfect for Snowy Days: There’s something wonderfully nostalgic about gathering fresh snow and turning it into a sweet treat, making it a delightful way to celebrate winter.
- Light and Refreshing: Unlike heavy desserts, this snow ice cream is light, airy, and refreshing, making it a perfect palate cleanser after a hearty winter meal.
With all these fantastic reasons, it’s hard not to love this quick and easy snow ice cream. So, grab your snow and let the fun begin!
Equipment Needed
Before you dive into making your snow ice cream, let’s make sure you have all the right tools on hand. Here’s what you’ll need to whip up this delightful treat:
- Large Mixing Bowl: You’ll need a big bowl to gather your fresh snow and mix your ingredients. A sturdy one works best to handle the fluffy snow!
- Measuring Cups: Precision is key, so grab your measuring cups for the milk, sugar, and snow. It helps to be exact for the perfect texture!
- Measuring Spoon: A tablespoon or teaspoon measuring spoon is essential for measuring out the vanilla extract. Every little bit counts in this recipe!
- Mixing Spoon or Spatula: You’ll want a sturdy spoon or spatula to mix the milk mixture into the snow gently. This will help you achieve that perfect creamy consistency!
- Serving Bowls: Don’t forget small bowls for serving the snow ice cream! It’s always nice to have a pretty dish to showcase your snowy creation.
With these simple tools, you’re all set to create a delicious batch of snow ice cream that will bring smiles to everyone’s faces. Let’s get started!
Print
snow ice cream recipe easy: 5 Steps to Winter Bliss
- Total Time: 5 minutes
- Yield: 4 servings 1x
- Diet: Vegetarian
Description
A simple recipe to make snow ice cream using fresh snow and basic ingredients.
Ingredients
- 4 cups fresh snow
- 1 cup milk
- 1/2 cup sugar
- 1 teaspoon vanilla extract
Instructions
- Gather fresh snow in a large bowl.
- In a separate bowl, mix milk, sugar, and vanilla extract until sugar dissolves.
- Pour the milk mixture over the snow.
- Stir gently until combined.
- Serve immediately and enjoy.
Notes
- Use clean, white snow for best results.
- Adjust sugar to taste.
- Add cocoa powder for chocolate flavor.
- Prep Time: 5 minutes
- Cook Time: 0 minutes
- Category: Dessert
- Method: No-cook
- Cuisine: American
Nutrition
- Serving Size: 1 cup
- Calories: 150
- Sugar: 22g
- Sodium: 100mg
- Fat: 5g
- Saturated Fat: 3g
- Unsaturated Fat: 0g
- Trans Fat: 0g
- Carbohydrates: 24g
- Fiber: 0g
- Protein: 3g
- Cholesterol: 20mg
Keywords: snow ice cream recipe easy


