
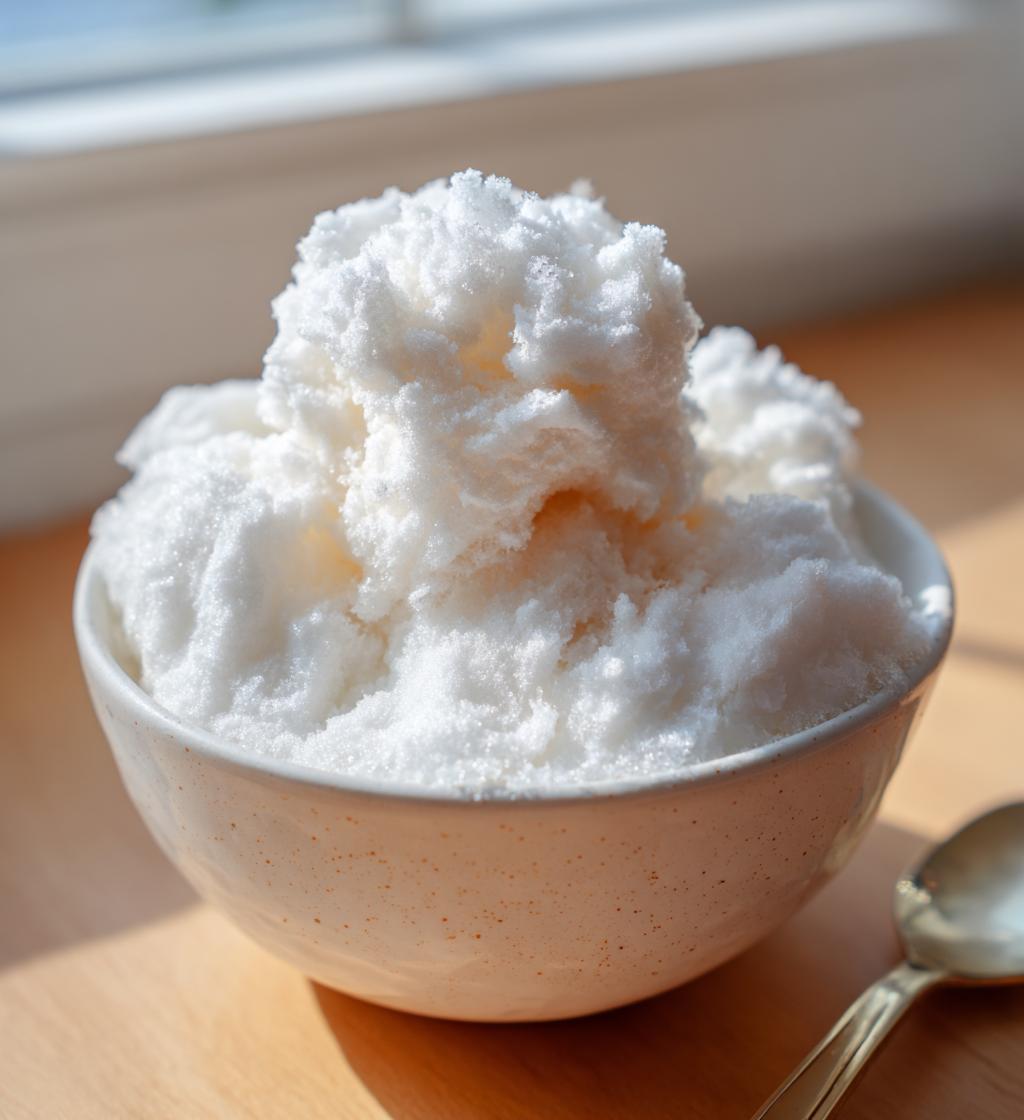
Ah, snow ice cream! Just the thought of it brings back memories of chilly winter days filled with laughter and excitement. There’s something magical about whipping up this delightful treat using nothing but fresh snow, a bit of milk, sugar, and vanilla. It’s a recipe that’s as simple as it is delicious, making it a perfect way to savor the enchanting beauty of a snowy day. I remember the first time I made it with my friends—gathering clean, white snow and mixing it up in a big bowl, the sweet aroma of vanilla filling the air. It felt like a secret treasure, something so easy yet so special. Honestly, who doesn’t love a frozen dessert that takes just minutes to prepare? Plus, it’s a fantastic way to embrace the winter season! Trust me, once you taste this creamy, fluffy snow ice cream, you’ll want to share the joy with everyone. So grab your mittens and let’s make this childhood favorite come alive again!
Ingredients List
- Fresh snow – 8 cups (Make sure it’s clean and white; this is key for the best flavor!)
- Milk – 1 cup (You can use whole milk or any type you prefer; just avoid anything too watery!)
- Sugar – 1/2 cup (This can be adjusted based on your taste preference; sweeter is always better, right?)
- Vanilla extract – 1 tsp (Go for pure vanilla extract if you can; it makes a world of difference!)
How to Prepare Snow Ice Cream
Making snow ice cream is as easy as building a snowman, and trust me, you’re going to love how simple it is! Just follow these steps, and you’ll have a delightful frozen treat in no time.
Step 1: Gather Fresh Snow
First things first—get outside and collect your fresh snow! You’ll want about 8 cups, so grab a big bowl. Make sure to scoop snow that’s clean and white, away from any dirt, leaves, or footprints. I like to stick to the areas where the snow is fluffy and untouched. If you’re unsure, just look for the freshest patches. Remember, this is the star ingredient, so don’t skimp on quality!
Step 2: Combine Ingredients
Once you’ve got your bowl filled with that beautiful snow, it’s time to mix in the other ingredients. Pour in 1 cup of milk, then sprinkle in 1/2 cup of sugar and 1 teaspoon of vanilla extract. I promise, the smell of vanilla will make you even more excited! At this stage, it’s crucial to add these ingredients gently. You want to enhance the snow’s flavor without turning it into a slushy mess!
Step 3: Mix Gently
Now comes the fun part! Grab a large spoon and carefully mix everything together. I like to fold the snow into the milk mixture, almost like you’re folding a fluffy omelet. This keeps the texture light and airy, which is what we want! Be gentle here—over-mixing will make your snow ice cream dense and not nearly as delightful. You should see those lovely, fluffy snowflakes getting coated in a creamy mixture!
Step 4: Serve Immediately
Once everything is nicely mixed, it’s showtime! Serve your snow ice cream right away to enjoy its perfect texture and flavor. Scoop it into bowls and watch everyone’s faces light up with joy. This treat is best when it’s fresh, so don’t wait too long—dig in and savor every bite of winter magic!
Nutritional Information
Before you indulge in this delightful snow ice cream, here’s a quick look at the estimated nutritional information per serving. Keep in mind these values can vary based on the specific ingredients you use, but they give you a good idea of what to expect:
- Calories: 120
- Fat: 3g
- Saturated Fat: 2g
- Unsaturated Fat: 0g
- Trans Fat: 0g
- Cholesterol: 10mg
- Sodium: 50mg
- Carbohydrates: 20g
- Fiber: 0g
- Sugar: 20g
- Protein: 3g
This snow ice cream is a fun, sweet treat that’s perfect for those chilly days, and it won’t weigh you down. Enjoy it guilt-free, but remember, these numbers are just estimates. Happy indulging!
Why You’ll Love This Recipe
- Quick Preparation: You can whip up this snow ice cream in just 10 minutes! It’s the perfect treat for spontaneous winter fun.
- Simple Ingredients: With only four ingredients, it’s so easy to gather what you need. Chances are, you already have milk and sugar on hand!
- Delightful Taste: The combination of fresh snow, creamy milk, and a hint of vanilla creates a heavenly, sweet flavor that’s hard to resist.
- Fun Winter Activity: Making snow ice cream is a fantastic way to embrace the winter season. Kids and adults alike will love the magic of creating this treat!
- Customizable: You can easily tweak the flavors or add extras like cocoa powder or fruit to make it your own!
Tips for Success
To ensure your snow ice cream turns out absolutely perfect, here are some pro tips that I swear by. Trust me, these little pointers can make a big difference!
- Use the Freshest Snow: Always aim for the cleanest, fluffiest snow you can find! Avoid snow that’s yellow or has any debris. Fresh, white snow gives the best flavor and texture.
- Check the Temperature: If it’s too warm outside, the snow might start to melt before you can mix it. Try to make your snow ice cream on a chilly day, or gather the snow and mix it quickly indoors!
- Adjust the Sugar: Don’t hesitate to tweak the sugar based on your taste preference. If you love it sweeter, go ahead and add a bit more sugar. You can always start with the suggested amount and taste as you go!
- Mix Gently: Remember to be gentle when mixing! Over-mixing can lead to a dense texture, so fold the ingredients together carefully to maintain that light, fluffy feel.
- Serve Immediately: This treat is at its best when served fresh. So, don’t let it sit out too long before enjoying! Gather your friends and family, and dive in while it’s still fluffy and cold!
With these tips, you’ll be well on your way to creating the most delightful snow ice cream that everyone will love. Enjoy the process and the sweet taste of winter!
Variations
One of the best parts about making snow ice cream is how easy it is to customize! Here are some fun ideas to switch things up and create your own unique flavors:
- Chocolate Snow Ice Cream: If you’re a chocolate lover like me, try adding a few tablespoons of cocoa powder to the mix. It gives the snow ice cream a rich, chocolatey flavor that’s simply irresistible!
- Minty Fresh: For a refreshing twist, add a few drops of peppermint extract instead of vanilla. It’s like having a wintery mint chocolate chip experience in every bite!
- Fruit Flavors: Consider mixing in a splash of fruit juice or puree, like strawberry or raspberry, for a fruity version. It adds a lovely color and delicious tartness to the treat.
- Coconut Delight: Swap out the milk for coconut milk to give your snow ice cream a tropical flair. A sprinkle of shredded coconut can add extra texture and flavor, making it feel like a mini paradise!
- Spiced Snow Ice Cream: Add a pinch of cinnamon or nutmeg to the mix for a warm, cozy flavor. These spices can make your snow ice cream feel like a comforting dessert on a chilly day.
Feel free to get creative and experiment with whatever flavors you love! Each variation brings a new twist to this nostalgic treat, allowing you to enjoy snow ice cream in countless delicious ways. Have fun mixing and matching, and don’t forget to share your creations with family and friends!
Serving Suggestions
Now that you’ve whipped up a delicious batch of snow ice cream, let’s talk about how to make it even more delightful! Here are some fun serving suggestions that will elevate your winter treat and impress your family and friends:
- Fresh Fruit: Serve your snow ice cream alongside a colorful assortment of fresh fruits like strawberries, blueberries, or sliced bananas. The sweetness of the fruit pairs perfectly with the creamy texture of the snow ice cream, creating a refreshing contrast.
- Warm Desserts: How about setting up a cozy dessert station? Warm brownies or chocolate chip cookies make for a fantastic pairing with snow ice cream. The contrast of warm and cold is simply irresistible!
- Chocolate Sauce: Drizzle some rich chocolate sauce over the top of your snow ice cream for an extra indulgent treat. You can even make your own by melting chocolate with a little cream for a luxurious touch!
- Whipped Cream: A dollop of freshly whipped cream can take your snow ice cream to a whole new level. It adds a light, fluffy texture that complements the icy treat beautifully.
- Sprinkles or Nuts: Offer a variety of toppings like colorful sprinkles, crushed nuts, or even toasted coconut. Let everyone customize their snow ice cream to their liking for a fun and interactive dessert experience!
These serving suggestions will not only enhance the flavors of your snow ice cream but also create a festive atmosphere that everyone will enjoy. So gather around, dig in, and have a blast celebrating winter with these delightful pairings!
Storage & Reheating Instructions
Now, here’s the thing—snow ice cream is one of those magical treats that’s best enjoyed fresh. Once it’s made, it’s at its absolute peak of fluffiness and flavor. But if you find yourself with any leftovers (though I doubt it!), here’s how to handle them:
First off, if you do have some snow ice cream left, transfer it into an airtight container. Make sure to seal it tightly to prevent any freezer odors from sneaking in. You can pop it in the freezer for a short time, but keep in mind that the texture will change. It may become icy instead of fluffy, so it’s best to consume it as soon as possible.
When you’re ready to enjoy your leftover snow ice cream, give it a few minutes at room temperature to soften slightly before serving. This will help restore some of that creamy goodness. But honestly, I recommend making this treat in small batches so you can savor every single bite fresh from the bowl! There’s just nothing quite like the experience of enjoying homemade snow ice cream right after it’s made, with all its delightful lightness and flavor intact.
Leave a Comment
I’d love to hear from you! Have you ever made snow ice cream? What was your experience like? Did you gather fresh snow from your backyard or maybe a nearby park? Share your stories, tips, or any fun variations you tried! I’m always on the lookout for new ideas to make this delightful treat even better.
Feel free to drop a comment below and let’s keep the conversation going! Whether you have a question about the recipe or just want to share your excitement about this winter wonder, I’m all ears. Plus, your insights might inspire others to dive into this nostalgic dessert. Can’t wait to read what you have to say!
Print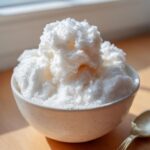
snow ice cream: 7 Magical Steps to Winter Bliss
- Total Time: 10 minutes
- Yield: 4 servings
- Diet: Vegetarian
Description
Snow ice cream is a simple and delicious treat made from fresh snow, sugar, and vanilla.
Ingredients
- Fresh snow – 8 cups
- Milk – 1 cup
- Sugar – 1/2 cup
- Vanilla extract – 1 tsp
Instructions
- Gather fresh snow in a large bowl.
- Add milk, sugar, and vanilla extract to the snow.
- Mix gently until the ingredients are combined.
- Scoop into bowls and serve immediately.
Notes
- Use clean, white snow for the best flavor.
- Adjust sugar based on your taste preference.
- Consume immediately for optimal texture.
- Prep Time: 10 minutes
- Cook Time: 0 minutes
- Category: Dessert
- Method: No-cook
- Cuisine: American
Nutrition
- Serving Size: 1 serving
- Calories: 120
- Sugar: 20g
- Sodium: 50mg
- Fat: 3g
- Saturated Fat: 2g
- Unsaturated Fat: 0g
- Trans Fat: 0g
- Carbohydrates: 20g
- Fiber: 0g
- Protein: 3g
- Cholesterol: 10mg
Keywords: snow ice cream, dessert, frozen treat


