
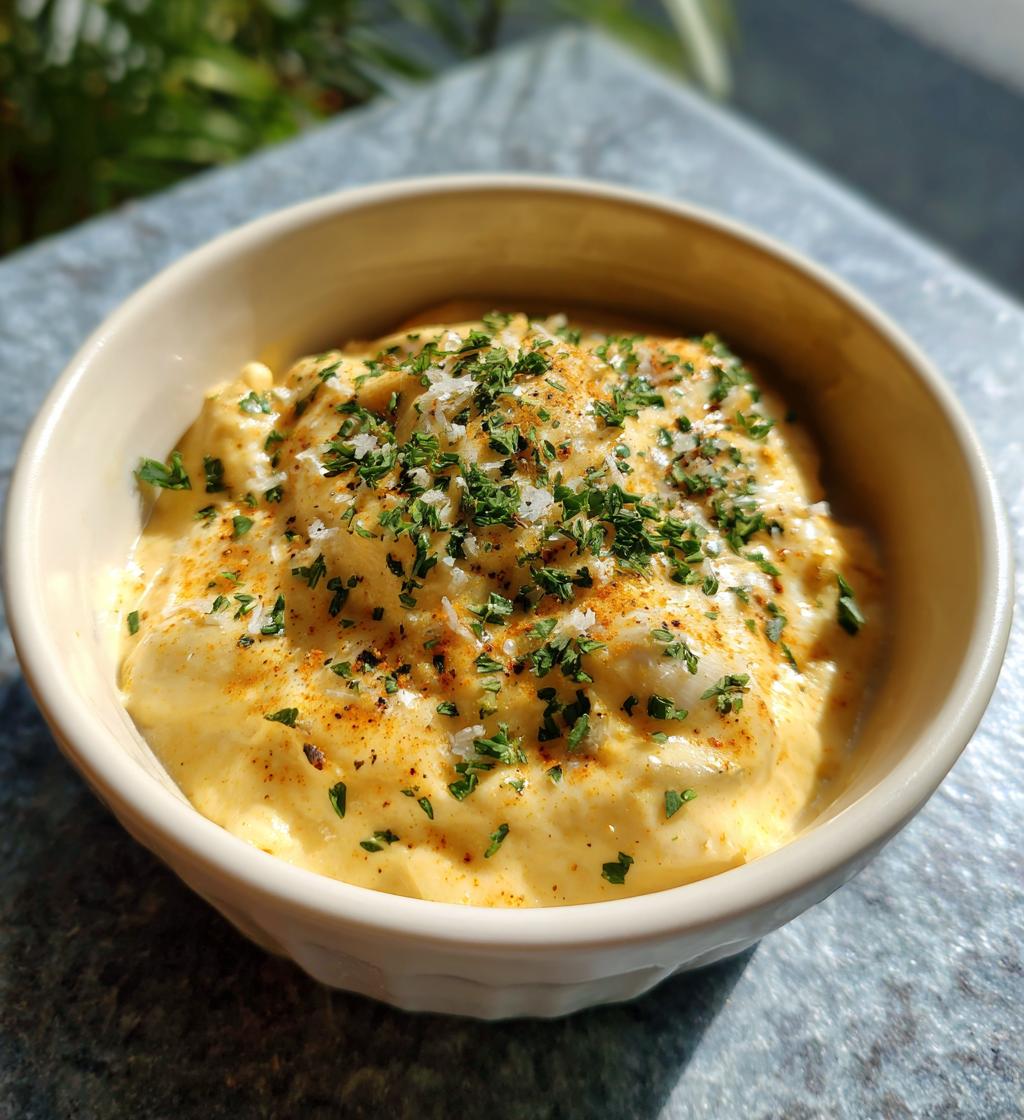
Oh, homemade sauces are truly my jam! There’s something magical about whipping up a batch of aioli that just lights up my kitchen. The creamy goodness, the rich flavors—it’s like a little culinary hug. And let me tell you, this roasted garlic aioli recipe is a game changer. Whether you’re dipping crispy fries, slathering it on a sandwich, or pairing it with fresh veggies, this aioli adds a delicious twist that elevates any meal. I love how the roasting process brings out the sweetness of the garlic, giving it a mellow, buttery flavor that’s simply irresistible. Plus, it’s super easy to make! So grab your ingredients, and let’s dive into this flavorful adventure together!
Ingredients List
Gathering your ingredients for this roasted garlic aioli recipe is the first step to creating something truly delicious! Here’s what you’ll need:
- 1 cup mayonnaise: This creamy base is essential for that rich texture. I always go for a good quality mayonnaise to ensure the best flavor.
- 1 head of garlic: We’re roasting this beauty to bring out its sweet, caramelized goodness. Make sure it’s fresh for the best results!
- 2 tablespoons lemon juice: Freshly squeezed, if possible! The bright acidity cuts through the richness and balances the flavors beautifully.
- 1 teaspoon Dijon mustard: This adds a subtle tang and depth of flavor that pairs wonderfully with the roasted garlic.
- Salt to taste: A little sprinkle enhances all those delicious flavors, so taste as you go!
These simple ingredients come together to create a versatile aioli that you’ll want to slather on everything!
How to Prepare the Roasted Garlic Aioli Recipe
Now that we have our ingredients ready, let’s dive into the magic of making this roasted garlic aioli. Trust me, the process is as enjoyable as the final product!
Prepping the Garlic
First things first: let’s get that garlic ready for roasting! Take a whole head of garlic and slice off the top (about half an inch or so) to expose those lovely cloves. Don’t worry about being perfect; just get them open enough to let the goodness out! Drizzle a bit of olive oil over the exposed cloves—this will help them caramelize beautifully. Then, wrap the garlic head snugly in aluminum foil. It’s like giving it a cozy blanket for the oven!
Pop that wrapped garlic into a preheated oven at 400°F (200°C) for about 30-35 minutes. The kitchen will start to smell amazing! You’ll know it’s done when the cloves are soft and golden brown. Once it’s out, let it cool for a few minutes before handling. When it’s cool enough to touch, squeeze those cloves right out of their skins into a bowl. You’ll end up with this luscious, sweet roasted garlic that’s just begging to be mixed into our aioli!
Mixing the Ingredients
Now for the fun part! In that bowl with your roasted garlic, add in 1 cup of mayonnaise, 2 tablespoons of freshly squeezed lemon juice, and 1 teaspoon of Dijon mustard. You’re going to want to mash everything together well. I like to use a fork for this—it gives me a good grip on those garlic cloves, ensuring they get fully incorporated into the mixture.
Keep mashing and mixing until you have a smooth, creamy consistency. It might take a minute, but don’t rush! The goal is to blend all those flavors together into a harmonious sauce. Once it’s looking good, give it a taste. I can’t stress enough how important this step is! If it feels like it needs a little something, sprinkle in some salt to enhance those flavors, and stir well.
Adjusting Flavor
Alright, now that you’ve got that base down, it’s time for the final touches! Taste it again—what do you think? Does it need a bit more zing? Maybe a touch more lemon juice? You can also toss in some fresh herbs like parsley or chives for an extra layer of flavor. I love adding a bit of fresh dill too; it adds a delightful freshness that pairs beautifully with the roasted garlic.
Just remember, this aioli is all about your personal touch. Adjust the seasoning to your liking, and don’t be afraid to experiment a little! Once you’ve got it just right, you’re ready to serve this creamy delight with all your favorite dishes. Enjoy every dip and spread!
Why You’ll Love This Recipe
This roasted garlic aioli recipe is truly a treasure in my kitchen, and here’s why you’ll adore it too:
- Incredible Flavor: The sweet, roasted garlic combined with creamy mayonnaise creates a flavor explosion that’s simply irresistible!
- Versatile Uses: Whether you’re dipping fries, dressing up a sandwich, or drizzling over grilled veggies, this aioli is perfect for so many dishes.
- Easy to Make: With just a few simple ingredients and minimal prep, you’ll have a gourmet sauce ready in no time!
- Customizable: Feel free to add your favorite herbs or spices to make it uniquely yours. It’s all about personalizing the flavors!
- Make Ahead: You can whip this up in advance and store it in the fridge, making it a great option for meal prep or entertaining.
Trust me; once you try this aioli, you’ll find yourself reaching for it again and again!
Tips for Success
To truly nail this roasted garlic aioli recipe, I’ve got some pro tips that will elevate your game!
- Select the right garlic: Choose a firm head of garlic with tight skin; it’ll roast beautifully and give you that rich flavor we crave.
- Roasting time matters: Keep an eye on your garlic while it roasts. If it starts to look too dark, it can turn bitter, so you want that perfect golden brown.
- Storage is key: Store your aioli in an airtight container in the fridge for up to a week. Just make sure to give it a good stir before using, as it may separate a bit!
- Flavor variations: Don’t hesitate to experiment! Add a pinch of smoked paprika for a kick or a splash of hot sauce for some heat. Fresh herbs like basil or cilantro can also bring a fresh twist!
With these tips, you’ll be well on your way to making a roasted garlic aioli that’s absolutely unforgettable!
Nutritional Information Section
Let’s talk numbers! This roasted garlic aioli recipe is not only delicious but also fairly straightforward when it comes to nutritional values. Here’s an estimated breakdown per serving (about 2 tablespoons):
- Calories: 100
- Fat: 10g
- Saturated Fat: 1g
- Unsaturated Fat: 9g
- Cholesterol: 5mg
- Carbohydrates: 1g
- Protein: 0g
- Sugar: 0g
- Sodium: 150mg
Keep in mind that these values can vary based on the specific brands of ingredients you use. It’s always a good idea to check your labels for the most accurate information!
FAQ Section
Can I use raw garlic instead?
Oh, you can definitely use raw garlic, but let me warn you—it packs a punch! Raw garlic has a much sharper, more intense flavor compared to the sweet, mellow notes of roasted garlic. If you’re looking for that creamy, buttery richness that roasted garlic brings, I highly recommend sticking to the roasted version. But if you love the bite of raw garlic, you can add a clove or two to the aioli for a unique twist. Just remember, a little goes a long way!
How long can I store this aioli?
This roasted garlic aioli is a keeper! You can store it in an airtight container in the fridge for up to one week. Just be sure to give it a good stir before using, as it might separate a bit in the fridge. If you find yourself with leftovers, consider using it in different ways to keep things exciting—like mixing it into pasta or using it as a dressing for salads!
What can I serve with roasted garlic aioli?
The possibilities are endless! This aioli is fantastic as a dip for crispy fries or sweet potato wedges. It really shines on sandwiches, adding that perfect creaminess to a turkey or veggie stack. I also love serving it with fresh veggies for a colorful platter—carrots, bell peppers, and cucumbers are all great choices! And if you’re feeling adventurous, drizzle it over grilled meats or fish for a flavor boost. Trust me; you’ll want to spread this on everything!
Storage & Reheating Instructions
Storing your roasted garlic aioli is super easy! Just transfer it into an airtight container and pop it in the fridge. It’ll stay fresh for up to a week, so you can enjoy it all week long. Just give it a good stir before using, as it might separate a bit while sitting. If you find that it’s a little too thick after chilling, feel free to whisk in a tiny bit of warm water or extra lemon juice to loosen it up—just a drop at a time!
As for reheating, you actually don’t need to heat aioli at all! It’s best served cold or at room temperature. If you’ve used it in a dish that needs warming, like a pasta, just toss it in off the heat to keep that creamy texture intact. Trust me, this roasted garlic aioli is best enjoyed fresh, so you’ll be reaching for it again and again!
Final Thoughts
I can’t wait for you to try this roasted garlic aioli recipe! It’s such a simple yet delicious addition to any meal, and I promise it’ll become a staple in your kitchen, just like it has in mine. Don’t forget to have fun with it—experiment with flavors and make it your own! I’d love to hear about your experiences and any personal twists you put on this recipe. So, roll up your sleeves, get roasting, and enjoy every creamy, garlicky bite!
Print
Roasted Garlic Aioli Recipe: 5 Irresistible Flavor Tips
- Total Time: 45 minutes
- Yield: 1 cup 1x
- Diet: Vegetarian
Description
A creamy and flavorful roasted garlic aioli that’s perfect for dipping or spreading.
Ingredients
- 1 cup mayonnaise
- 1 head of garlic
- 2 tablespoons lemon juice
- 1 teaspoon Dijon mustard
- Salt to taste
Instructions
- Preheat your oven to 400°F (200°C).
- Slice the top off the head of garlic and drizzle with olive oil.
- Wrap the garlic in foil and roast for 30-35 minutes until soft.
- Let the garlic cool, then squeeze the cloves into a bowl.
- Add mayonnaise, lemon juice, Dijon mustard, and salt to the bowl.
- Mash and mix until smooth.
- Adjust seasoning to taste.
- Serve with your favorite dishes.
Notes
- Store in the fridge for up to one week.
- Can be used as a sandwich spread.
- Add herbs for extra flavor.
- Prep Time: 10 minutes
- Cook Time: 35 minutes
- Category: Sauce
- Method: Roasting
- Cuisine: Mediterranean
Nutrition
- Serving Size: 2 tablespoons
- Calories: 100
- Sugar: 0g
- Sodium: 150mg
- Fat: 10g
- Saturated Fat: 1g
- Unsaturated Fat: 9g
- Trans Fat: 0g
- Carbohydrates: 1g
- Fiber: 0g
- Protein: 0g
- Cholesterol: 5mg
Keywords: roasted garlic aioli recipe


