
Oh my goodness, let me tell you about the first time I made these Oreo cheesecake balls – they disappeared faster than I could say “dessert table!” I was hosting my niece’s birthday party and needed something quick, no-bake, and guaranteed to make both kids and adults go wild. These little chocolate-covered bites were the answer. The moment I set them out, they vanished in minutes with everyone begging for the recipe.
What I love most is how ridiculously simple they are – just Oreos, cream cheese, and chocolate come together to create magic. No oven required, just some mixing, rolling, and dipping. They’re perfect for when you need an impressive treat without the fuss. Trust me, once you try these Oreo cheesecake balls, they’ll become your go-to for every potluck, holiday gathering, or just when that sweet tooth hits hard!
Why You’ll Love These Oreo Cheesecake Balls
Let me count the ways these little bites will steal your heart (and probably your willpower)! First off, they’re no-bake magic – no heating up the kitchen or worrying about over-baking. Just mix, roll, dip, and you’re done. Perfect for when you’re craving something sweet but don’t want to turn on the oven.
They’re also ridiculously easy with just three main ingredients. I’ve made these half-asleep at midnight (don’t judge) and they still came out perfect. Plus, they’re party superstars – I always bring a double batch because they disappear faster than you can say “cheesecake.” And here’s the kicker: kids go absolutely wild for them while adults think they’re fancy enough for dinner parties. Win-win!
Ingredients for Oreo Cheesecake Balls
Gather these simple ingredients – trust me, you probably have most in your pantry already! The magic happens with:
- 20 Oreo cookies (yes, the whole cookie – cream filling included!)
- 8 oz cream cheese, softened to room temperature (this is crucial for smooth mixing)
- 1 cup semi-sweet chocolate chips (I like Ghirardelli, but any good quality brand works)
- 1 tsp coconut oil (optional but makes the chocolate dip so much smoother)
- 1/4 cup crushed Oreos (for that gorgeous cookie crumb topping)
That’s it! Five ingredients for bite-sized bliss. Now let’s turn them into something magical.
Equipment You’ll Need
Don’t worry – you won’t need any fancy gadgets for these Oreo cheesecake balls! Just grab:
- A mixing bowl (I use my favorite ceramic one)
- Baking tray lined with parchment paper
- Freezer-safe container for chilling
- Microwave-safe bowl for melting chocolate
That’s seriously all you need – plus maybe a fork for dipping and some happy taste buds waiting to enjoy the results!
How to Make Oreo Cheesecake Balls
Okay, let’s turn those simple ingredients into irresistible treats! Follow these steps and you’ll have perfect Oreo cheesecake balls in no time. Trust me, it’s easier than you think – just don’t eat all the mixture before it makes it to the chocolate coating (I speak from experience).
Step 1: Crush the Oreos
First things first – let’s turn those Oreos into beautiful crumbs. I like to toss them in a zip-top bag and crush them with a rolling pin until they’re super fine. No big chunks here! You want them almost powder-like so they’ll mix evenly with the cream cheese. Pro tip: if you’ve got a food processor, pulse them about 10 times for perfect crumbs in seconds.
Step 2: Mix with Cream Cheese
Now for the magic! Dump those gorgeous crumbs into your mixing bowl with the softened cream cheese. And I mean really softened – leave it out for at least 30 minutes so it blends smoothly. Use a sturdy spoon to mix them together until you’ve got a uniform, slightly sticky dough. You’ll know it’s ready when there are no white streaks left.
Step 3: Shape and Freeze
Time to get your hands dirty! Scoop about a tablespoon of the mixture and roll it between your palms into smooth balls. I aim for about 1-inch diameter – small enough to pop in your mouth, big enough to satisfy. Pop them on your lined baking tray and into the freezer they go for a solid 30 minutes. This chilling step is crucial – it firms them up so they won’t fall apart during dipping!
Step 4: Melt the Chocolate
While your balls are chilling, let’s melt that chocolate. Combine the chocolate chips with the coconut oil in your microwave-safe bowl and zap in 30-second bursts, stirring between each. The coconut oil makes the chocolate silkier and easier to work with. When it’s about 90% melted with just a few lumps, keep stirring off-heat – the residual heat will finish the job perfectly.
Step 5: Coat and Decorate
The fun part! Grab your chilled balls and dip them one at a time into the chocolate using a fork. Let the excess drip off, then gently place them back on the tray. Immediately sprinkle with those reserved crushed Oreos – the chocolate sets quickly! If you’re feeling fancy, drizzle some extra melted chocolate on top. Then just let them set at room temp (or pop them back in the fridge if you’re impatient like me).
Tips for Perfect Oreo Cheesecake Balls
After making these dozens of times (okay, maybe hundreds), I’ve picked up some tricks! First, chill your hands by running them under cold water before rolling – the dough won’t stick as much. For dipping, a fork works great, but sometimes I use a toothpick for more control. When storing, layer them between parchment paper so they don’t stick together. Oh, and if your chocolate starts thickening while dipping, just give it another quick zap in the microwave – works like a charm!
Variations for Oreo Cheesecake Balls
Oh, the possibilities! Once you’ve mastered the classic version, try these fun twists: swap semi-sweet chocolate for white chocolate (so pretty!), use mint Oreos for a cool twist, or roll them in colorful sprinkles for birthdays. My neighbor swears by adding a teaspoon of instant coffee to the chocolate – gives it this amazing mocha kick that adults go crazy for!
Serving and Storing Oreo Cheesecake Balls
Here’s the best part – these little beauties taste even better chilled! I always serve them straight from the fridge where they’ve got that perfect firm-yet-creamy texture. For parties, arrange them on a pretty platter – they’ll stay perfect at room temp for about an hour before getting too soft.
Storage is a breeze – just pop them in an airtight container with parchment between layers. They’ll keep happily in the fridge for up to 5 days (if they last that long!). Want to get ahead? You can freeze them before coating in chocolate for up to a month – just thaw slightly before dipping. Trust me, you’ll be glad you made extras!
Nutritional Information
Now, let’s be real – these Oreo cheesecake balls are definitely a treat! While I’m not a nutritionist, I can tell you each ball packs roughly 120 calories. Keep in mind these numbers can change based on your specific ingredients – different chocolate brands or cookie types will vary. Everything in moderation, right? But hey, life’s too short not to enjoy these little bites of happiness!
FAQs About Oreo Cheesecake Balls
Q1. Can I use low-fat cream cheese for this recipe?
I’ve tried it, and while low-fat cream cheese works, the texture won’t be quite as rich and creamy. The full-fat version gives that perfect cheesecake mouthfeel we all love. If you do use low-fat, chill the balls longer before dipping – they’ll be a bit softer.
Q2. How long do Oreo cheesecake balls last in the fridge?
They stay fresh in an airtight container for about 5 days – if they last that long! The chocolate coating helps keep them moist. Just layer them with parchment paper so they don’t stick together.
Q3. Can I freeze these before dipping in chocolate?
Absolutely! The unbaked balls freeze beautifully for up to a month. Thaw them in the fridge for an hour before coating – this trick saves me so much time during the holidays!
Q4. My chocolate coating keeps cracking – what am I doing wrong?
Oh honey, I’ve been there! This usually happens if the balls are too cold when dipped. Let them sit at room temp for 5 minutes after freezing, or warm your chocolate slightly more. The coconut oil helps prevent this too!
Q5. Can I make these without chocolate coating?
Sure, but you’ll miss that satisfying snap! If you skip the chocolate, roll the balls in extra crushed Oreos or powdered sugar instead. They’ll be softer but still delicious – my kids call them “cheesecake truffles.”

Irresistible Oreo Cheesecake Balls in Just 30 Minutes
- Total Time: 45 minutes
- Yield: 20 balls 1x
- Diet: Vegetarian
Description
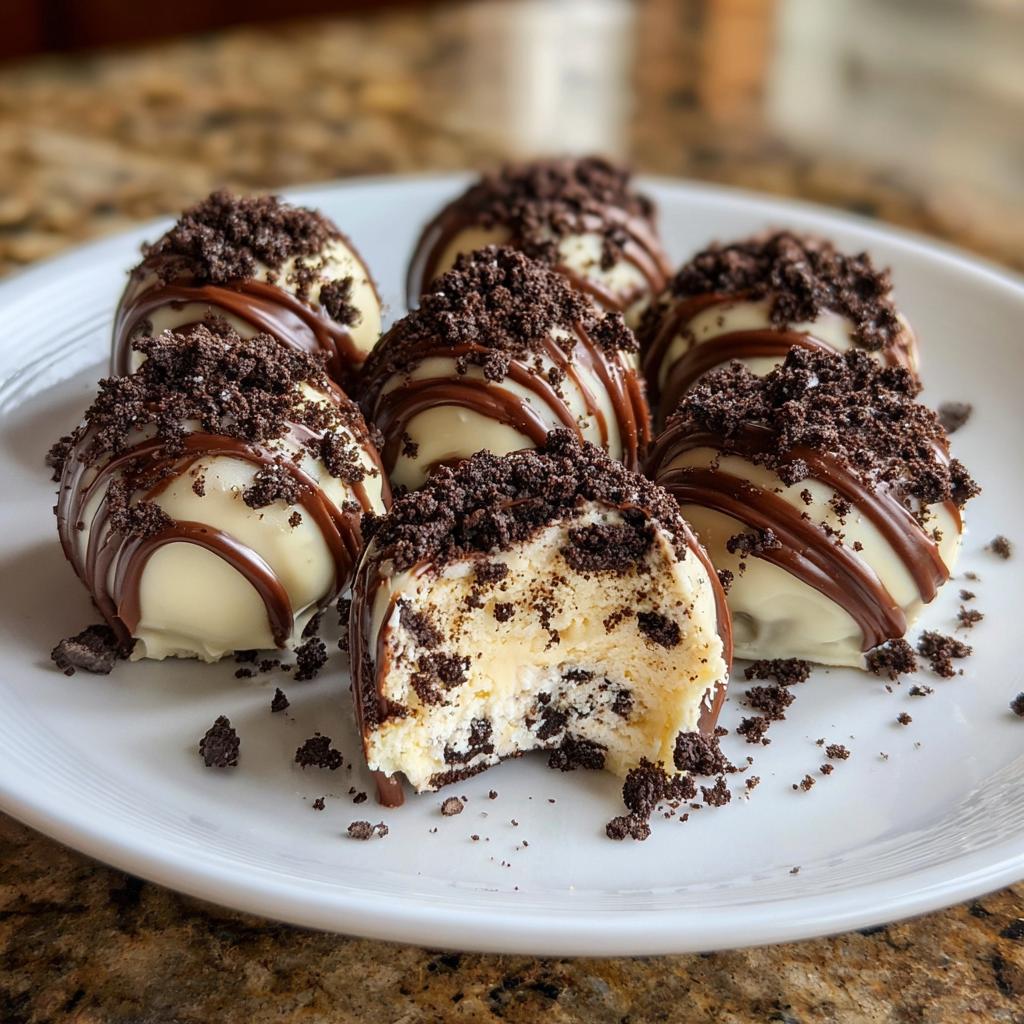
Delicious bite-sized Oreo cheesecake balls coated in chocolate.
Ingredients
- 20 Oreo cookies
- 8 oz cream cheese, softened
- 1 cup semi-sweet chocolate chips
- 1 tsp coconut oil (optional)
- 1/4 cup crushed Oreos (for topping)
Instructions
- Crush Oreos into fine crumbs.
- Mix crumbs with softened cream cheese until fully combined.
- Roll mixture into small balls and place on a tray.
- Freeze for 30 minutes.
- Melt chocolate chips with coconut oil.
- Dip each ball into melted chocolate.
- Sprinkle with crushed Oreos.
- Chill until set.
Notes
- Use room-temperature cream cheese for easy mixing.
- Freeze balls before dipping to prevent crumbling.
- Store in the fridge for up to 5 days.
- Prep Time: 15 minutes
- Cook Time: 0 minutes
- Category: Dessert
- Method: No-Bake
- Cuisine: American
Nutrition
- Serving Size: 1 ball
- Calories: 120
- Sugar: 9g
- Sodium: 85mg
- Fat: 7g
- Saturated Fat: 4g
- Unsaturated Fat: 2g
- Trans Fat: 0g
- Carbohydrates: 12g
- Fiber: 1g
- Protein: 2g
- Cholesterol: 10mg
Keywords: Oreo cheesecake balls, no-bake dessert, chocolate-covered treats


