
There’s nothing quite like the refreshing delight of *ice cream snow* on a sweltering summer day! Imagine this: you’re outside, the sun’s blazing, and all you can think about is how to cool down. Well, this easy, no-cook dessert is your answer! With just a few simple ingredients, you can transform fresh snow into a creamy, dreamy treat that’s perfect for satisfying those summer cravings. I remember making this with my kids, laughing and playing as we gathered the purest, fluffiest snow and whipped up a bowl of happiness. It’s such a nostalgic experience, evoking those carefree childhood days. Trust me, once you try *ice cream snow*, you’ll be hooked – it’s not just a dessert; it’s a joyous adventure waiting to happen!
Ingredients List
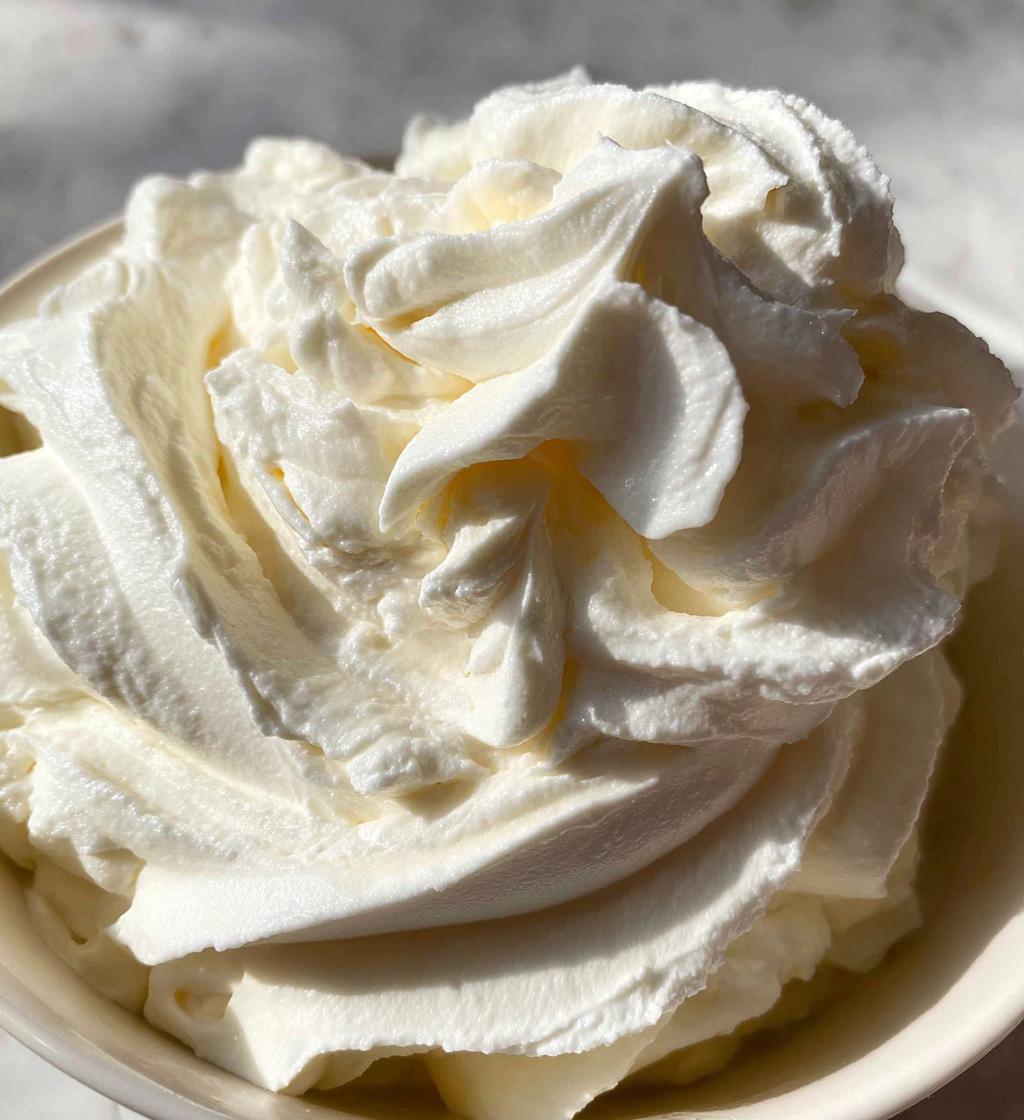
To whip up your very own *ice cream snow*, you’ll need just a handful of simple ingredients. Here’s what you’ll need:
- 2 cups fresh snow – Make sure it’s clean, white, and fluffy for the best texture!
- 1 cup heavy cream – This adds a rich, creamy base that makes every bite heavenly.
- 1/2 cup sugar – This sweetens the mixture and balances the creaminess.
- 1 teaspoon vanilla extract – For that lovely hint of flavor that enhances the overall taste.
These ingredients combine perfectly to create a refreshing dessert that’s so easy to make, you’ll wonder why you didn’t try it sooner!
How to Prepare *Ice Cream Snow*
Preparing *ice cream snow* is as simple as it is fun! You’ll see just how easy it is to create this delightful treat right at home. Let’s dive into the step-by-step process that’ll have you indulging in this refreshing dessert in no time. Make sure to gather your ingredients beforehand, and remember, timing is key to keeping that snow fluffy!
Step-by-Step Instructions
First things first, head outside and gather your fresh snow in a large, clean bowl. Make sure it’s fluffy and untouched – trust me, that makes all the difference! Once you’ve got your snow, it’s time to whip up the creamy base. In a separate bowl, combine 1 cup of heavy cream, 1/2 cup of sugar, and 1 teaspoon of vanilla extract. Use a whisk or mixer to blend these together until the mixture is smooth and slightly thickened; this usually takes about 2-3 minutes.
Now, here comes the fun part! Pour that creamy mixture right over the fresh snow. Don’t be shy! Just let it drizzle all over. Then, using a spatula or a large spoon, gently stir everything together. You want to incorporate the cream without squishing the snow too much. This step creates that perfect texture we’re after – a light, airy dessert that’s not too dense.
Keep stirring until the snow is fully blended with the cream mixture. It should look smooth and creamy, with just a hint of that beautiful snow texture peeking through. Once it’s all combined, scoop generous portions into bowls and serve immediately. *Ice cream snow* is best enjoyed fresh, so make sure everyone is ready to dig in! You’ll love how refreshing and delightful this treat is, and the smiles it’ll bring are simply priceless!
Why You’ll Love This Recipe
- Quick and Easy: With just a few ingredients and minimal prep time, you can whip up *ice cream snow* in under 10 minutes!
- Refreshing: This creamy treat is the perfect way to cool down on a hot summer day, bringing instant relief from the heat.
- No-Cook Delight: No need for an ice cream maker or oven; just fresh snow and simple mixing create this delightful dessert.
- Fun for the Family: Making *ice cream snow* is a great activity for kids and adults alike, turning a hot day into a joyful memory.
- Customizable: Feel free to experiment with different flavors or toppings to make it your own!
Tips for Success
To make sure your *ice cream snow* turns out perfectly every time, here are some handy tips to keep in mind:
- Choose the Right Snow: Always use fresh, clean snow that’s pure white and fluffy. Avoid snow that’s been packed down or discolored, as it won’t give you the best texture or flavor.
- Chill Your Ingredients: For a creamier result, chill your heavy cream in the refrigerator before mixing. This helps it whip up beautifully and blend seamlessly with the snow.
- Mix Gently: When combining the cream mixture with the snow, be gentle! You want to preserve that light, airy texture, so avoid over-mixing.
- Serve Immediately: *Ice cream snow* is best enjoyed right after you make it. The longer it sits, the more it loses that delightful fluffy texture.
- Get Creative: Don’t hesitate to add your favorite flavors or toppings! A sprinkle of cocoa powder, fresh fruit, or even chocolate chips can elevate this treat to a new level.
Nutritional Information
When it comes to enjoying *ice cream snow*, it’s nice to know what you’re treating yourself to! Here are the typical nutritional values per serving (about 1 cup) of this delightful dessert:
- Calories: 250
- Fat: 15g
- Saturated Fat: 10g
- Trans Fat: 0g
- Cholesterol: 50mg
- Carbohydrates: 25g
- Sugar: 20g
- Protein: 2g
- Sodium: 50mg
- Fiber: 0g
Keep in mind these values are estimates and can vary based on the specific ingredients you use. But one thing’s for sure: this treat is a sweet way to cool off!
FAQ Section
Got questions about *ice cream snow*? No worries, I’ve got you covered! Here are some common queries people have when making this delightful snow dessert:
- Can I use store-bought snow? Nope! For the best results, always use fresh, clean snow. You want that light, fluffy texture that only nature can provide!
- What if I don’t have heavy cream? You can substitute it with whole milk, but the texture won’t be as rich. If possible, try to stick with heavy cream for that creamy goodness!
- How long can I keep *ice cream snow*? This treat is best enjoyed immediately. It tends to lose its delightful fluffiness if left to sit for too long, so gather your friends and dig in!
- Can I add flavorings or toppings? Absolutely! Feel free to get creative with different extracts or even fresh fruit. Just remember to mix gently to keep that airy texture intact!
- Is this recipe vegetarian? Yes! *Ice cream snow* is a vegetarian-friendly dessert, making it a great option for everyone to enjoy.
Storage & Reheating Instructions
Honestly, *ice cream snow* is best enjoyed fresh, so try to make just what you need! However, if you do have leftovers, you can store them in an airtight container in the freezer for a short time. Just keep in mind that the texture might change, becoming a bit denser as it freezes. When you’re ready to serve again, take it out and let it sit at room temperature for a few minutes to soften slightly before scooping. Remember, it’s all about that fluffy, fresh texture, so enjoy it as soon as you can!
Print
Ice Cream Snow: 5 Simple Steps to a Dreamy Delight
- Total Time: 10 minutes
- Yield: 4 servings 1x
- Diet: Vegetarian
Description
A refreshing treat made with snow and flavored cream.
Ingredients
- 2 cups fresh snow
- 1 cup heavy cream
- 1/2 cup sugar
- 1 teaspoon vanilla extract
Instructions
- Gather fresh snow in a large bowl.
- In a separate bowl, mix heavy cream, sugar, and vanilla extract until well combined.
- Pour the cream mixture over the snow.
- Stir gently until the snow is fully incorporated and the mixture is smooth.
- Scoop into bowls and serve immediately.
Notes
- Use clean, white snow for best results.
- Serve immediately for optimal texture.
- Prep Time: 10 minutes
- Cook Time: 0 minutes
- Category: Dessert
- Method: No-cook
- Cuisine: American
Nutrition
- Serving Size: 1 cup
- Calories: 250
- Sugar: 20g
- Sodium: 50mg
- Fat: 15g
- Saturated Fat: 10g
- Unsaturated Fat: 3g
- Trans Fat: 0g
- Carbohydrates: 25g
- Fiber: 0g
- Protein: 2g
- Cholesterol: 50mg
Keywords: ice cream snow, snow dessert, summer treat


