
Imagine a warm summer day, the sun shining bright, and you’re craving something cool and refreshing. That’s where my ice cream snow comes in! This delightful treat not only looks like fluffy snow but also has a smooth, creamy texture that melts in your mouth. It’s surprisingly easy to make, and the best part? You can whip it up in just about 15 minutes (not including freezing time)! I remember the first time I made it for my kids; their eyes lit up as they took their first bites. Watching them savor every spoonful brought back memories of my own childhood summers filled with homemade ice cream. Trust me, this ice cream snow will become your go-to dessert for hot days, family gatherings, or just when you want to indulge in a sweet, icy delight. So, let’s dive in and create this heavenly frozen treat together!
Ingredients List
Gathering the right ingredients is key to making the best ice cream snow. Here’s what you’ll need:
- 2 cups heavy cream: This is the base of your ice cream snow. The heavy cream gives it that rich, creamy texture that makes each bite feel indulgent.
- 1 cup whole milk: Whole milk adds just the right amount of creaminess without overpowering the heavy cream. It helps create a smooth, luscious mixture.
- 3/4 cup granulated sugar: This is what sweetens your dessert! It balances the flavors and helps create that delightful texture. Be sure to stir it in well until it’s completely dissolved.
- 1 tablespoon pure vanilla extract: This adds a warm, inviting flavor that enhances the overall taste of your ice cream snow. Trust me, using pure vanilla makes all the difference.
- 1/2 cup crushed ice: This is the secret ingredient that gives your ice cream snow its signature fluffy appearance and a refreshing crunch.
With these simple yet essential ingredients, you’re well on your way to making a delightful treat that will impress everyone!
How to Prepare Ice Cream Snow
Now, let’s get to the fun part: making your ice cream snow! This is where the magic really happens, and I promise you’ll be amazed at how easy it is. Follow these simple steps, and you’ll have a delightful frozen treat in no time!
Step-by-Step Instructions
First things first, grab a large mixing bowl and combine your heavy cream, whole milk, granulated sugar, and vanilla extract. This is the foundation of your ice cream snow, so make sure to mix them together well. I like to use a whisk for this part; it helps blend everything smoothly.
Next, stir until the sugar dissolves completely. This is crucial because you don’t want any crunchy sugar bits in your final treat. You’ll know it’s ready when the mixture feels silky and looks uniform.
Now, it’s time to pour the mixture into your ice cream maker. Follow the manufacturer’s instructions for churning – typically, this takes about 20-25 minutes. The goal here is to incorporate air and create that fluffy texture, so don’t rush this part!
Once the churning is done, here comes the fun twist: add the crushed ice and churn for an additional 5 minutes. This step is what gives your ice cream snow that light, snowy appearance and a refreshing crunch!
Finally, transfer your mixture to a container (a loaf pan works great) and freeze for at least 4 hours. I know it’s tempting to dig in right away, but this freezing time is key to achieving the perfect scoopable texture. Trust me, the wait will be worth it when you finally get to enjoy your homemade ice cream snow!
Why You’ll Love This Recipe
This ice cream snow is not just a dessert; it’s an experience! Here are a few reasons why you’re going to adore making this delightful treat:
- Quick and easy to make: With just 15 minutes of prep time and a little patience while it freezes, you can whip up this delicious dessert in no time!
- Deliciously creamy texture: The combination of heavy cream and whole milk creates a rich, smooth base that melts in your mouth, making every spoonful a joy.
- Customizable flavors with simple ingredients: Feel free to get creative! You can easily add cocoa powder for a chocolate twist or mix in fruit purees for a refreshing fruity flavor.
- Perfect for hot days: On those sweltering summer afternoons, nothing beats the cool, refreshing taste of ice cream snow. It’s the ultimate way to beat the heat!
Trust me, once you try this recipe, it’ll become a staple in your kitchen for all those warm days ahead!
Tips for Success
To ensure your ice cream snow turns out perfectly every time, here are a few pro tips you won’t want to miss:
- Chill the cream: Always start with cold heavy cream and milk. This not only helps the mixture whip up nicely but also contributes to a smoother texture.
- Use high-quality vanilla extract: Trust me, it makes a world of difference! Pure vanilla extract enhances the flavor and elevates your dessert.
- Keep an eye on the churning: Don’t rush the process! Make sure to churn until the mixture reaches a soft-serve consistency before adding the crushed ice.
- Freeze in a shallow container: This helps your ice cream snow freeze more evenly and makes it easier to scoop later.
With these tips, you’ll be on your way to creating the lightest, fluffiest ice cream snow that will impress everyone!
Variations of Ice Cream Snow
If you want to get creative with your ice cream snow, there are so many fun ways to switch it up! For a rich chocolate flavor, simply add 1/4 cup of cocoa powder to the mixture before churning. This will give your ice cream snow a deliciously indulgent twist. On the fruity side, try mixing in 1/2 cup of fruit puree, like strawberry or mango, for a refreshing burst of flavor. You can even swirl in some chocolate or caramel sauce right before freezing for an extra treat. The options are endless, and you’ll love experimenting with different flavors!
Nutritional Information
When it comes to indulging in homemade ice cream snow, it’s good to know what you’re enjoying! Here’s a rough breakdown of the nutritional information per serving (about 1/2 cup):
- Calories: 250
- Fat: 18g
- Saturated Fat: 11g
- Trans Fat: 0g
- Cholesterol: 70mg
- Sodium: 50mg
- Carbohydrates: 23g
- Sugar: 20g
- Protein: 3g
- Fiber: 0g
Keep in mind that these values are approximate and can vary based on the specific ingredients you use. Enjoy this delightful treat in moderation, and feel free to customize it with your favorite flavors!
Serving Suggestions
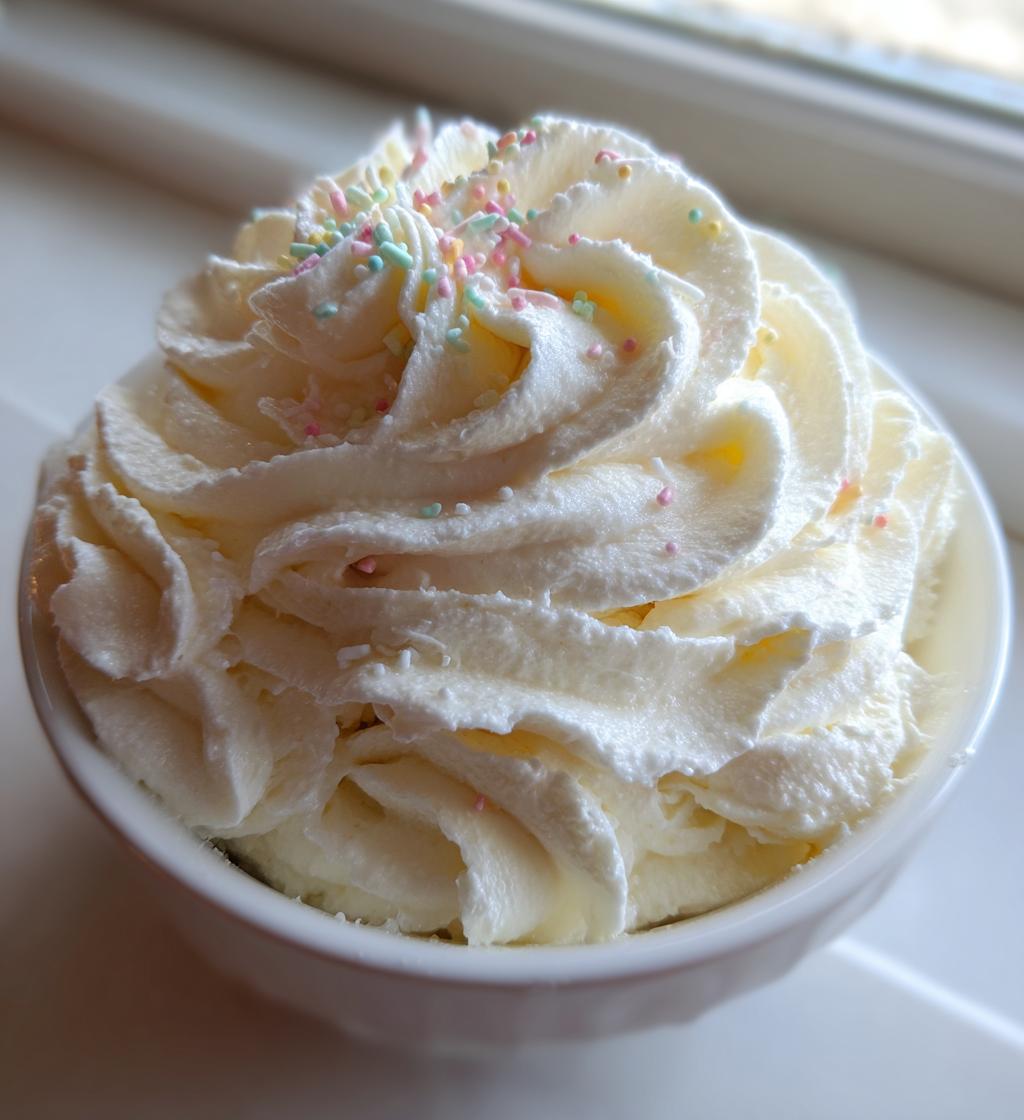
Now that you’ve whipped up your delicious ice cream snow, let’s talk about how to serve it up for maximum enjoyment! I love pairing it with fresh fruit like sliced strawberries or juicy blueberries – the sweetness and tartness complement the creamy texture perfectly. You can also serve it alongside some crunchy cookies, like chocolate chip or oatmeal raisin, for a delightful contrast. And don’t forget about toppings! A drizzle of chocolate sauce or a sprinkle of colorful sprinkles adds an extra fun touch. Whether it’s a casual family dessert or a special treat, these additions make it even more memorable!
FAQ Section
Got questions about making ice cream snow? I’ve got you covered! Here are some common queries and their answers:
- Can I make this without an ice cream maker? Absolutely! If you don’t have an ice cream maker, simply pour the mixture into a shallow dish and freeze it. Every 30 minutes, stir it with a fork to break up any ice crystals until it reaches that fluffy texture you’re after. It’ll take a bit longer, but it’s totally doable!
- How long can I store ice cream snow? You can store ice cream snow in the freezer for about 2-3 weeks. Just make sure to keep it in an airtight container to prevent freezer burn. It’s best enjoyed fresh, but the flavor holds up pretty well for a while!
- Can I use non-dairy alternatives? Yes, you can! Substitute the heavy cream and whole milk with your favorite non-dairy alternatives like coconut cream or almond milk. Just keep in mind that the texture may vary slightly, but you’ll still end up with a delicious treat!
Hopefully, these answers help you along your ice cream snow journey! Don’t hesitate to experiment and enjoy the process!
Print
Ice Cream Snow: 7 Steps to Pure Summer Joy
- Total Time: 4 hours 15 minutes
- Yield: 4 servings 1x
- Diet: Vegetarian
Description
A delightful ice cream treat that resembles snow.
Ingredients
- 2 cups heavy cream
- 1 cup whole milk
- 3/4 cup granulated sugar
- 1 tablespoon pure vanilla extract
- 1/2 cup crushed ice
Instructions
- In a bowl, mix heavy cream, whole milk, sugar, and vanilla extract.
- Stir until the sugar dissolves completely.
- Pour the mixture into an ice cream maker.
- Churn according to the manufacturer’s instructions.
- Add crushed ice and churn for an additional 5 minutes.
- Transfer to a container and freeze for at least 4 hours.
Notes
- For a different flavor, add cocoa powder or fruit puree.
- Serve with toppings like chocolate sauce or sprinkles.
- Prep Time: 15 minutes
- Cook Time: 0 minutes
- Category: Dessert
- Method: Churning
- Cuisine: American
Nutrition
- Serving Size: 1/2 cup
- Calories: 250
- Sugar: 20g
- Sodium: 50mg
- Fat: 18g
- Saturated Fat: 11g
- Unsaturated Fat: 7g
- Trans Fat: 0g
- Carbohydrates: 23g
- Fiber: 0g
- Protein: 3g
- Cholesterol: 70mg
Keywords: ice cream, snow, dessert, frozen treat


