
There’s something incredibly joyful about making homemade jam, isn’t there? The smell of fresh strawberries fills the kitchen, and before you know it, you’re transported back to sunny summer days spent in the garden with family. My favorite memories are those hot afternoons when my mom and I would pick the ripest strawberries, their sweetness bursting in our mouths with every bite. We’d come home, ready to create our little masterpiece – a vibrant, luscious strawberry jam that captured the essence of those carefree days. That’s why I’m so excited to share my *easy strawberry freezer jam recipe* with you. It’s such a breeze to whip up, and you don’t even need to fire up the stove! Just a few simple ingredients, a bit of mashing, and voilà – you’ve got a jar full of summer to enjoy all year long. Trust me, once you’ve tasted this fresh, fruity delight, you’ll never go back to store-bought again. Let’s dive into this easy, delightful process together!
Ingredients List
Gathering your ingredients is a key step in making the *easy strawberry freezer jam recipe*. Each component plays a crucial role in achieving that fresh, vibrant taste. Here’s what you’ll need:
- 4 cups fresh strawberries, hulled: Make sure you pick ripe, juicy strawberries for the best flavor. You’ll want to wash them thoroughly and remove the green tops.
- 1 1/2 cups granulated sugar: This sugar not only sweetens the jam but also helps with the preservation process. Don’t skimp on this part – it’s essential for that perfect balance!
- 1/4 cup lemon juice: Freshly squeezed is best! The acidity of the lemon juice brightens the flavor and helps the jam set.
- 1 package fruit pectin: This ingredient is what allows your jam to thicken properly. Follow the package instructions for the best results.
With these simple yet essential ingredients, you’re all set to create your delightful strawberry jam. Let’s get cooking!
How to Prepare Instructions
Now that you’ve got your ingredients ready, let’s dive into the step-by-step process of making this delightful *easy strawberry freezer jam recipe*. It’s straightforward and incredibly satisfying, so let’s get started!
Step 1: Prepare the Strawberries
The first step is prepping those beautiful strawberries. Start by washing them under cool running water, making sure to remove any dirt or little critters. Once they’re clean, it’s time to hull them. Hulling means removing the green tops and the white core. You can use a paring knife or even your fingers – just be gentle to keep the juicy fruit intact. You’ll want to end up with four cups of fresh, hulled strawberries, ready to shine in your jam!
Step 2: Mash the Strawberries
Next, let’s mash those strawberries! Grab a large mixing bowl and use a potato masher or a fork to crush the strawberries. I like to leave some small chunks for texture, but it’s totally up to you! Aim for a consistency that’s not too smooth – you want those lovely little bits of fruit to shine through in your jam. The sweet aroma will start to fill your kitchen, and trust me, it’s a heavenly experience!
Step 3: Combine Ingredients
Now, it’s time to add the sugar and lemon juice to your mashed strawberries. Pour in 1 1/2 cups of granulated sugar and 1/4 cup of freshly squeezed lemon juice. Stir it all together really well! This mixture is crucial because the sugar helps to draw out the moisture from the strawberries and balances the flavors. Make sure everything is thoroughly mixed so the sweetness gets evenly distributed.
Step 4: Let the Mixture Sit
After mixing, let the strawberry-sugar-lemon mixture sit for about 10 minutes. This resting period is essential because it allows the sugar to dissolve completely and helps the strawberries release their juices. You’ll notice the mixture becoming syrupy and fragrant. It’s like a mini waiting game that makes the final product even better!
Step 5: Prepare Fruit Pectin
While the mixture is resting, grab a separate pot to prepare the fruit pectin. Follow the package instructions carefully – you’ll usually need to mix it with water and bring it to a boil. This step activates the pectin, which is going to help your jam set beautifully. Keep an eye on it, and don’t forget to stir! You want it to dissolve completely without clumping.
Step 6: Combine Pectin and Strawberry Mixture
Once your pectin is ready, it’s time to combine it with the strawberry mixture. Pour the hot pectin into the bowl with your strawberries and stir vigorously for about 2 minutes. This is where the magic happens! You want to ensure everything is well mixed, and you’ll see the vibrant color deepen as it comes together. The consistency will start to thicken, and you’ll be amazed at how quickly it transforms!
Step 7: Jar the Jam
Now for one of the most exciting parts – pouring the jam into clean jars! Make sure your jars are sterilized, as this helps keep your jam fresh. Use a funnel if you have one to prevent spills, and fill each jar, leaving about half an inch of space at the top. Once filled, wipe any residue from the jar rims to ensure a good seal. It’s almost ready to be enjoyed!
Step 8: Freeze the Jam
Finally, it’s time to seal and freeze your jam! Place the lids on the jars securely, and label them with the date. Pop them in the freezer, and they’ll stay fresh for up to a year! When you’re ready to enjoy your homemade jam, just thaw it in the refrigerator overnight. Trust me, nothing beats the taste of fresh strawberry jam spread on warm toast or drizzled over pancakes. Enjoy every delicious bite!
Why You’ll Love This Recipe
There are so many reasons to fall head over heels for this *easy strawberry freezer jam recipe*! It’s not just about the delicious end product; it’s the whole experience that makes it special. Here are some of the top reasons why you’ll adore this simple jam-making process:
- Quick Preparation: With just 15 minutes of prep time, you can whip up a batch of this jam in no time. It’s perfect for those busy days when you want a homemade treat without the fuss!
- Fresh Flavor: The taste of fresh strawberries shines through, capturing the essence of summer in every spoonful. No artificial flavors here – just pure, fruity goodness!
- No Cooking Required: Unlike traditional jam recipes, you don’t need to spend hours slaving over a hot stove. Simply mix and freeze, and you’re good to go!
- Perfect for Beginners: If you’re new to jam-making, this is the ideal recipe to start with. It’s straightforward, forgiving, and yields delightful results every time.
- Versatile Enjoyment: Use your jam on toast, pancakes, or even swirl it into yogurt. The possibilities are endless, and it makes every breakfast feel like a special occasion!
- Great for Gifting: Homemade jam makes a thoughtful gift. Just pop a jar in a pretty basket with some fresh bread, and you’ve got a lovely present for friends or family.
Once you try this easy strawberry freezer jam, I promise you’ll be hooked! Each jar captures the sweetness of summer, ready to brighten up your mornings all year long.
Tips for Success
Making the *easy strawberry freezer jam recipe* is a fun and rewarding experience, but there are a few pro tips I’ve picked up along the way that can help ensure your jam turns out perfectly every time. Let’s dive into these little secrets!
- Use Ripe Strawberries: The key to a delicious jam is using the freshest, ripest strawberries you can find. Look for berries that are bright red, firm, and fragrant. Overripe or under-ripe strawberries can affect the flavor and texture, so choose wisely!
- Sterilize Your Jars: Before you pour in your jam, make sure your jars are properly sterilized. You can do this by washing them in hot, soapy water and then placing them in a hot oven (about 200°F) for 10-15 minutes. This helps prevent any unwanted bacteria from ruining your delicious creation.
- Don’t Skip the Resting Time: That 10-minute resting period after mixing the strawberries, sugar, and lemon juice is crucial. It allows the sugar to dissolve completely and helps the flavors meld together beautifully. Trust me, it’s worth the wait!
- Keep an Eye on the Pectin: When preparing the fruit pectin, make sure to follow the package instructions closely. Timing is everything, and stirring continuously ensures a smooth, lump-free mixture. The right consistency is essential for a jam that sets perfectly.
- Label Your Jars: Once your jam is in jars, don’t forget to label them with the date! This way, you’ll know how long they’ve been in the freezer. Plus, it adds a cute, personal touch if you’re giving them as gifts!
- Thawing Tips: When you’re ready to enjoy your jam, thaw it in the refrigerator overnight for the best results. If you’re in a hurry, you can also place it in a bowl of cold water for a quicker thaw. Just avoid using the microwave, as that can alter the texture.
With these tips in your back pocket, you’ll be well on your way to making the best strawberry freezer jam ever! Enjoy the process, and don’t forget to taste as you go – that’s the best part! Happy jamming!
Nutritional Information
Before you dig into your delicious homemade strawberry freezer jam, it’s good to know a bit about its nutritional content. Keep in mind that these values can vary based on the specific ingredients and brands you use, so consider this a general guide rather than precise measurements. Here’s a typical breakdown for one tablespoon of jam:
- Calories: 50
- Sugar: 12g
- Fat: 0g
- Saturated Fat: 0g
- Trans Fat: 0g
- Cholesterol: 0mg
- Sodium: 0mg
- Carbohydrates: 13g
- Fiber: 0g
- Protein: 0g
Remember, enjoying your homemade jam in moderation can be a delightful treat, adding a splash of summer flavor to your meals without too much guilt. Happy jamming!
FAQ Section
Got questions about the *easy strawberry freezer jam recipe*? Don’t worry; I’ve got you covered! Here are some common queries I hear, along with my best answers to help you on your jam-making journey.
- Can I use frozen strawberries for this recipe? Absolutely! While fresh strawberries are ideal, frozen ones can work in a pinch. Just make sure to thaw them and drain any excess liquid before mashing. This will help you achieve that perfect consistency!
- How long does homemade freezer jam last? Your homemade jam can be stored in the freezer for up to one year. Just make sure to keep it sealed tightly in clean jars. Once you thaw it, though, it’s best to consume it within a few weeks for optimal freshness.
- What if my jam doesn’t thicken? If you find your jam hasn’t thickened as expected, don’t fret! You can try adding a little more pectin to the mixture. Just follow the package instructions again and reheat the jam gently while stirring until it thickens up. It happens to the best of us!
- Can I substitute the sugar with a sugar alternative? While you can use sugar alternatives, they might affect the flavor and texture of your jam. It’s best to choose a product that’s suitable for canning or freezing. Brands like Splenda or other no-calorie sweeteners can work, but always check the package for the right conversion amounts.
- How can I use my strawberry jam besides spreading it on toast? Oh, the possibilities are endless! You can swirl it into yogurt, drizzle it over pancakes or waffles, fill cupcakes or pastries, or even mix it into smoothies for a fruity twist. Trust me, once you start using it, you’ll find plenty of delicious ways to enjoy your homemade jam!
I hope these answers help you feel more confident in making your own easy strawberry freezer jam. Happy jamming!
Storage & Reheating Instructions
Once you’ve made your delightful *easy strawberry freezer jam*, proper storage is key to keeping that fresh flavor intact. Here’s how to store your jam and reheat it when you’re ready to enjoy!
After filling your jars, make sure the lids are sealed tightly. Label each jar with the date so you can keep track of how long they’ve been in the freezer. Your homemade jam can stay fresh in the freezer for up to one year, which is perfect for extending that summer strawberry goodness into the colder months!
When you’re ready to enjoy your jam, simply take a jar out of the freezer and place it in the refrigerator. Let it thaw overnight so it’s nice and ready to spread the next morning. Trust me, nothing beats waking up to the sweet aroma of strawberry jam waiting for you!
If you find yourself in a rush, you can also thaw the jam more quickly by placing it in a bowl of cold water. Just remember not to use the microwave, as that can change the texture and make it less spreadable. Once thawed, consume it within a few weeks for the best flavor and freshness. You’ll want to savor every last drop of that homemade goodness!
With these simple storage and reheating tips, your strawberry jam will be ready to brighten up your breakfast or snack time whenever you need a little taste of summer!
Print
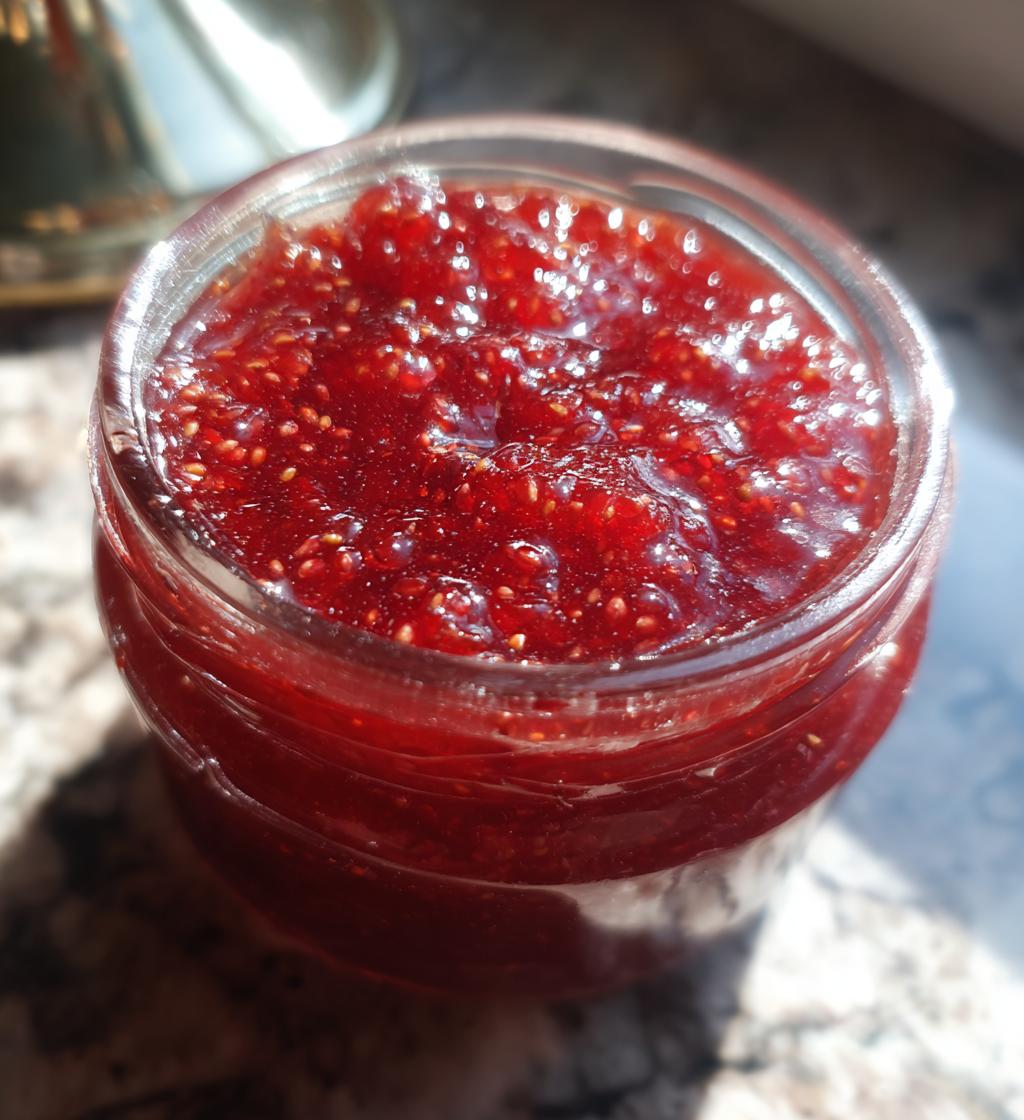
easy strawberry freezer jam recipe for a sweet summer treat
- Total Time: 20 minutes
- Yield: 5 cups 1x
- Diet: Vegetarian
Description
A simple recipe for making strawberry freezer jam that preserves the fresh taste of strawberries.
Ingredients
- 4 cups fresh strawberries, hulled
- 1 1/2 cups granulated sugar
- 1/4 cup lemon juice
- 1 package fruit pectin
Instructions
- Wash and hull the strawberries.
- Mash the strawberries in a bowl.
- Add sugar and lemon juice to the mashed strawberries. Stir well.
- Let the mixture sit for 10 minutes.
- In a separate pot, prepare the fruit pectin according to package instructions.
- Combine the pectin with the strawberry mixture. Stir for 2 minutes.
- Pour the jam into clean jars.
- Seal and freeze the jars.
Notes
- Use ripe strawberries for best flavor.
- Store in the freezer for up to one year.
- Thaw in the refrigerator before serving.
- Prep Time: 15 minutes
- Cook Time: 5 minutes
- Category: Dessert
- Method: Freezing
- Cuisine: American
Nutrition
- Serving Size: 1 tablespoon
- Calories: 50
- Sugar: 12g
- Sodium: 0mg
- Fat: 0g
- Saturated Fat: 0g
- Unsaturated Fat: 0g
- Trans Fat: 0g
- Carbohydrates: 13g
- Fiber: 0g
- Protein: 0g
- Cholesterol: 0mg
Keywords: easy strawberry freezer jam recipe


