
There’s something magical about Christmas baking recipes that turns my kitchen into the heart of our holiday celebrations. The moment I pull out my grandmother’s mixing bowls and catch that first whiff of vanilla and butter warming in the oven, I’m instantly transported back to childhood Christmases. My mom would let me “help” by licking the spoon (a tradition I’ve happily continued with my own kids).
Every year, I swear I’ll keep it simple, but then I find myself elbow-deep in flour by December 1st, baking batch after batch of these beloved treats. It’s not just about the sweets – though let’s be honest, that’s a big part of it. It’s about the way my great-aunt’s gingerbread recipe makes my kitchen smell like a winter wonderland, or how my neighbor always stops by when she catches the scent of cinnamon rolls drifting through our shared hallway.
These Christmas baking recipes have become our family’s edible love language. Whether it’s the butter cookies we decorate while watching holiday movies or the dense, spice-filled fruitcake that my husband insists tastes better each year (despite the kids’ protests), these treats weave themselves into our holiday memories. And trust me, once you try these recipes, they’ll become part of your traditions too.
Ingredients for Christmas Baking Recipes
Gathering the right ingredients is half the magic when it comes to Christmas baking – trust me, I’ve learned this the hard way after many “oops” moments in my holiday kitchen! Here’s exactly what you’ll need to create these festive treats:
- 2 cups all-purpose flour – Spoon it lightly into your measuring cup and level it off, don’t pack it down
- 1 cup granulated sugar – I use regular white sugar, but you can substitute with golden caster sugar for a richer flavor
- 1 teaspoon baking powder – Make sure yours is fresh! Nothing’s worse than flat holiday treats
- 1/2 teaspoon salt – Just a pinch to balance all that sweetness
- 1/2 cup butter, softened – This means soft enough to leave a fingerprint when pressed, but not melted (leave it out for about 30 minutes)
- 2 large eggs – Room temperature is best – I just set mine out when I take out the butter
- 1 teaspoon vanilla extract – The real stuff makes all the difference, though I’ve used almond extract for a fun twist
- 1/2 cup milk – Whole milk gives the richest result, but any kind will work in a pinch
See? Nothing too fancy, just simple ingredients that come together to create pure holiday magic. I always double check I have everything before starting – nothing kills the Christmas baking buzz like realizing you’re out of eggs halfway through!
How to Make Christmas Baking Recipes
Now comes the fun part – turning those simple ingredients into holiday magic! I’ve made these Christmas baking recipes so many times I could probably do it in my sleep, but I still follow these steps carefully. Trust me, taking your time here makes all the difference between “good enough” and “oh my goodness, can I have the recipe?”
Step 1: Prepare the Dry Ingredients
First things first – grab your biggest mixing bowl (I always use Grandma’s yellow ceramic one for good luck). Whisk together the flour, sugar, baking powder, and salt until they’re completely combined. No lazy stirring here – you want every bit of that baking powder evenly distributed. I like to sift mine through a fine mesh strainer if I’ve got time, especially if my flour’s been sitting around awhile. Those little clumps can really mess with your texture!
Step 2: Combine Wet Ingredients
Here’s where room temperature ingredients really matter. In another bowl (or your stand mixer if you’re fancy), beat the softened butter until it’s creamy – about 1 minute should do it. Then add the eggs one at a time, mixing well after each. Don’t rush this part! You’ll know it’s right when the mixture looks pale yellow and fluffy. Finally, stir in the vanilla and milk until everything’s smooth and dreamy. If your butter was too cold, you’ll see little lumps – but don’t panic, it’ll still taste amazing.
Step 3: Bake to Perfection
Preheat your oven to 350°F (180°C) while you grease your baking pan. I’m partial to butter for greasing – just rub a cold stick all over the pan, then dust with a bit of flour. Pour in your batter (it should slide off the spoon easily) and pop it in the oven. Set your timer for 25 minutes, but start checking at 20 – ovens can be sneaky! The cake is done when a toothpick comes out with just a few moist crumbs (not wet batter). And whatever you do, resist opening the oven door too early – that sudden temperature drop can make your treats sink faster than Santa’s sleigh on Christmas Eve!
Let your creation cool in the pan for about 10 minutes before transferring to a wire rack. I know it’s tempting to dive right in, but patience makes for perfect slices. The hardest part of Christmas baking? Waiting for that first heavenly bite!
Why You’ll Love These Christmas Baking Recipes
Oh, where do I even begin? These Christmas baking recipes have been my go-to for years, and once you try them, you’ll understand why they’ve earned a permanent spot in my holiday rotation. There’s just something about them that makes everyone come back for seconds (and thirds… we don’t judge at Christmastime!).
- They’re foolproof – Even my cousin who once burned boiled water has made these successfully. The simple steps and common ingredients mean you can’t mess it up!
- That nostalgic holiday flavor – The warm vanilla and butter combo smells and tastes like Christmas morning. My kids say it reminds them of opening presents by the tree.
- Perfect for gifting – I bake double batches every year just for neighbor gifts. Slice them up, wrap them in festive parchment, and tie with ribbon – instant holiday cheer!
- They freeze beautifully – Make them weeks ahead and pull them out when unexpected guests arrive. No one will ever know they weren’t fresh from the oven.
- Endlessly adaptable – I’ll show you some fun variations later, but the basic recipe is like a blank canvas for your holiday creativity.
- That magical texture – Not too dense, not too light – just that perfect tender crumb that makes people close their eyes and sigh with the first bite.
Honestly, what I love most is how these recipes bring people together. Year after year, I watch friends and family gather in my kitchen, drawn in by the heavenly aroma, staying for the laughter and connection. That’s the real magic of Christmas baking – the way a simple recipe can create moments you’ll treasure forever.
Tips for Perfect Christmas Baking Recipes
After years of Christmas baking triumphs (and a few hilarious disasters), I’ve learned a thing or two about making these recipes turn out perfect every time. Here are my hard-won secrets – consider them my gift to you this holiday season!
Ingredient temperature is everything – I can’t stress this enough! Cold butter won’t cream properly, and cold eggs can make your batter separate. I take my butter and eggs out about an hour before baking. If you forget (like I often do), you can quickly bring eggs to room temp by placing them in warm water for 5 minutes.
The toothpick test isn’t foolproof – Here’s my trick: gently press the top of your baked goods. If it springs back, it’s done. No spring? Give it a few more minutes. Still nervous? That’s when I use the toothpick, but I look for moist crumbs – not clean, not wet batter.
Measure flour the right way – Scooping flour directly from the bag packs it down, leading to dry results. Instead, spoon flour into your measuring cup and level it off with a knife. This small step makes a huge difference in texture.
Rotate your pans halfway – Most ovens have hot spots. About 15 minutes into baking, I carefully rotate my pan 180 degrees. This ensures even browning and cooking – no more lopsided Christmas treats!
Cool completely before storing – I know it’s tempting to wrap warm baked goods, but that creates condensation which leads to sogginess. Let them cool on a wire rack until completely room temperature – about 1-2 hours.
The freezer is your friend – These recipes freeze beautifully for up to 3 months! Just wrap tightly in plastic wrap, then foil. Thaw at room temperature when needed. Perfect for getting ahead during the busy holiday season.
Remember, even when things don’t go perfectly (and they won’t always), the joy is in the baking itself. Some of my favorite Christmas memories come from “failed” batches that turned into hilarious family stories. So relax, enjoy the process, and don’t worry if your cookies aren’t magazine-perfect – they’ll taste like love either way!
Christmas Baking Recipe Variations
One of my favorite things about this recipe is how easily you can dress it up for different holiday moods. I’ve experimented with dozens of variations over the years – some became instant classics, others… well, let’s just say my family still teases me about the peppermint incident of 2018. Here are my tried-and-true twists that always get rave reviews:
Spiced Christmas version: Add 1 teaspoon cinnamon, 1/2 teaspoon nutmeg, and 1/4 teaspoon cloves to the dry ingredients. The warm spices make your kitchen smell like Santa’s workshop! This is my go-to when I want that classic holiday flavor.
Citrus sunshine: Swap the vanilla for 1 tablespoon orange or lemon zest plus 1/2 teaspoon of the corresponding extract. The bright citrus flavors cut through the richness beautifully – perfect for holiday brunches. I sometimes add a simple glaze made with powdered sugar and citrus juice too.
Nutty delight: Fold in 3/4 cup chopped pecans or walnuts at the end. Toast them first for extra flavor – just 5-7 minutes in a 350°F oven until fragrant. My dad insists this is the only “proper” way to make it.
Fruity fun: Toss in 1/2 cup dried cranberries or chopped candied cherries along with the nuts if you’re using them. The tartness balances the sweetness so nicely. Pro tip: toss dried fruit in a bit of flour first to prevent sinking.
Chocolate lover’s dream: Mix in 1/2 cup chocolate chips or chunks (I’m partial to dark chocolate). For extra decadence, drizzle melted chocolate over the top after baking. This version disappears fastest at my cookie exchanges!
The beauty is you can mix and match these ideas too – maybe orange zest with cranberries, or spices with nuts. Christmas baking should reflect your family’s tastes, so don’t be afraid to get creative. Just be sure to write down what you do – some of my best creations were happy accidents I could never quite replicate!
Serving Suggestions for Christmas Baking Recipes
Now for my favorite part – serving up these Christmas baking recipes! Half the fun is making them look as festive as they taste. I’ve learned that presentation can turn simple treats into something truly special, so let me share my go-to ways to make these goodies shine.
Classic coffee companion: Nothing beats a warm slice with a cup of coffee on Christmas morning. I serve it on my grandmother’s holiday china with a dollop of whipped cream on the side. The rich butteriness pairs perfectly with bold coffee – my brother swears it’s the only way to start Christmas Day.
Hot cocoa’s best friend: For the kids (and let’s be honest, me too), I love pairing these with homemade hot chocolate. The contrast of warm, gooey chocolate and the slightly crisp edges of the baked goods is pure magic. Bonus points if you add a candy cane stirrer!
Ice cream sandwich surprise: Slice your baked goods horizontally and sandwich vanilla ice cream in between. Wrap tightly in plastic and freeze for an hour – instant holiday ice cream sandwiches! I like to roll the edges in crushed candy canes or sprinkles for extra festive flair.
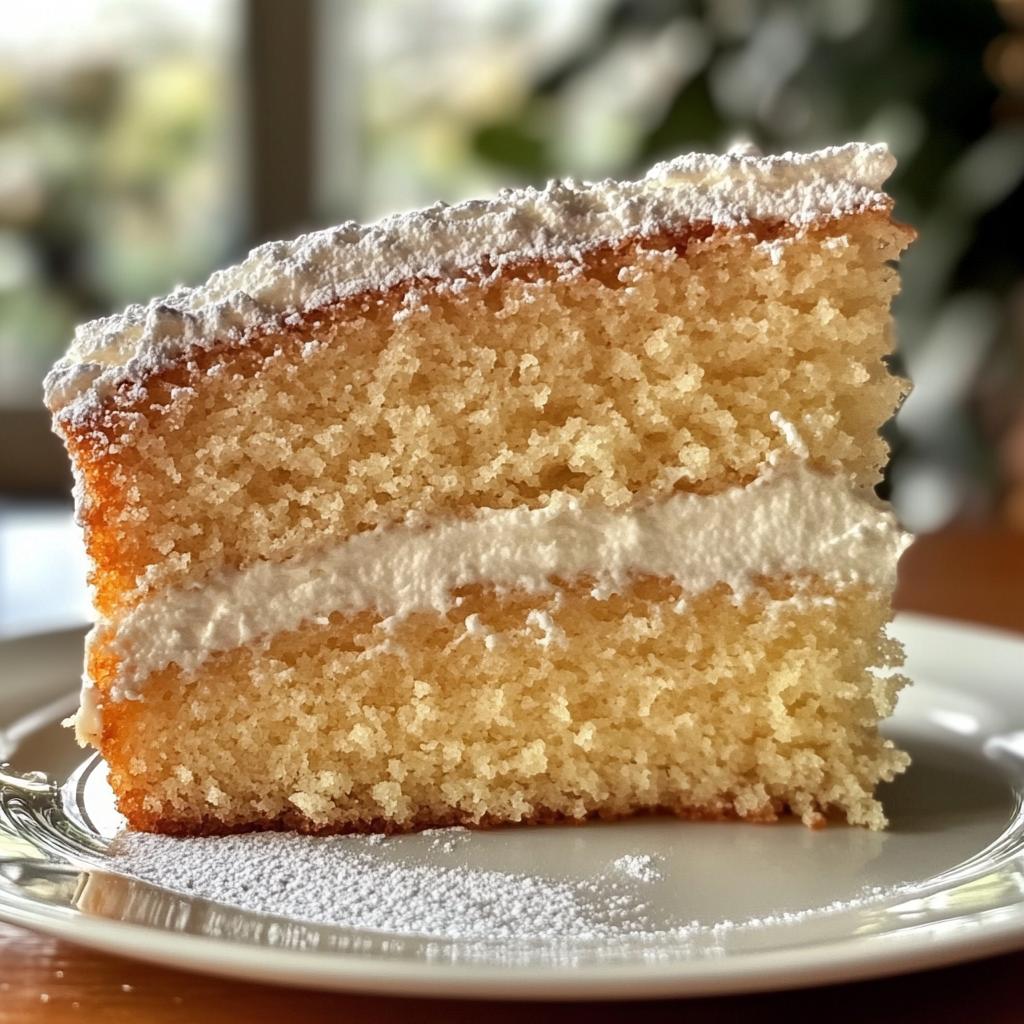
Powdered sugar snow: A simple dusting of powdered sugar makes everything look like a winter wonderland. I use a fine mesh strainer to get that perfect light dusting – just like fresh snow. This works especially well on darker baked goods where the contrast pops.
Whipped cream clouds: A generous swirl of freshly whipped cream takes these from simple to spectacular. I sometimes spike it with a splash of bourbon or peppermint extract for the adults. Top with a sprinkle of cinnamon or cocoa powder for extra elegance.
Remember, the best serving suggestion is whatever makes your family smile. In our house, that sometimes means eating straight from the pan with our fingers while watching Christmas movies – no judgment here! The important thing is enjoying these treats with the people you love.
Storing and Reheating Christmas Baking Recipes
Let me tell you, nothing breaks my heart faster than seeing my beautiful Christmas baking go stale! After years of trial and error (and a few tragic cookie casualties), I’ve perfected these storage tricks to keep your treats tasting fresh-baked for days. Here’s exactly how I do it:
Airtight is everything: The second your baked goods are completely cool (and I mean completely – no cheating!), tuck them into an airtight container. I swear by my collection of glass snap-lid containers, but a good quality plastic one works too. For extra protection, I sometimes line the container with parchment paper first. This keeps them fresh at room temperature for up to 5 days – though in my house, they never last that long!
Freezing for future joy: One of my best holiday hacks is baking double batches to freeze. Wrap individual slices or whole cakes tightly in plastic wrap, then foil. They’ll keep beautifully for up to 3 months in the freezer. When the Christmas spirit strikes (or unexpected guests arrive), just thaw at room temperature for a few hours. My kids love discovering “secret” treats in the freezer weeks after Christmas!
Reviving that fresh-baked magic: If your stored treats need a little pick-me-up, here’s my trick – place them on a baking sheet and pop them in a 300°F oven for 5-7 minutes. It works miracles! For single servings, 15 seconds in the microwave gives that just-baked warmth, though it can make the edges a tiny bit chewy (which my husband actually prefers).
Special notes for different variations: The spiced and citrus versions keep especially well, often tasting even better after a day or two as the flavors meld. The chocolate chip version? Well, let’s just say the chips might firm up in the fridge, but a quick zap in the microwave fixes that. And if you’ve made the nutty version, toasting the nuts first helps them stay crisp during storage.
Pro tip from my many holiday baking marathons: label everything with dates! Nothing’s worse than finding a mysterious frozen bundle in January and wondering if it’s still good. Trust me, future-you will thank present-you for this small act of kitchen kindness.
Nutritional Information
Okay, let’s talk numbers – but remember, these Christmas baking recipes are meant to be enjoyed, not analyzed to death! These nutritional estimates are based on standard ingredients, but your exact values might vary slightly depending on brands and measurements. I like to think of this info as helpful guidelines rather than strict rules – after all, it’s Christmas!
- Serving size: 1 slice (about 1/12 of the recipe)
- Calories: 250 (perfect for balancing out with all those holiday walks!)
- Total fat: 10g (6g saturated) – that rich butter taste comes through
- Cholesterol: 55mg
- Sodium: 200mg
- Total carbohydrates: 35g (includes 15g sugars)
- Fiber: 1g
- Protein: 4g
A little tip from my nutritionist friend: if you’re watching specific dietary needs, you can reduce the sugar slightly (try 3/4 cup) without dramatically changing the texture. But honestly? I make these traditional Christmas baking recipes exactly once a year, and I believe in enjoying every delicious bite. Life’s too short not to savor Grandma’s perfect ratios!
Remember, these values don’t include any optional additions like nuts, chocolate, or that heavenly cream cheese glaze I can never resist. Consider this your baseline – the joy and memories these treats create are impossible to quantify!
Frequently Asked Questions
Over the years, I’ve gotten so many questions about these Christmas baking recipes that I could probably write a book! Here are the ones that come up most often, along with all my hard-won baking wisdom. Trust me, if there’s a mistake to be made with this recipe, I’ve probably made it – so learn from my kitchen adventures!
Can I freeze these Christmas baking recipes?
Absolutely! Freezing is my secret weapon for stress-free holiday baking. I wrap cooled baked goods tightly in plastic wrap (press it right against the surface to prevent freezer burn), then slide them into a freezer bag or wrap again in foil. They’ll keep beautifully for up to 3 months. When you’re ready to enjoy, just thaw at room temperature for a few hours – no microwave needed! The texture stays perfect, though I sometimes pop slices in the toaster oven for a minute to revive that fresh-baked crispness.
How can I make this recipe dairy-free?
I’ve had great success with dairy-free versions for my lactose-intolerant niece! Swap the butter for equal amounts of high-quality vegan butter (I like the ones that come in sticks for easy measuring). For the milk, any unsweetened plant milk works – almond and oat are my top picks. Just avoid anything too strongly flavored like coconut milk unless you want that taste coming through. The texture might be slightly different, but the flavor is still fantastic. Pro tip: add 1/2 teaspoon apple cider vinegar to your plant milk to mimic buttermilk’s tang.
What’s the best way to prevent dry results?
Oh honey, I feel this question in my soul after my infamous “Christmas sawdust” incident of 2015! Three golden rules: First, measure flour correctly (spoon and level, never scoop!). Second, don’t overbake – set a timer for 5 minutes less than the recipe says and check early. And third, use room temperature ingredients – cold eggs and butter don’t incorporate properly. If your oven runs hot (like mine does), try lowering the temperature by 25°F and baking a bit longer. And here’s my secret weapon: brush the top with simple syrup as soon as it comes out of the oven for extra moisture.
Print
Magical 3-Ingredient Christmas Baking Recipes
- Total Time: 45 mins
- Yield: 12 servings 1x
- Diet: Vegetarian
Description
Delicious recipes perfect for Christmas baking. These treats will add warmth to your holiday celebrations.
Ingredients
- 2 cups all-purpose flour
- 1 cup granulated sugar
- 1 tsp baking powder
- 1/2 tsp salt
- 1/2 cup butter, softened
- 2 large eggs
- 1 tsp vanilla extract
- 1/2 cup milk
Instructions
- Preheat your oven to 350°F (180°C).
- Mix flour, sugar, baking powder, and salt in a bowl.
- Add softened butter, eggs, vanilla, and milk. Stir until smooth.
- Pour the batter into a greased baking pan.
- Bake for 25-30 minutes or until golden brown.
- Let it cool before serving.
Notes
- Use room-temperature ingredients for best results.
- Check for doneness with a toothpick.
- Store leftovers in an airtight container.
- Prep Time: 15 mins
- Cook Time: 30 mins
- Category: Dessert
- Method: Baking
- Cuisine: International
Nutrition
- Serving Size: 1 slice
- Calories: 250
- Sugar: 15g
- Sodium: 200mg
- Fat: 10g
- Saturated Fat: 6g
- Unsaturated Fat: 3g
- Trans Fat: 0g
- Carbohydrates: 35g
- Fiber: 1g
- Protein: 4g
- Cholesterol: 55mg
Keywords: christmas baking, holiday treats, festive desserts


