
Nothing says Christmas like a plate of festive treats, and these adorable Christmas cake pops are my absolute favorite to make every year! I still remember the first batch I ever made—some were lopsided, a few sprinkles went flying, but the kids’ faces lit up like the tree when they saw them. That’s the magic of these little bites: they’re fun to create, even more fun to decorate, and disappear in seconds at holiday parties. Whether you’re gifting them in cute boxes or setting them out for Santa (you know he deserves an extra special snack), these cake pops bring pure holiday joy in every bite. Trust me, once you start making them, they’ll become your new Christmas tradition too!
Why You’ll Love These Christmas Cake Pops
Oh, where do I even start? These little bites of joy are the ultimate holiday treat, and here’s why:
- So easy a reindeer could do it – Seriously, if I can make these after three eggnogs, you’ve got this
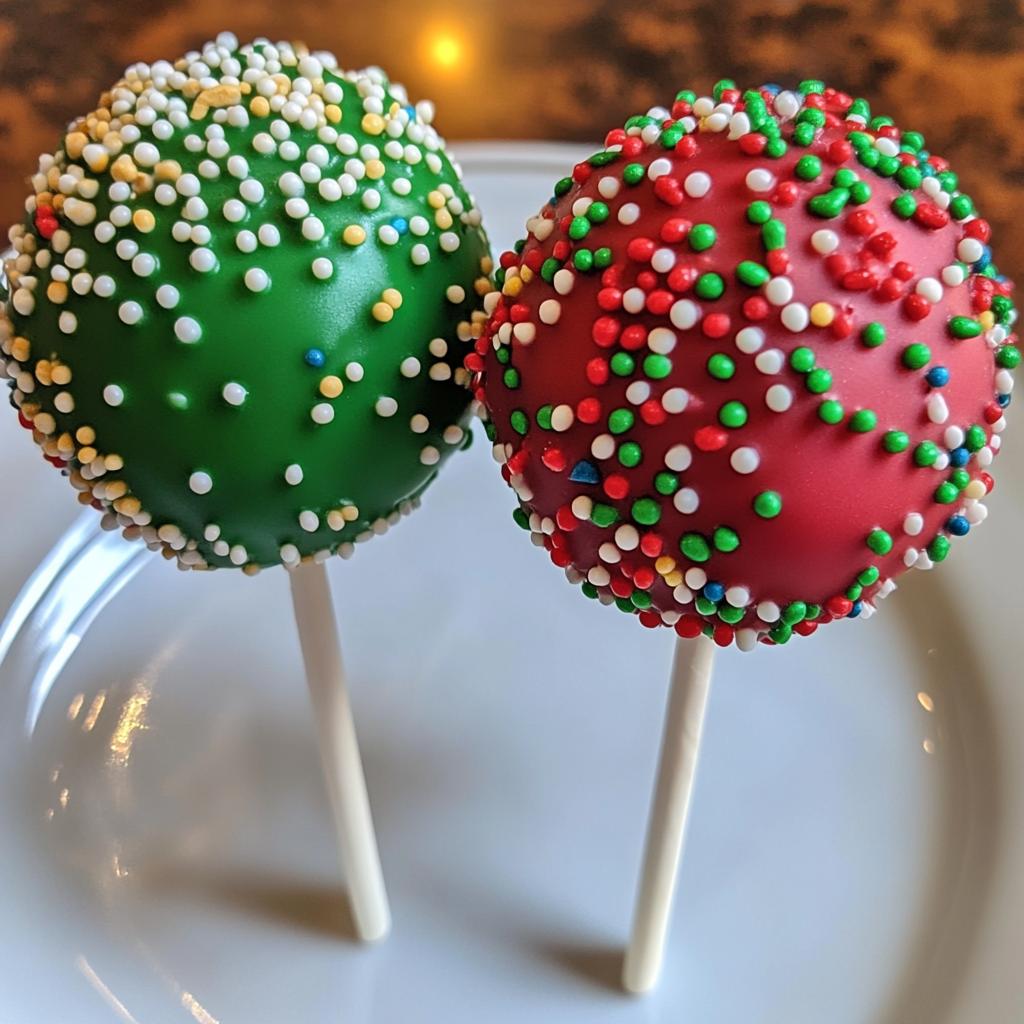
- Instant holiday cheer – Those red and green coatings scream “Merry Christmas!” before anyone even takes a bite
- Kid magnet – My nieces and nephews go wild decorating these (and sneaking samples)
- Perfect presents – Tie them with ribbon in cellophane bags for the sweetest homemade gifts
- Your canvas – Swap colors, add crushed candy canes, go wild with sprinkles – they’re whatever you dream up!
Honestly, the hardest part? Not eating them all yourself before the party starts!
Ingredients for Christmas Cake Pops
Gather these goodies before you start – trust me, running to the store mid-baking is no holiday fun! Here’s exactly what you’ll need:
- 1 box (15.25 oz) chocolate cake mix – plus whatever oil/eggs it calls for (I always use Betty Crocker)
- 1 cup vanilla frosting – store-bought or homemade, just not too runny
- 1 bag (12 oz) red and green candy melts – Wilton’s Christmas colors work perfectly
- 24 lollipop sticks – find these in any craft store baking aisle
- Festive sprinkles – I mix red, green, and gold for extra sparkle
Ingredient Substitutions
Out of something? No stress! Try these easy swaps:
- Use homemade chocolate cake instead of box mix (my grandma’s recipe works great)
- Cream cheese frosting adds lovely tang if you’re not into super-sweet vanilla
- White chocolate chips + food coloring work if you can’t find candy melts
- For dietary needs, gluten-free cake mix and dairy-free frosting work beautifully
The beauty of cake pops? They’re forgiving – just keep that cake-to-frosting ratio right!
How to Make Christmas Cake Pops
Okay, let’s get to the fun part—making our little holiday masterpieces! Follow these steps, and you’ll have perfect cake pops in no time:
- Bake the cake according to the package instructions and let it cool completely—I mean, completely. Warm cake turns into a mushy mess when you add frosting. (Patience is a virtue, especially at Christmas!)
- Crumble it up in a big bowl. Get in there with your hands—it’s therapeutic! You want fine crumbs, no big chunks. Pro tip: A food processor makes quick work of this, but hey, hand-crumbling burns off some of those cookie calories, right?
- Mix in the frosting a little at a time until it holds together when you squeeze it. Too much frosting = sticky mess. Too little = crumbly pops. Aim for Play-Doh consistency.
- Roll into balls (about 1-inch) and line them up on a baking sheet. If they’re not perfect, don’t stress—Santa doesn’t grade on roundness! Chill for 30 minutes. This step is crucial—cold balls don’t fall apart when you dip them.
- Melt the candy in 30-second bursts in the microwave, stirring between each. Burnt candy smells like regret, and we don’t want that.
- Dip those sticks in the melted candy first, then push them halfway into the balls. Let them set for 5 minutes—this “glue” keeps your pops from sliding off their sticks later.
- Dip and decorate! Hold the stick, dunk the pop, tap off excess coating (twirl gently!), and add sprinkles immediately. Stand them upright in a styrofoam block to dry. Admire your handiwork!
Dipping and Decorating Tips
First rule of Cake Pop Club: Don’t panic if your first few look messy! Here’s how to nail it:
- Use a deep, narrow cup for dipping—less wrist acrobatics!
- Tap your wrist (not the pop) to shake off excess coating without losing the pop into the abyss.
- Sprinkles stick best when the coating’s still wet. Work in batches—dip 3-4 pops, then decorate, repeat.
- No styrofoam? Poke holes in an upside-down egg carton. MacGyver would approve.
Tips for Perfect Christmas Cake Pops
After years of trial and error (and maybe one cake pop avalanche), here are my hard-earned secrets for flawless holiday pops every time:
- Chill like it’s the North Pole – That 30-minute fridge time isn’t optional! Cold cake balls won’t crumble when you dip them.
- Go deep with your bowl – Use a narrow, deep container for coating – it makes dipping way easier than fighting with a shallow dish.
- Crumb control – If your mix feels too sticky, add more cake crumbs. Too dry? A teaspoon more frosting. You want it to hold shape without sticking to your palms.
- Don’t rush the melt – Microwave candy in short bursts and stir well between each. Burnt candy coating tastes awful and looks worse!
- The twist trick – Gently twist as you pull the pop out of the coating to avoid that dreaded “drip mountain” at the base.
Storing and Serving Christmas Cake Pops
Here’s the scoop on keeping your Christmas cake pops fresh and festive! Store them in an airtight container at room temperature – they’ll stay perfect for about 3 days. Whatever you do, don’t refrigerate them! The cold makes the coating sweat and get sticky (learned that the hard way last year). For serving, just arrange them on a pretty holiday platter and watch them disappear. Pro tip: If you’re gifting them, pop them in cellophane bags tied with ribbon – they make the sweetest edible presents!
Christmas Cake Pops Variations
The beauty of these little treats? You can dress them up for any holiday whim! Here are some of my favorite twists:
- Peppermint Bliss – Mix crushed candy canes into the cake or sprinkle them on white chocolate coating
- Gingerbread Delight – Use spice cake mix and decorate with tiny icing snowflakes
- Snowman Squad – Shape oblong balls, stack two sizes, and use edible markers for faces
- Reindeer Roundup – Pipe on antlers with chocolate and add red candy noses
- Holly Jolly – Top green pops with red icing berries and fondant leaves
See? Your imagination’s the only limit—have fun with it!
Nutritional Information
Now, let’s be real – we’re not eating cake pops for their health benefits! But since you asked, here’s the scoop: Nutrition varies based on your exact ingredients, but generally, each Christmas cake pop runs about 150 calories, with 6g fat and 22g carbs. My advice? Enjoy every festive bite – it’s Christmas! (And maybe balance it out with some carrots… tomorrow.)
FAQs About Christmas Cake Pops
Oh, I’ve gotten so many questions about these over the years! Here are the ones that pop up most often (pun totally intended):
- Can I freeze cake pops? Absolutely! They freeze beautifully for up to a month. Just thaw at room temperature for about an hour before serving.
- Help—my mixture’s too sticky! No worries! Just mix in more cake crumbs, a tablespoon at a time, until it holds its shape without sticking to your hands.
- What’s the easiest coating for beginners? Candy melts every time! They’re more forgiving than chocolate and come in perfect holiday colors.
- Why are my pops falling off the sticks? Did you skip the “glue” step? Always dip the stick in melted candy first—it acts like edible cement!
Still stuck? Message me—I’ve made every mistake so you don’t have to!
Share Your Christmas Cake Pops
I’d love to see your holiday creations! Snap a pic of your festive cake pops and tag me—nothing makes me happier than seeing your edible masterpieces. Happy baking, friends!
Print
Magical Christmas Cake Pops in 7 Easy Steps
- Total Time: 1 hour 15 minutes
- Yield: 24 cake pops 1x
- Diet: Vegetarian
Description
Delicious and festive cake pops perfect for Christmas celebrations. These bite-sized treats are fun to make and enjoy with family and friends.
Ingredients
- 1 box of chocolate cake mix
- 1 cup of frosting
- 1 bag of candy melts (red and green)
- 24 lollipop sticks
- Sprinkles for decoration
Instructions
- Bake the cake according to the package instructions and let it cool.
- Crumble the cake into fine crumbs in a large bowl.
- Mix in the frosting until the mixture holds together.
- Roll the mixture into small balls and place them on a baking sheet.
- Chill the balls in the refrigerator for 30 minutes.
- Melt the candy melts in separate bowls.
- Dip the lollipop sticks into the melted candy and insert them into the cake balls.
- Dip each cake pop into the melted candy, coating it completely.
- Decorate with sprinkles while the coating is still wet.
- Let the cake pops set on a stand or styrofoam block.
Notes
- Store cake pops in an airtight container for up to 3 days.
- Use a deep bowl for easier dipping.
- If the mixture is too sticky, add more cake crumbs.
- Prep Time: 20 minutes
- Cook Time: 25 minutes
- Category: Dessert
- Method: Baking
- Cuisine: American
Nutrition
- Serving Size: 1 cake pop
- Calories: 150
- Sugar: 10g
- Sodium: 120mg
- Fat: 6g
- Saturated Fat: 3g
- Unsaturated Fat: 2g
- Trans Fat: 0g
- Carbohydrates: 22g
- Fiber: 1g
- Protein: 2g
- Cholesterol: 15mg
Keywords: christmas cake pops, holiday treats, festive desserts


