
I’ll never forget the first time I made chocolate covered strawberries – it was for my best friend’s bridal shower, and I was determined to impress. Picture this: me at midnight, surrounded by melting chocolate and a mountain of strawberries, convinced I could create something bakery-worthy. And you know what? It worked! That’s the magic of this recipe – it turns simple ingredients into something that feels luxurious with barely any effort. Now these chocolate-dipped beauties are my go-to for everything from Valentine’s Day to “just because” Tuesday treats. The best part? You probably have everything you need right in your kitchen already!
Why You’ll Love These Chocolate Covered Strawberries
Let me tell you why these little gems are my secret weapon for every occasion:
- Effortless elegance: They look like you spent hours, but honestly? 15 minutes tops.
- Total crowd-pleasers: I’ve yet to meet someone who doesn’t light up when they see these.
- Endlessly customizable: Dark chocolate for the grown-ups, rainbow sprinkles for the kids – everyone gets their perfect bite.
- Instant mood-lifters: Bad day? One bite of that crisp strawberry and velvety chocolate combo fixes everything.
Trust me, once you try them, you’ll be finding excuses to make them weekly!
Ingredients for Chocolate Covered Strawberries
Here’s what you’ll need to make these irresistible treats:
- 1 pound fresh strawberries, washed and dried thoroughly (no shortcuts here!)
- 8 ounces high-quality chocolate, chopped (dark, milk, or white – your choice!)
- 1 tablespoon coconut oil or butter (optional, but it makes the chocolate extra smooth)
Ingredient Notes & Substitutions
A few quick tips before we dive in:
- If you’re going vegan, swap in dairy-free chocolate – it works just as well.
- You can skip the coconut oil or butter, but I love how it gives the chocolate that perfect glossy finish.
- And please, I beg you, make sure those strawberries are completely dry – even a drop of water can make your chocolate seize up. Trust me, I’ve learned this the hard way!
Equipment You’ll Need
Grab these basics – you probably have most already:
- Baking sheet lined with parchment paper (no sticking disasters!)
- Microwave-safe bowl for melting chocolate (I use my trusty Pyrex)
- Optional but fancy: Double boiler if you want to melt chocolate the old-school way
That’s it! No fancy gadgets needed – just like Grandma would’ve done it (but with a microwave shortcut).
How to Make Chocolate Covered Strawberries
Okay, let’s get dipping! I’ve made enough chocolate strawberries to know these simple steps guarantee perfect results every time. Follow along – it’s seriously so easy you’ll laugh.
Step 1: Prep the Strawberries
First things first: dry those berries like your chocolate’s life depends on it (because it kinda does). After washing, I pat each one carefully with paper towels, then let them air dry for about 10 minutes while I get everything else ready. Even slightly damp strawberries can make your chocolate grainy – we don’t want that!
Step 2: Melt the Chocolate
Here’s my foolproof microwave method: chop your chocolate (small pieces melt faster!), then microwave in 30-second bursts, stirring well between each. When it’s about 75% melted, I stop – the residual heat will finish the job. That’s when I stir in the coconut oil if using (it makes the chocolate extra dippable). Pro tip: If your bowl feels hot, let it cool slightly before dipping – too-hot chocolate makes the berries sweat (yuck!).
Step 3: Dip and Set
Hold each strawberry by the stem (or use a fork if stems are gone) and dip about 3/4 of the way into the chocolate. Give it a gentle twist as you lift to let excess drip off – this gives that perfect even coating. Place them on your parchment-lined tray, leaving space between each. Now the hard part: waiting! Let them set at room temp for about 20 minutes, or pop them in the fridge for 10 if you’re impatient like me.
Tips for Perfect Chocolate Covered Strawberries
After making hundreds (okay, maybe thousands) of these over the years, I’ve picked up some game-changing tricks:
- Room temp berries are key – cold strawberries cause the chocolate to set too fast and crack. I take mine out of the fridge 30 mins before dipping.
- The tap technique: Gently tap your wrist 2-3 times after dipping to knock off excess chocolate – saves you from puddles and gives that perfect coating.
- Chill for shine: 10 minutes in the fridge sets the chocolate with that gorgeous glossy finish. But don’t leave them too long or they’ll sweat when they come out!
- Work fast in humidity: On muggy days, I dip near my AC vent – chocolate stays smoother longer when the air’s dry.
Follow these and your strawberries will look (and taste!) straight from a chocolatier’s case.
Variations & Decorating Ideas
Oh, this is where the real fun begins! Once you’ve mastered the basic dip, try these easy upgrades:
- Chocolate contrast: Melt white and dark chocolate separately, then drizzle them in zigzags over your dipped berries – instant bakery-worthy finish!
- Crunch factor: Roll the chocolate-dipped ends in crushed nuts, toffee bits, or even crushed pretzels while still wet.
- Festive flair: For holidays, use colored sprinkles or edible glitter – kids go wild for these.
- Grown-up twist: Add a pinch of sea salt or espresso powder to dark chocolate for sophisticated depth.
My personal favorite? Half-dipped in dark chocolate, half in white – it’s like a strawberry yin-yang of deliciousness!
Serving & Storage
The perfect moment to serve these beauties? When they’re at room temperature – that’s when the chocolate snaps just right against the juicy strawberry. Trust me, it’s worth waiting those extra 10 minutes after taking them out of the fridge!
For storage (if they somehow don’t get eaten immediately), pop them in a single layer in an airtight container with parchment between layers. They’ll keep beautifully in the fridge for about 2 days – though I’ve never managed to make them last that long! Pro tip: Don’t freeze them – strawberries turn mushy when thawed, and that’s just sad.
Nutritional Information
Here’s the scoop on what you’re biting into (based on 3 dark chocolate-dipped strawberries): about 150 calories with 12g sugar and 2g fiber. But remember – these numbers change if you go wild with toppings or switch to milk chocolate! Nutrition’s always an estimate with treats this customizable.
Frequently Asked Questions
Here are answers to all those little chocolate strawberry dilemmas that used to keep me up at night:
Can I use frozen strawberries?
Oh honey, no! Frozen berries turn to mush when thawed. I learned this the hard way during a Valentine’s Day disaster. Fresh, firm strawberries are the only way to go for that perfect chocolate-covered crunch.
Help! My chocolate seized – how do I fix it?
Don’t panic! I’ve rescued many a seized chocolate batch. Stir in a teaspoon of vegetable oil or shortening (not butter – the water makes it worse). Heat gently while stirring until smooth again. Crisis averted!
How far ahead can I make these?
The magic window is 24 hours max. After that, the berries start weeping and the chocolate gets dull. For best results, I always make them the day of serving. The good news? They come together so fast!
Why does my chocolate coating crack when it sets?
This drove me nuts until I figured it out! Cold strawberries are usually the culprit. Let them sit out for 30 minutes before dipping – the temperature shock makes the chocolate contract and crack. Room temp berries = perfect smooth shells every time.
Final Thoughts
Now go make those chocolate strawberries! I can’t wait to hear how yours turn out – tag me in your photos so I can drool over your creations. Happy dipping!
Print
15-Minute Chocolate Covered Strawberries Perfection
- Total Time: 15 minutes
- Yield: 1 pound (about 12-15 strawberries) 1x
- Diet: Vegetarian
Description
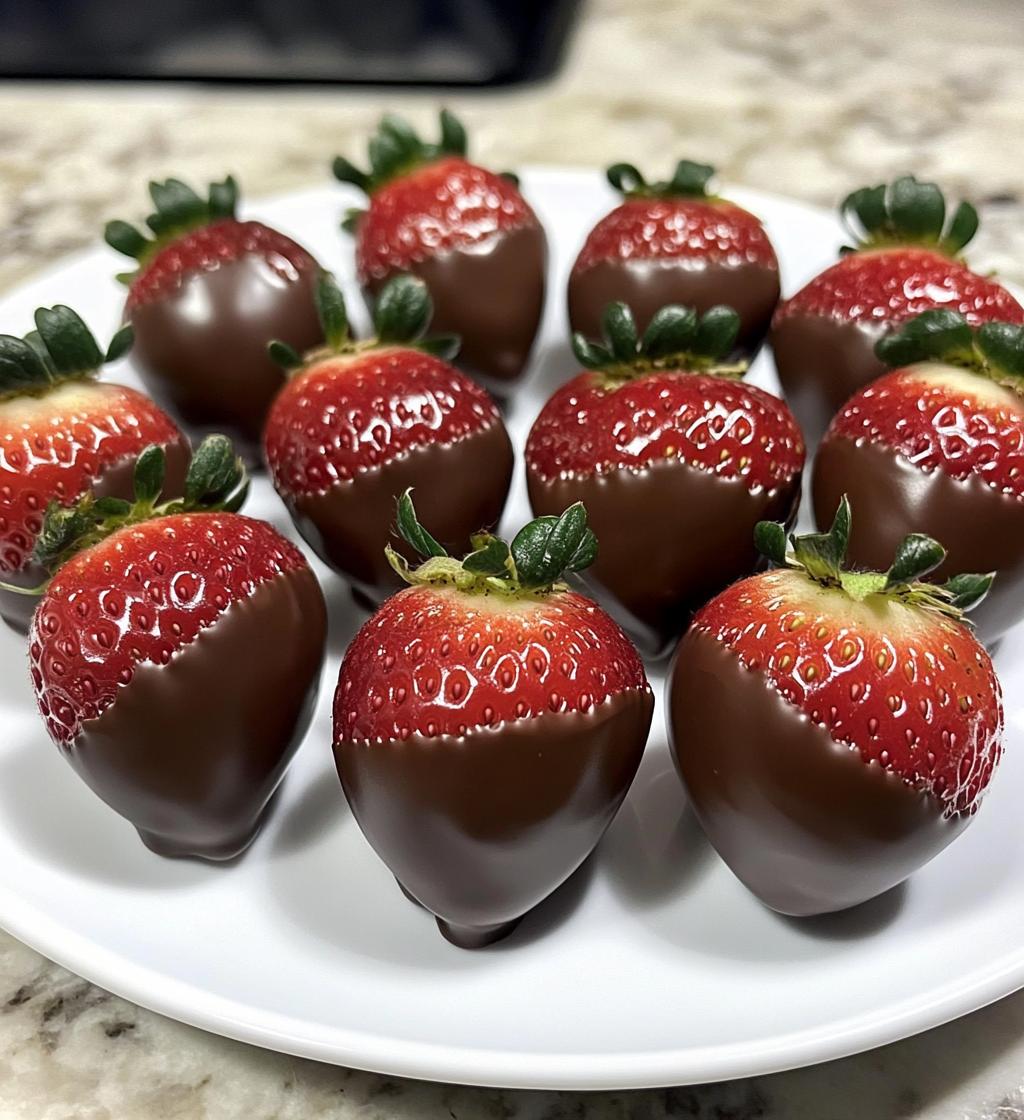
A simple and delicious treat, chocolate covered strawberries are perfect for any occasion. Fresh strawberries dipped in melted chocolate create a sweet and elegant dessert.
Ingredients
- 1 pound fresh strawberries, washed and dried
- 8 ounces chocolate (dark, milk, or white)
- 1 tablespoon coconut oil or butter (optional, for smoother texture)
Instructions
- Line a baking sheet with parchment paper.
- Melt chocolate in a microwave-safe bowl in 30-second intervals, stirring between each until smooth. Add coconut oil or butter if desired.
- Hold strawberries by the stem and dip into melted chocolate, coating evenly.
- Place dipped strawberries on the parchment paper.
- Let chocolate set at room temperature or refrigerate for 15-20 minutes.
- Serve and enjoy.
Notes
- Use high-quality chocolate for the best flavor.
- Make sure strawberries are fully dry before dipping to prevent chocolate from seizing.
- For extra flair, drizzle with a contrasting chocolate color.
- Prep Time: 10 minutes
- Cook Time: 5 minutes
- Category: Dessert
- Method: No-Bake
- Cuisine: International
Nutrition
- Serving Size: 3 strawberries
- Calories: 150
- Sugar: 12g
- Sodium: 5mg
- Fat: 8g
- Saturated Fat: 5g
- Unsaturated Fat: 2g
- Trans Fat: 0g
- Carbohydrates: 18g
- Fiber: 2g
- Protein: 2g
- Cholesterol: 5mg
Keywords: chocolate covered strawberries, easy dessert, chocolate strawberries, no-bake dessert


