
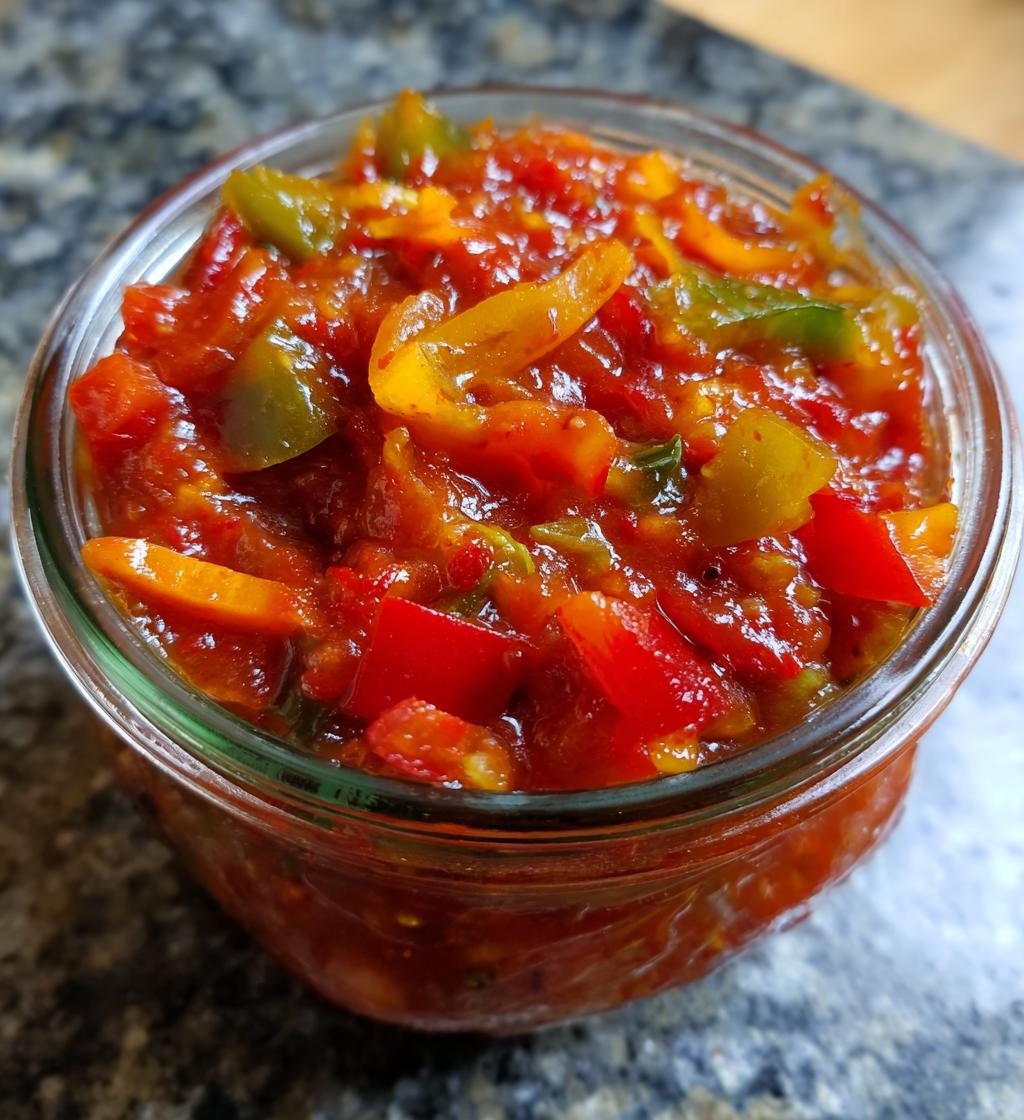
There’s something incredibly satisfying about making your own homemade chili sauce. The aroma of simmering tomatoes and spices fills the kitchen, wrapping you in a warm hug that hints at all the delicious meals to come. And let me tell you, this chili sauce recipe canning is not just a simple project; it’s a way to preserve those vibrant summer flavors for chilly winter nights. I remember the first time I attempted canning my own chili sauce. I was a bit nervous, but with each jar I filled, I felt more like a kitchen wizard conjuring up magic! The thrill of popping those lids and knowing I had created something special for my family was beyond rewarding.
Plus, canning is a fantastic way to reduce waste and use up all those ripe tomatoes from the garden or the farmer’s market. You get to control the flavors, adjust the spice levels to your liking, and create a product that’s free from any preservatives. Trust me, once you taste your homemade chili sauce, you’ll never want to go back to store-bought again! So, roll up your sleeves and let’s dive into this delightful journey of canning your own chili sauce!
Why You’ll Love This Chili Sauce Recipe Canning
This chili sauce recipe is a true gem, and you’ll absolutely love it for so many reasons! Here are just a few of the fantastic benefits that come with making your own chili sauce and canning it:
- Ease of Preparation: With just a handful of chopped veggies and spices, you can create a flavorful sauce without any fuss. The ingredients come together in no time!
- Unmatched Flavor: You get to control every aspect of the taste! Adjust the spices and sweetness to suit your palate, making it as mild or spicy as you like.
- Satisfaction of Home Canning: There’s nothing quite like the feeling of pulling a jar off the shelf that you made yourself. It’s like holding a piece of summer sunshine in your hands, ready to brighten up your winter meals!
- Healthy and Preservative-Free: You know exactly what’s going into your chili sauce, so you can avoid any unwanted additives or preservatives. Just wholesome ingredients that you can feel good about feeding your family.
- Great for Gift Giving: Beautifully canned jars of chili sauce make for thoughtful and personal gifts! Your friends and family will love receiving a taste of your kitchen magic.
Once you experience the joy and deliciousness of this homemade chili sauce, you’ll be hooked! Let’s get started on this flavorful adventure together!
Ingredients for Chili Sauce Recipe Canning
Gathering the right ingredients is the first step in this culinary adventure! Here’s what you’ll need for this mouthwatering chili sauce, along with a little insight into each component:
- 10 cups tomatoes, chopped: Fresh, ripe tomatoes are the star of the show! Make sure to chop them up into bite-sized pieces. You can use a mix of varieties for a more complex flavor, but I recommend Romas for their sweetness and low moisture.
- 3 cups bell peppers, chopped: Choose a colorful mix of bell peppers—red, yellow, and green—for a vibrant sauce. Chop them into small pieces to blend seamlessly into the chili sauce.
- 2 cups onions, chopped: Onions add a sweet and savory depth. I like using yellow onions for their balanced flavor. Chop them finely to ensure they cook down well.
- 1 cup vinegar: This acts as a preserving agent and adds tanginess to your sauce. I prefer using apple cider vinegar for a milder flavor, but white vinegar works great too!
- 1/2 cup sugar: This sweetens the sauce and balances the acidity. You can adjust this to your taste—feel free to use less if you prefer a more savory sauce.
- 1/4 cup salt: Salt not only enhances flavor but also helps with preservation. Use kosher salt for best results; it dissolves easily and doesn’t leave a metallic taste.
- 4 cloves garlic, minced: Fresh garlic adds a wonderful aroma and flavor. Mince them finely so they distribute evenly throughout the sauce.
- 2 tablespoons chili powder: This is where the heat comes in! You can adjust the amount based on your spice preference. I like to use a blend of chili powders for a more complex flavor profile.
- 1 teaspoon black pepper: Freshly ground black pepper brings a subtle warmth. Adjust this as well if you want to kick up the heat a notch!
Once you’ve got all your ingredients lined up, you’re ready to dive into the next steps of making this delicious chili sauce. Let’s keep the momentum going!
How to Prepare Chili Sauce Recipe Canning
Now that we have our ingredients prepped and ready to go, it’s time to dive into the fun part: making and canning your delicious chili sauce! I promise, it’s easier than you think. Just follow these steps, and you’ll have jars of homemade goodness lined up on your shelves in no time!
Preparing the Jars
First things first—let’s make sure our jars and lids are squeaky clean and safe for canning! Sterilizing jars is crucial to prevent any unwanted bacteria from spoiling your lovely chili sauce.
Start by washing your jars and lids in hot, soapy water. Rinse them thoroughly and then place them in a large pot filled with water. Bring it to a boil and let them boil for about 10 minutes. If you’re using a dishwasher, you can run them through a hot cycle as an alternative. Just make sure they stay warm until you’re ready to fill them. Trust me, you don’t want to put hot sauce into cold jars! That can lead to cracks, and we definitely don’t want that!
Mixing the Ingredients
Now onto the fun part—mixing everything together! Grab a large pot and toss in all your chopped tomatoes, bell peppers, onions, and minced garlic. Once they’re all in there, add your vinegar, sugar, salt, chili powder, and black pepper. Give it a good stir to combine everything evenly. This step is key, so take your time to ensure all those flavors meld beautifully together. I like to use a wooden spoon for this—there’s just something satisfying about it!
As you mix, keep an eye out for any stubborn chunks of veggies. You want everything to blend nicely, so don’t be afraid to give it a little elbow grease!
Cooking the Chili Sauce
Once everything is mixed, it’s time to cook! Place your pot over medium-high heat and bring the mixture to a boil, stirring frequently to prevent any sticking. You’ll want to keep stirring to help all those flavors develop and to keep the bottom from scorching—nobody wants burnt chili sauce!
Once it’s bubbling away, reduce the heat to low and let it simmer for about 30 minutes. This is when the magic happens! The sauce will thicken and the aroma will fill your kitchen, making it hard to resist sneaking a taste. Just remember to stir every few minutes! I promise, the wait will be worth it when you get to enjoy that rich, flavorful sauce.
Filling and Sealing the Jars
After the sauce has simmered and smells heavenly, it’s time to fill our jars! Grab your sterilized jars and a ladle. Carefully ladle the hot chili sauce into each jar, leaving about 1/2 inch of headspace at the top. This is important for proper sealing!
Once filled, wipe the edges of the jars with a clean cloth to remove any residue. This ensures a tight seal. Now, place your sterilized lids on top and screw on the metal bands until they’re fingertip-tight. Don’t overdo it; you want them snug, but not so tight that the jars can’t breathe during processing!
Processing in a Boiling Water Bath
Finally, it’s time to process our jars! Fill a large pot or canner with enough water to cover the jars by at least an inch. Bring the water to a rolling boil, then carefully lower your filled jars into the pot using a jar lifter. Make sure they’re upright and not touching each other.
Process the jars in the boiling water bath for 15 minutes. This step is crucial for ensuring your chili sauce is safe and shelf-stable! Once the time is up, carefully remove the jars from the water and place them on a clean towel or cooling rack. You should hear those lovely “pops” as the lids seal. Don’t touch them for a bit—let them cool completely before storing. And just like that, you’ve made your very own chili sauce!
Tips for Success with Your Chili Sauce Recipe Canning
Now that you’re well on your way to creating your own delicious chili sauce, let’s make sure you get the best results possible. Here are some tried-and-true tips that I’ve learned over the years to ensure your canning adventure is a complete success!
- Adjust Spice Levels: Don’t be afraid to customize the spice levels to suit your taste! If you like it hot, add more chili powder or even some diced jalapeños. Conversely, if you prefer a milder sauce, reduce the chili powder and consider adding more bell peppers for sweetness.
- Check Your Jar Seals: After the jars have cooled, gently press the center of each lid. If it pops back, that means it didn’t seal properly, and you’ll want to refrigerate that jar and use it first. A good seal is vital for keeping your chili sauce safe and fresh!
- Label and Date Your Jars: It’s easy to forget when you made each batch! Label your jars with the date and contents so you can easily keep track of your delicious creations. Plus, it adds a nice personal touch!
- Experiment with Add-Ins: Feel free to throw in other ingredients like fresh herbs or spices to make the sauce your own. A splash of Worcestershire sauce or a handful of cilantro can add an exciting twist!
- Store Properly: Store your sealed jars in a cool, dark place. A pantry or basement is ideal! This will help maintain their flavor and shelf life. Just remember to rotate your stock, using the oldest jars first.
With these tips in your back pocket, you’re all set to create an amazing batch of chili sauce that will impress your family and friends. Happy canning!
FAQ About Chili Sauce Recipe Canning
As you embark on your chili sauce canning adventure, you might have a few questions along the way. Don’t worry—I’ve got you covered! Here are some common queries I hear, along with answers to help you feel more confident in your canning journey.
Can I adjust the spice level?
Absolutely! One of the best parts about making your own chili sauce is that you can tailor it to your taste buds. If you love a good kick, feel free to add more chili powder or even throw in some diced jalapeños or cayenne pepper for extra heat. Conversely, if you prefer a milder sauce, simply reduce the amount of chili powder. You can also increase the bell peppers for a sweeter balance. It’s all about finding that perfect flavor that suits you!
How long can I store canned chili sauce?
Your homemade chili sauce will keep beautifully! Typically, if properly sealed and stored in a cool, dark place, you can enjoy it for up to a year. However, for the best flavor, try to use it within 6-12 months. Just remember to keep an eye out for any signs of spoilage, like a bulging lid or off smells, before using a jar that’s been sitting for a while. Safety first!
What should I do if my jars didn’t seal?
Oops! If you notice that the lid of a jar hasn’t sealed (you can tell if it pops back when you press it), don’t panic! Simply refrigerate that jar and use it first. If you want to try sealing it again, you can reprocess it. Just remove the lid, check the rim for any food remnants, and then replace it with a new lid. Process it again in a boiling water bath for the recommended time. It’s a little hiccup in your canning adventure, but easily fixable!
Nutritional Information for Chili Sauce Recipe Canning
As you whip up this delightful chili sauce, it’s good to keep in mind that nutritional values can vary based on the specific ingredients you use and their brands. However, I’ve gathered some typical nutritional information for this recipe to give you an idea of what to expect!
Here’s a breakdown of the nutrition per serving, which is about 1 tablespoon of chili sauce:
- Calories: 20
- Sugar: 3g
- Sodium: 200mg
- Fat: 0g
- Saturated Fat: 0g
- Unsaturated Fat: 0g
- Trans Fat: 0g
- Carbohydrates: 5g
- Fiber: 1g
- Protein: 0g
- Cholesterol: 0mg
Keep in mind, these values are a great starting point, but feel free to make adjustments to the recipe according to your dietary needs or preferences. Enjoy your homemade chili sauce with confidence, knowing exactly what’s in it!
Storage & Reheating Instructions
Now that you’ve got your glorious jars of homemade chili sauce all sealed up, it’s time to talk about how to store them properly and bring them back to life when you’re ready to enjoy them!
First off, for storage, keep your sealed jars in a cool, dark place like a pantry or a basement. This is key to maintaining the flavor and quality of your chili sauce. Just make sure the jars are out of direct sunlight and away from heat sources—heat can affect the seal and flavor over time. Properly stored, your chili sauce can last up to a year, but I recommend using it within 6-12 months for the best taste. Don’t forget to label your jars with the date so you can keep track!
When it’s time to use your chili sauce, reheating it is a breeze! You can simply pour the desired amount into a saucepan and warm it over medium heat. Stir occasionally to ensure it heats evenly and doesn’t stick to the bottom. If you’re in a hurry, you can also pop it in the microwave! Just transfer the sauce to a microwave-safe container, cover it loosely (to avoid splatters), and heat in short bursts of 30 seconds, stirring in between, until it’s warm throughout. It’ll be ready to spice up your meals in no time!
And if you find you have leftovers after a meal, simply store any unused chili sauce in an airtight container in the fridge for up to a week. Just be sure to heat it thoroughly before serving again. You’ll be amazed at how versatile this chili sauce can be—perfect for dipping, drizzling, or adding to your favorite dishes!
Share Your Experience
I’d love to hear about your adventures with this chili sauce recipe! Have you tried canning it yourself? Maybe you’ve experimented with different spices or even added a unique ingredient? Whatever your experience, sharing is what makes this culinary journey even more special.
Leave a comment below and tell me about your favorite tweaks or any tips you’ve discovered along the way. Did you find a new way to enjoy your chili sauce? Or perhaps you’re a first-timer who just conquered canning? I want to celebrate your successes and learn from your experiences!
Remember, every jar tells a story, and your feedback can inspire others to dive into the world of canning. So go ahead, spill the beans (or should I say, the chili)! I can’t wait to read what you’ve got to share!
Print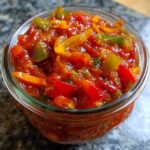
Chili Sauce Recipe Canning: 5 Steps to Blissful Flavor
- Total Time: 1 hour
- Yield: 6 pints 1x
- Diet: Vegetarian
Description
A simple chili sauce recipe ideal for canning.
Ingredients
- 10 cups tomatoes, chopped
- 3 cups bell peppers, chopped
- 2 cups onions, chopped
- 1 cup vinegar
- 1/2 cup sugar
- 1/4 cup salt
- 4 cloves garlic, minced
- 2 tablespoons chili powder
- 1 teaspoon black pepper
Instructions
- Prepare jars and lids for canning.
- Chop all vegetables and place in a large pot.
- Add vinegar, sugar, salt, garlic, chili powder, and black pepper.
- Bring the mixture to a boil, stirring frequently.
- Reduce heat and simmer for 30 minutes.
- Fill jars with hot chili sauce, leaving 1/2 inch headspace.
- Seal jars with lids and process in a boiling water bath for 15 minutes.
- Remove jars and let cool completely before storing.
Notes
- Adjust sugar and spice levels to your taste.
- Ensure jars are sterilized before use.
- Store in a cool, dark place.
- Prep Time: 30 minutes
- Cook Time: 30 minutes
- Category: Condiments
- Method: Canning
- Cuisine: American
Nutrition
- Serving Size: 1 tablespoon
- Calories: 20
- Sugar: 3g
- Sodium: 200mg
- Fat: 0g
- Saturated Fat: 0g
- Unsaturated Fat: 0g
- Trans Fat: 0g
- Carbohydrates: 5g
- Fiber: 1g
- Protein: 0g
- Cholesterol: 0mg
Keywords: chili sauce recipe canning


