
Let me tell you, there’s something absolutely magical about chicken cutlet recipes. They’re like a warm hug on a plate! This simple and delicious dish has a way of transforming ordinary chicken breasts into something truly special. The crunch of the golden coating paired with the juicy chicken inside? Wow, it just never gets old!
I remember the first time I made chicken cutlets for my family. It was a busy weeknight, and I needed something quick yet satisfying. I whipped up these cutlets, and as they sizzled in the pan, the aroma filled my kitchen, instantly making everyone’s mouths water. The best part? They were a hit! My kids couldn’t get enough, and my husband kept asking for more. I knew I had struck gold with this recipe.
Chicken cutlets are so versatile, too! You can serve them with a fresh salad, toss them in a sandwich, or even pair them with pasta for a delightful meal. Trust me, once you try making your own, you’ll understand why I keep coming back to this recipe. So grab your apron, and let’s dive into the wonderful world of chicken cutlet recipes together!
Ingredients List
Here’s what you’ll need to whip up these mouthwatering chicken cutlets. I promise, it’s a straightforward list that won’t overwhelm you!
- 2 chicken breasts, flattened to about 1/2 inch thickness
- 1 cup panko breadcrumbs (for that extra crunch!)
- 1/2 cup all-purpose flour
- 2 large eggs, beaten
- 1 tsp salt
- 1/2 tsp black pepper
- 1/2 tsp garlic powder
- 1/2 tsp paprika (for a hint of smokiness)
- Oil for frying (vegetable or canola works great!)
These ingredients are simple but make all the difference. Remember, fresh ingredients truly elevate the flavor, so let’s keep it fresh and delicious!
How to Prepare Chicken Cutlet Recipes
Now that you have your ingredients ready, let’s dive into making these delicious chicken cutlets! It’s a simple process that’ll have you feeling like a pro in no time. Just follow along, and you’ll have a plateful of crispy goodness in about 25 minutes!
Preparing the Chicken
The first step is all about preparing the chicken breasts. You want to flatten them to ensure they cook evenly and stay juicy. Place each chicken breast between two pieces of plastic wrap or parchment paper. Then, grab a meat mallet or rolling pin and gently pound them to about 1/2 inch thickness. This step is crucial for achieving that perfect texture. Trust me, you don’t want any thick spots that will cook unevenly!
Setting Up the Breading Station
Next up is setting your breading station. I like to set it up in this order: flour on one plate, beaten eggs in a shallow bowl, and breadcrumbs on another plate. Now, here’s the fun part: you’ll want to season your flour with salt, pepper, garlic powder, and paprika. This adds a delicious flavor right from the start! Mix it all together with a fork to ensure an even distribution of those spices. It really takes the flavor to the next level!
Breading the Chicken
Alright, it’s time to bread those chicken breasts! Here’s the order of operations: first, take a flattened chicken breast and dredge it in the seasoned flour, making sure to coat it evenly. Shake off any excess flour before moving on to the next step. Then, dip it into the beaten eggs, allowing any excess to drip off. Finally, coat it with the panko breadcrumbs, pressing gently to make sure they stick. Repeat this process for each chicken breast. You want that crispy coating to be thick and satisfying!
Frying the Chicken Cutlets
Now for the exciting part: frying! Heat about 1/4 inch of oil in a large skillet over medium heat. You’ll know it’s ready when a breadcrumb dropped in sizzles immediately. Carefully place the breaded chicken cutlets in the hot oil, making sure not to overcrowd the pan. Fry them for about 4-5 minutes on each side until they’re golden brown and crispy. Keep an eye on them, as cooking times may vary depending on your stove. Once they’re done, transfer the cutlets to a plate lined with paper towels to drain any excess oil.
Serving the Chicken Cutlets
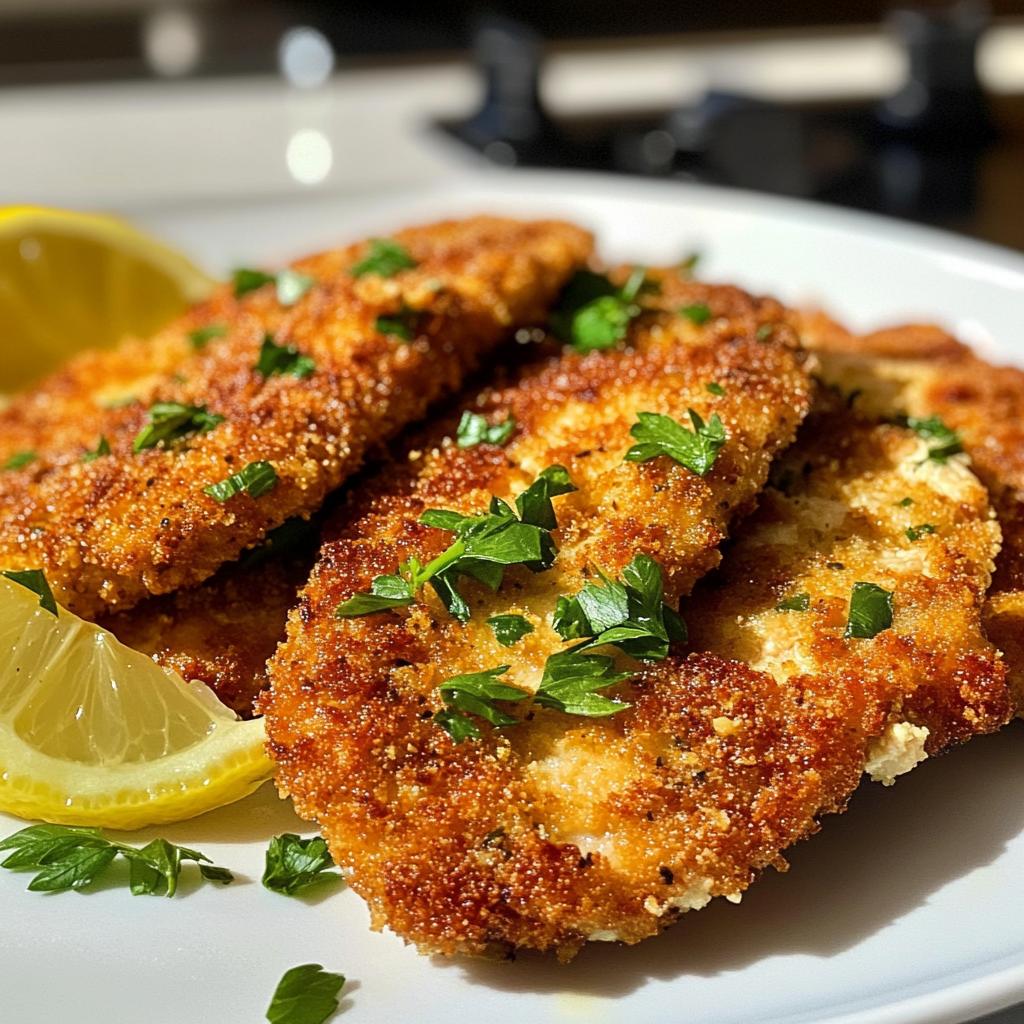
Finally, it’s time to enjoy your delicious chicken cutlets! They’re best served hot, so don’t wait too long to dig in. I love serving them with a fresh side salad or tossing them into a pasta dish for a hearty meal. You can also drizzle a little lemon juice over them for a zesty kick! Don’t forget to savor that crunch with every bite – it’s simply heavenly!
Tips for Success
To really nail these chicken cutlets, I’ve gathered some pro tips that’ll help you achieve that perfect crunch and juicy interior every single time. Trust me, these little details make all the difference!
Frying Techniques
When it comes to frying, temperature is key! Make sure your oil is hot enough before adding the cutlets. If it’s too cool, you’ll end up with soggy cutlets instead of that golden crisp we’re after. A good rule of thumb is to test the oil by dropping in a breadcrumb – if it sizzles right away, you’re good to go! Also, be careful not to overcrowd the pan, as this lowers the oil temperature and leads to uneven cooking. Fry in batches if necessary.
Using Panko Breadcrumbs
If you want extra crunch, definitely opt for panko breadcrumbs instead of regular ones. They’re larger and flakier, creating that amazing texture that we all love. If you’re feeling adventurous, you can even mix in some grated Parmesan cheese with the breadcrumbs for added flavor!
Seasoning Variations
Don’t be afraid to get creative with your seasonings! While the classic garlic powder and paprika are fantastic, you can experiment with other spices. A pinch of cayenne pepper adds a nice kick, or try Italian seasoning for a different flavor profile. Just remember to keep the seasoning consistent in the flour and breadcrumbs for a well-rounded taste!
Resting the Cutlets
After frying, let your chicken cutlets rest for a few minutes on the paper towels. This not only helps drain excess oil but also allows the juices to redistribute, keeping them nice and moist. You won’t want to skip this step!
Storing and Reheating
If you have leftovers (which is rare in my house!), store them in an airtight container in the fridge for up to three days. To reheat, pop them in the oven at 350°F (175°C) for about 10-15 minutes. This will help keep that crispy texture intact – no one likes a soggy cutlet!
With these tips, I guarantee you’ll be on your way to making chicken cutlets that would make anyone proud! Happy cooking!
Nutritional Information
Now, let’s talk about the nutritional aspects of our delicious chicken cutlets! Each serving packs a punch with flavor while still being mindful of what’s on your plate. Here’s a breakdown of the nutrition per serving:
- Serving Size: 1 cutlet
- Calories: 300
- Sugar: 1g
- Sodium: 500mg
- Fat: 15g
- Saturated Fat: 3g
- Unsaturated Fat: 10g
- Trans Fat: 0g
- Carbohydrates: 30g
- Fiber: 2g
- Protein: 25g
- Cholesterol: 70mg
Keep in mind that these values can vary based on the specific ingredients and brands you use. So, while I think these numbers are pretty accurate, they are not set in stone. It’s always a good idea to check your labels and adjust based on your preferences! Happy cooking and enjoy your chicken cutlet adventure!
FAQ Section
Got questions about chicken cutlet recipes? Don’t worry, I’ve got you covered! Here are some of the most common queries I hear, along with my tried-and-true answers.
Can I bake chicken cutlets instead of frying them?
Absolutely! If you prefer a healthier option, you can bake your chicken cutlets. Preheat your oven to 400°F (200°C). After breading, place the cutlets on a baking sheet lined with parchment paper. Spray them lightly with cooking spray or drizzle a bit of oil on top for that golden color. Bake for about 20-25 minutes, flipping halfway through, until they’re cooked through and crispy!
What can I use instead of panko breadcrumbs?
If you don’t have panko breadcrumbs on hand, no worries! You can use regular breadcrumbs, crushed crackers, or even cornflakes for a unique twist. Just keep in mind that the texture might vary slightly, but they’ll still be delicious!
How do I know when the chicken cutlets are done cooking?
Great question! The best way to check for doneness is to use a meat thermometer. The internal temperature should reach 165°F (75°C). If you don’t have one, you can also cut into a thick part of the cutlet – it should be opaque and no longer pink in the center.
Can I use frozen chicken breasts for this recipe?
It’s best to thaw your chicken breasts before cooking. Frozen chicken can cook unevenly, leading to dry edges and undercooked centers. If you’re in a pinch, you can thaw them quickly by placing them in a sealed bag and submerging it in cold water for about an hour.
What should I serve with chicken cutlets?
You’ve got so many options! I love serving them with a vibrant side salad or some pasta tossed in a light sauce. They also make fantastic sandwiches! Just add some lettuce, tomato, and your favorite condiments, and you’ve got a delicious meal. The possibilities are endless!
If you have any more questions or need additional tips, feel free to reach out! I’m always here to help you on your chicken cutlet journey!
Why You’ll Love This Recipe
This chicken cutlet recipe is an absolute winner for so many reasons! Here’s why you’re going to adore it:
- Super Simple Preparation: With just a few ingredients and straightforward steps, you’ll have these delicious cutlets on your table in no time!
- Incredible Flavor: The combination of spices in the flour and the crunch from panko breadcrumbs creates an explosion of taste with every bite.
- Versatility Galore: Whether you serve them alongside a fresh salad, in a sandwich, or over pasta, these cutlets adapt beautifully to any meal.
- Family-Friendly: Kids and adults alike love these crispy chicken cutlets! They’re perfect for picky eaters and a hit at family dinners.
- Meal Prep Dream: Leftovers store well in the fridge, making them a great option for quick lunches or dinners throughout the week.
- Customizable: Feel free to play with the seasonings or add cheese to the breading for your own twist!
With all these fantastic qualities, it’s no wonder this chicken cutlet recipe has become a staple in my kitchen. I can’t wait for you to experience the deliciousness for yourself!
Storage & Reheating Instructions
Now that you’ve enjoyed your delicious chicken cutlets, let’s talk about how to store any leftovers and keep that crispy goodness intact! Proper storage and reheating are key to enjoying these cutlets even days later.
First, make sure to let your chicken cutlets cool completely before storing them. This helps prevent condensation, which can make them soggy. Once they’re cooled, place them in an airtight container. You can also layer them between sheets of parchment paper to keep them from sticking together.
Store your chicken cutlets in the refrigerator for up to three days. If you want to keep them longer, consider freezing them! Just make sure to wrap them tightly in plastic wrap or aluminum foil, then pop them into a freezer-safe bag. They should be good for about 2-3 months in the freezer.
When it’s time to reheat, you’ll want to bring back that crispy texture! If you have leftovers from the fridge, the oven is your best friend. Preheat your oven to 350°F (175°C) and place the cutlets on a baking sheet lined with parchment paper. Bake for about 10-15 minutes, flipping them halfway through, until they’re heated through and crispy.
If you’re reheating frozen cutlets, it’s best to thaw them overnight in the fridge first. Then, follow the same oven reheating method. Alternatively, you can use an air fryer if you have one! Just set it to 375°F (190°C) and cook for about 8-10 minutes, checking for that perfect crisp.
With these simple storage and reheating tips, you can enjoy your chicken cutlets all over again! Happy eating!
Print
Chicken Cutlet Recipes: 7 Reasons to Love Them
- Total Time: 25 minutes
- Yield: 4 servings 1x
- Diet: Gluten Free
Description
A simple and delicious chicken cutlet recipe that is easy to make.
Ingredients
- 2 chicken breasts
- 1 cup breadcrumbs
- 1/2 cup flour
- 2 eggs
- 1 tsp salt
- 1/2 tsp pepper
- 1/2 tsp garlic powder
- 1/2 tsp paprika
- Oil for frying
Instructions
- Flatten the chicken breasts to even thickness.
- Set up a breading station with flour, beaten eggs, and breadcrumbs.
- Season the flour with salt, pepper, garlic powder, and paprika.
- Dredge each chicken breast in flour, then dip in the egg, and finally coat with breadcrumbs.
- Heat oil in a pan over medium heat.
- Fry the chicken cutlets until golden brown, about 4-5 minutes on each side.
- Drain on paper towels before serving.
Notes
- Use panko breadcrumbs for extra crunch.
- Serve with a side salad or pasta.
- Store leftovers in the refrigerator for up to 3 days.
- Prep Time: 15 minutes
- Cook Time: 10 minutes
- Category: Main Course
- Method: Frying
- Cuisine: American
Nutrition
- Serving Size: 1 cutlet
- Calories: 300
- Sugar: 1g
- Sodium: 500mg
- Fat: 15g
- Saturated Fat: 3g
- Unsaturated Fat: 10g
- Trans Fat: 0g
- Carbohydrates: 30g
- Fiber: 2g
- Protein: 25g
- Cholesterol: 70mg
Keywords: chicken cutlet recipes


