
Ah, aioli! Just the thought of it brings a smile to my face. This creamy, garlicky goodness has Mediterranean roots that stretch back centuries, and let me tell you, it’s a game-changer in the kitchen. Originating from the sun-kissed lands of Spain and France, aioli was traditionally made by mashing garlic with olive oil and egg yolks, creating a velvety sauce that elevates any dish it touches. Honestly, there’s something so satisfying about making a homemade aioli recipe from scratch – it’s like a little culinary magic right in your own kitchen!
This versatile condiment is perfect for dipping fresh veggies, slathering on sandwiches, or drizzling over grilled meats. You can even use it as a base to get creative, adding herbs or spices to suit your taste. The best part? It comes together in just about 10 minutes! Trust me, once you whip up this aioli, you’ll find yourself wanting to add it to everything. So, roll up your sleeves and let’s dive into the world of delicious aioli!
Ingredients for Aioli Recipe
To create the most delicious homemade aioli, you’ll need just a handful of simple ingredients. Each one plays a crucial role in making this sauce rich and flavorful. Here’s what you’ll need:
- 2 egg yolks – These are the foundation of your aioli, giving it that luscious creaminess.
- 2 cloves garlic, minced – Fresh garlic is key! It gives that punchy flavor we all love in aioli.
- 1 cup olive oil – Use a good quality extra virgin olive oil for the best taste. It really makes a difference!
- 1 tablespoon lemon juice – This adds a bright, zesty kick that balances the richness of the oil and yolks.
- Salt to taste – A little seasoning goes a long way in enhancing all those wonderful flavors.
How to Prepare Aioli Recipe
Now, let’s get into the fun part—making your aioli! It’s super simple, and I promise you’ll feel like a culinary rockstar when you’re done. Just follow these steps carefully, and you’ll have a creamy, garlicky delight ready to impress anyone who’s lucky enough to try it!
Step 1: Whisk Egg Yolks and Garlic
First things first, grab a bowl and add those luscious 2 egg yolks along with 2 cloves of minced garlic. Use a whisk or even a fork if that’s what you have handy! You want to mix these together until they’re well combined and a bit frothy. This usually takes about 1-2 minutes. This step is crucial because it sets the stage for that creamy texture we all crave. So, don’t rush it!
Step 2: Incorporate Olive Oil
Next up, it’s time to bring in the star of the show: the 1 cup of olive oil. Here’s the trick: you need to add it slowly—like really slowly—while whisking continuously. Start with just a few drops, whisking like your life depends on it. As you see it start to thicken, you can gradually increase the amount of oil you pour in. This step usually takes about 3-5 minutes of vigorous whisking, but trust me, it’s worth it! This is where that beautiful emulsion happens, turning your mixture into a creamy aioli.
Step 3: Add Lemon Juice and Seasoning
Once you’ve achieved that dreamy, thick consistency, it’s time to jazz it up! Slowly stir in 1 tablespoon of lemon juice and sprinkle in some salt to taste. The lemon juice not only brightens the flavor but also balances the richness of the olive oil and egg yolks. Mix everything well to ensure those flavors meld together beautifully. And here’s a little tip: taste your aioli at this stage! Adjust the seasoning if you feel it needs more zing or salt. You want it to sing!
Step 4: Serve or Store
Now that you’ve crafted your homemade aioli, it’s time to decide—will you serve it right away or save some for later? If you’re diving in immediately, scoop that creamy goodness into a serving dish and enjoy it with fresh veggies, crusty bread, or as a dip for your favorite snacks. If you’re not using it right away, simply transfer the aioli into an airtight container and pop it in the fridge. It’ll keep there for up to a week, but trust me, it might disappear before that! Just give it a gentle stir before serving again, as it may separate a bit in the fridge.
Why You’ll Love This Aioli Recipe
This homemade aioli recipe isn’t just delicious; it’s also packed with benefits that’ll make you fall in love with it even more. Here’s why you’ll want to whip up a batch:
- Quick Preparation: With just 10 minutes of your time, you can have a fresh, flavorful aioli ready to go. Perfect for those busy days when you want to impress without the stress!
- Fresh Ingredients: You’re using simple, wholesome ingredients you can trust. No preservatives or mystery additives here—just pure, garlic-infused goodness!
- Versatile Use: This aioli pairs beautifully with so many dishes! Whether you’re dipping crispy fries, spreading it on sandwiches, or using it as a dressing for salads, it’ll elevate your meals to a whole new level.
- Customizable: Feel free to get creative! You can add herbs, spices, or even a bit of heat with some cayenne or sriracha to make it uniquely yours.
- Impressive Flavor: The combination of garlic, olive oil, and lemon juice creates a taste explosion that’s hard to resist. Serve it to friends and watch their faces light up with every bite!
Tips for Success with Aioli Recipe
Making aioli is a delightful experience, but there are a few tips and tricks that can help you ensure it turns out perfectly every single time. Follow these handy pointers, and you’ll be a pro in no time!
- Use Room Temperature Ingredients: Make sure your egg yolks and olive oil are at room temperature before you start. This helps the emulsion come together smoothly and prevents any awkward separation. So, take them out of the fridge about 30 minutes before you begin!
- Fresh Garlic is Key: Trust me, using fresh garlic makes all the difference! It gives your aioli that vibrant, bold flavor. Avoid pre-minced garlic, as it tends to lose its punchy essence.
- Whisk Vigorously: Don’t be shy with that whisk! The more you whisk, the better your aioli will emulsify. If your arm gets tired, it’s totally okay to take a little break and switch arms!
- Go Slow with the Oil: As I mentioned earlier, drizzle in the olive oil slowly. Rushing this step can lead to a broken aioli, and nobody wants that! Patience is key here, so take your time.
- Taste as You Go: Your taste buds are your best friends in the kitchen! Don’t hesitate to taste your aioli after adding the lemon juice and salt. Adjust the seasoning to your liking, and make it your own!
- Store Properly: If you have leftovers (which is rare, but it happens!), store them in an airtight container in the fridge. Give it a gentle stir before serving again, as it might separate a bit. It’ll be good for up to a week, but I bet it won’t last that long!
Nutritional Information
When it comes to enjoying this delicious homemade aioli, it’s always nice to know what you’re putting into your body! Here’s a breakdown of the typical nutritional values per serving (about 1 tablespoon). Keep in mind that these are estimates and can vary based on specific ingredients and portions used:
- Calories: 90
- Fat: 10g
- Saturated Fat: 1.5g
- Unsaturated Fat: 8.5g
- Trans Fat: 0g
- Sodium: 0mg
- Carbohydrates: 0g
- Fiber: 0g
- Sugar: 0g
- Protein: 0g
- Cholesterol: 37mg
This aioli is rich and flavorful, and while it does pack some calories, it’s all about balance! Enjoy it in moderation as part of a well-rounded diet, and you’ll be savoring those delicious flavors guilt-free.
Frequently Asked Questions About Aioli Recipe
If you’re new to making aioli or just have a few burning questions, don’t worry—I’ve got you covered! Here are some of the most common questions I hear about this fabulous homemade aioli recipe, along with my answers to help you out.
Can I use a blender or food processor instead of whisking by hand?
Absolutely! If you prefer the ease of a blender or food processor, go for it! Just add the egg yolks and garlic first, blend until combined, and then slowly drizzle in the olive oil while the machine is running. It’ll still turn out creamy and delicious, but there’s something so satisfying about whisking by hand!
How long can I store aioli in the fridge?
You can store your homemade aioli in an airtight container in the fridge for up to a week. Just remember to give it a gentle stir before using it again, as it might separate a bit. But trust me, you’ll probably devour it long before that week is up!
Can I make aioli without egg yolks?
Yes, you can! If you’re looking for an egg-free version, you might consider using aquafaba (the liquid from canned chickpeas) as a substitute for the egg yolks. It’ll give you a similar creamy texture, and it’s a great vegan option. Just follow the same steps, and you’ll have a tasty aioli that fits your dietary needs!
What can I do if my aioli doesn’t thicken?
Oops! If your aioli doesn’t thicken, don’t panic. This can happen if the olive oil was added too quickly or if the ingredients were too cold. Try transferring the mixture to a new bowl and whisking in a little more egg yolk, or you can even blend it again with a bit more oil. Just go slow, and it should come together nicely!
What are some variations I can try with this aioli recipe?
The sky’s the limit here! You can easily customize your aioli by adding different herbs, like basil or dill, or spices such as smoked paprika or cayenne for a kick. You could even mix in some sun-dried tomatoes or roasted red peppers for a unique twist. Have fun experimenting and make it your own!
Serving Suggestions for Aioli
Now that you’ve whipped up your fabulous homemade aioli, let’s talk about the delicious ways you can enjoy it! This creamy, garlicky sauce is incredibly versatile, and I can’t wait to share some of my favorite pairings that will have your taste buds dancing with joy.
- Fresh Veggies: Serve aioli as a dip for a colorful platter of fresh vegetables like carrots, cucumbers, and bell peppers. It’s a healthy and satisfying snack that encourages everyone to munch on their greens!
- Crispy Fries: Nothing beats the classic combination of aioli and crispy fries. Whether they’re homemade or store-bought, a dollop of your creamy aioli takes this comfort food to new heights.
- Sandwiches and Wraps: Spread aioli on sandwiches or wraps instead of mayo for an extra burst of flavor. It’s fantastic with grilled chicken, roasted veggies, or even a classic BLT. Trust me, your lunch game will never be the same!
- Grilled Meats: Drizzle aioli over grilled meats like chicken, steak, or fish to elevate the dish. The richness of the aioli complements the smoky flavors beautifully, making every bite a delight.
- Salads: Use aioli as a dressing for salads to give them a creamy twist. Mix it with some greens, cherry tomatoes, and grilled shrimp for a simple yet elegant meal.
- Seafood: Aioli is a perfect match for seafood! Pair it with shrimp cocktails, calamari, or grilled fish for a Mediterranean-inspired feast.
- Bruschetta: Spread some aioli on toasted baguette slices, top with diced tomatoes, basil, and a drizzle of balsamic glaze for a delightful appetizer. It’s sure to impress your guests!
These are just a few ideas to get you started, but don’t hesitate to get creative! The beauty of this aioli recipe is that it can enhance just about any dish. So, grab your favorite foods, and let the aioli magic happen!
Storage & Reheating Instructions
So, you’ve made this delightful homemade aioli and are left with some leftovers—lucky you! Storing aioli properly is crucial to keep that garlicky goodness fresh and tasty. Here’s how to do it right:
First, transfer any leftover aioli into an airtight container. I love using glass jars because they seal tightly and help maintain the flavor. Make sure the container is clean and dry before adding the aioli. This will help it stay fresh for as long as possible.
Once it’s in the container, pop it in the fridge. Your homemade aioli will stay good for up to a week. Just be sure to give it a gentle stir before using again, as it might separate a bit in the fridge. But don’t worry, that’s totally normal!
Now, if you want to serve it again after refrigeration, there’s no need to heat it up—aioli is best enjoyed cold or at room temperature. Just take it out of the fridge about 10-15 minutes before you plan to use it, allowing it to warm up slightly. This enhances the flavors and makes it even more enjoyable!
And remember, if you notice any changes in texture or smell, it’s always better to err on the side of caution and toss it. But honestly, I bet it won’t last that long! Enjoy every creamy, garlicky bite!
Print
aioli recipe: 5 Steps to Creamy Perfection in 10 Minutes
- Total Time: 10 minutes
- Yield: 1 cup 1x
- Diet: Vegan
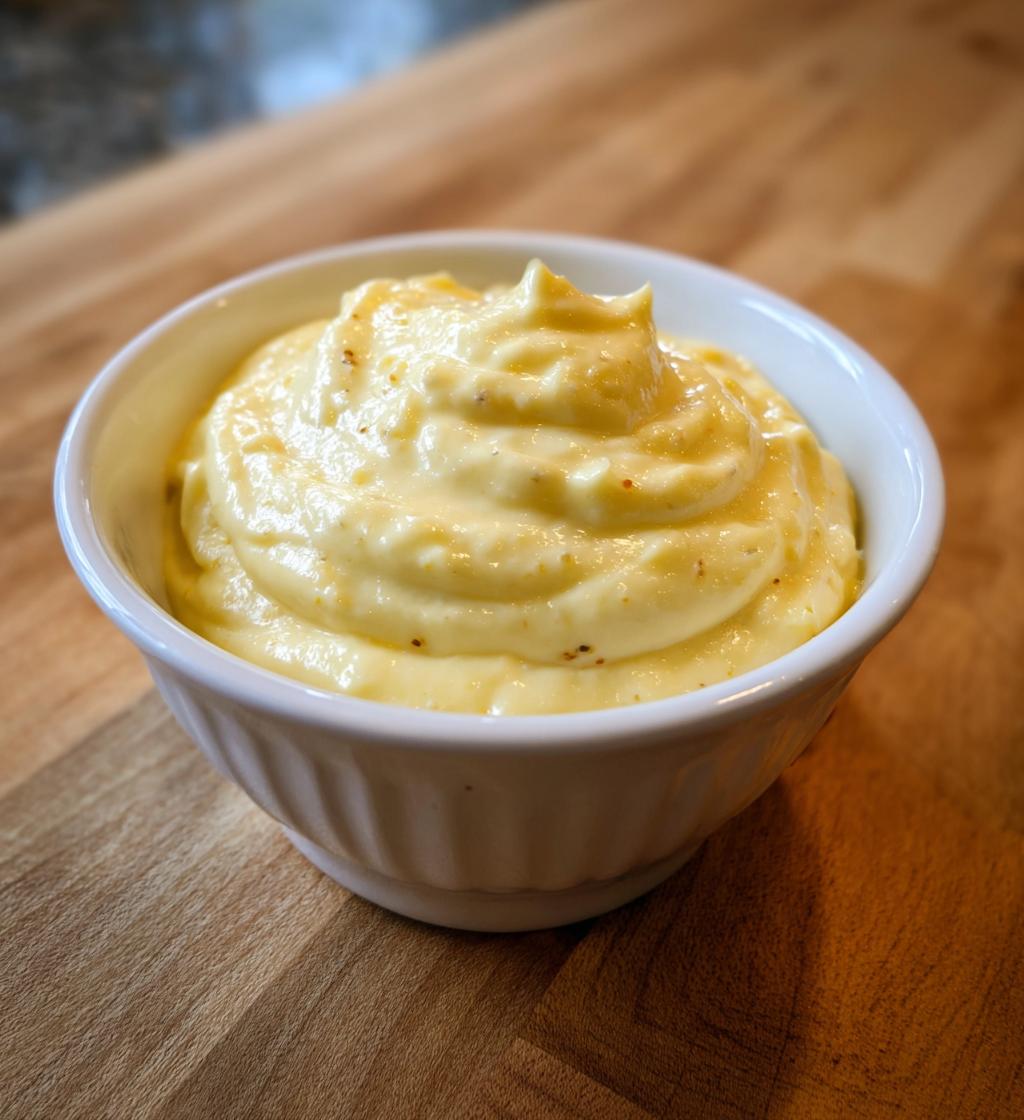
Description
A simple homemade aioli recipe using garlic, egg yolk, and olive oil.
Ingredients
- 2 egg yolks
- 2 cloves garlic, minced
- 1 cup olive oil
- 1 tablespoon lemon juice
- Salt to taste
Instructions
- In a bowl, whisk together egg yolks and garlic.
- Slowly drizzle in olive oil while whisking continuously until thickened.
- Add lemon juice and salt, and mix well.
- Adjust seasoning if needed.
- Serve immediately or refrigerate for later use.
Notes
- Use fresh garlic for best flavor.
- Ensure all ingredients are at room temperature.
- Store in the fridge for up to one week.
- Prep Time: 10 minutes
- Cook Time: 0 minutes
- Category: Condiment
- Method: Whisking
- Cuisine: Mediterranean
Nutrition
- Serving Size: 1 tablespoon
- Calories: 90
- Sugar: 0g
- Sodium: 0mg
- Fat: 10g
- Saturated Fat: 1.5g
- Unsaturated Fat: 8.5g
- Trans Fat: 0g
- Carbohydrates: 0g
- Fiber: 0g
- Protein: 0g
- Cholesterol: 37mg
Keywords: aioli recipe, homemade aioli, garlic sauce


