
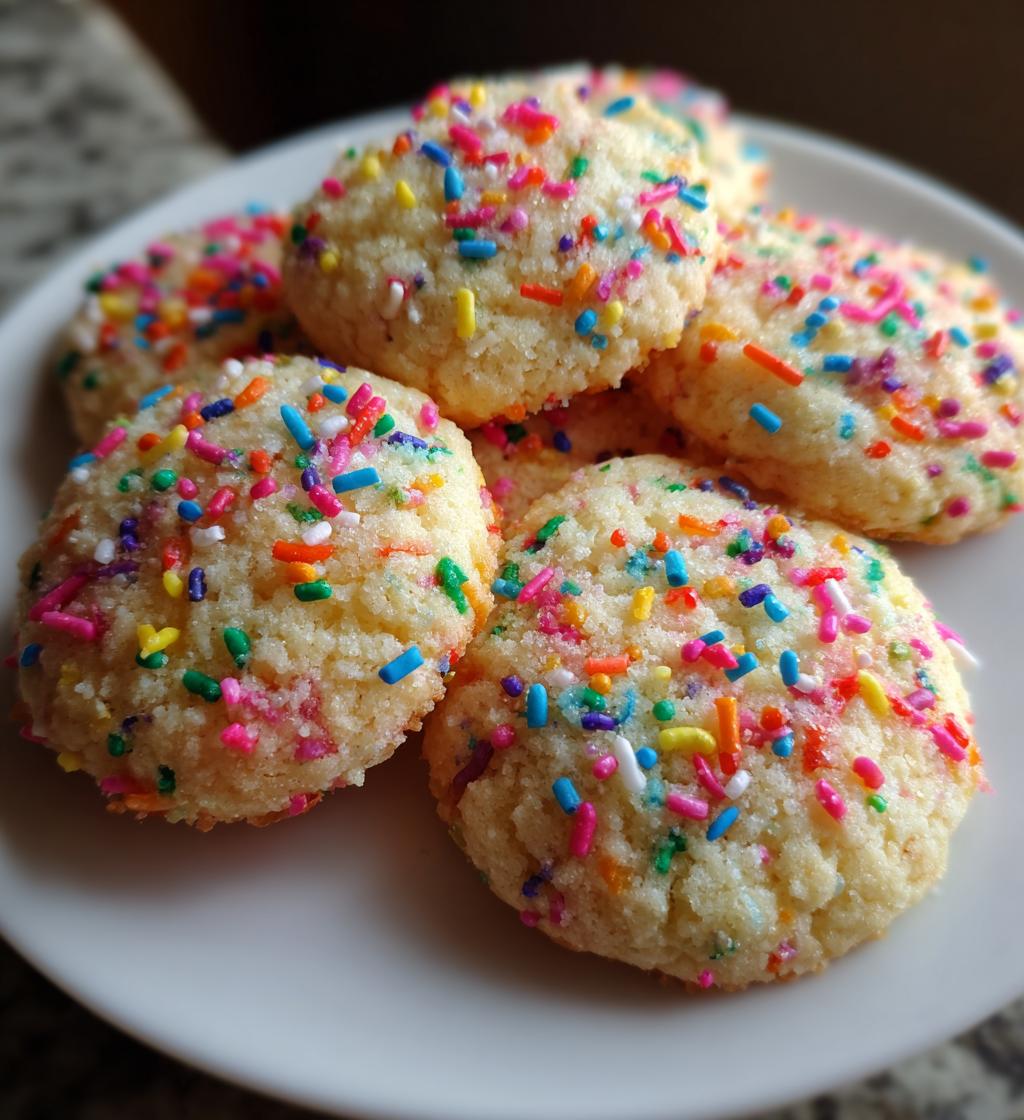
Spring has this incredible way of bringing joy and lightness into our lives, don’t you think? And what better way to celebrate the season than with some delightful spring cookies? These little treats are not just any cookies; they’re bursting with color and sweetness, making them perfect for any occasion, from brightening up a rainy day to celebrating a sunny picnic. I can still remember the first batch I made—my kitchen filled with the warm, buttery aroma and my kids’ laughter as they eagerly waited for the cookies to cool. Trust me, there’s something magical about watching those colorful sprinkles come to life in the oven, transforming simple dough into cheerful, edible art!
These spring cookies recipes are incredibly easy to whip up, and they’ll leave you with a smile on your face. Whether you’re sharing them with friends or keeping them all to yourself (no judgment here!), they’re sure to become a staple in your spring baking repertoire. So, let’s dive into making these delicious cookies that capture the essence of spring in every bite!
Ingredients for Spring Cookies Recipes
To create these delightful spring cookies, you’ll need just a handful of basic ingredients. Each one plays an important role in making your cookies light, sweet, and bursting with color. Here’s what you’ll need:
- 2 cups all-purpose flour
- 1 cup sugar
- 1/2 cup butter, softened to room temperature
- 1 large egg
- 1 teaspoon vanilla extract
- 1/2 teaspoon baking powder
- 1/4 teaspoon salt
- 1 cup colorful sprinkles (use any type you love!)
Make sure your butter is softened; this helps with creaming and creates that perfect cookie texture. You can use any sprinkles that catch your eye—rainbow, pastel, or even themed ones for a holiday! Now, let’s get ready to bake these beauties!
How to Prepare Spring Cookies Recipes
Now that we have our ingredients ready, it’s time to roll up our sleeves and start baking these delightful spring cookies! I promise you, it’s a simple process that’ll have your kitchen smelling heavenly in no time. Let’s break it down step by step!
Step 1: Preheat the Oven
First things first: preheating your oven to 350°F (175°C) is crucial! This step ensures that your cookies bake evenly right from the start. If the oven isn’t hot enough, your cookies could spread too much, leading to flat, sad treats instead of the lovely puffy ones we want. So, don’t skip this—set that temperature and let it warm up while you prepare your dough!
Step 2: Cream Butter and Sugar
Next, grab your softened butter and sugar, and let’s get creaming! In a large bowl, mix the butter and sugar together until the mixture is light and fluffy—this usually takes about 2-3 minutes. You’ll know it’s ready when it looks pale and has a smooth texture. Trust me, this step is the foundation for a soft and chewy cookie!
Step 3: Add Egg and Vanilla
Now, it’s time to add the star ingredients: the egg and vanilla extract. Crack that egg right into the bowl and pour in the vanilla. Mix everything together until it’s just combined. Be careful not to overdo it—just enough to blend it smoothly, and you’re golden!
Step 4: Combine Dry Ingredients
In a separate bowl, whisk together the flour, baking powder, and salt. This step helps distribute the baking powder evenly throughout the flour. Once mixed, you can gradually add this dry blend to your wet mixture. This ensures that you don’t have any unexpected clumps of flour in your cookies!
Step 5: Blend Wet and Dry Mixtures
Now, here’s where we combine the two! Pour the dry ingredients into the wet mixture and gently stir until everything is just combined. You’ll want to be careful not to overmix here, as that can lead to tougher cookies. A few flour streaks are totally okay—just make sure all the dry bits are incorporated.
Step 6: Fold in Sprinkles
Time for the fun part—adding the sprinkles! Gently fold them into the dough using a spatula. This technique keeps the cookie dough airy and light, ensuring those sprinkles are evenly distributed without breaking them up. Just a few folds until they’re sprinkled throughout, and you’re ready to go!
Step 7: Shape and Bake Cookies
Using a spoon or cookie scoop, drop generous spoonfuls of dough onto a lined baking sheet, leaving space between each to allow for spreading. Aim for about two inches apart. Pop those beauties in your preheated oven and bake for 10-12 minutes until the edges are lightly golden. You’ll want to keep an eye on them—every oven is different!
Step 8: Cooling
Once they’re out of the oven, let the cookies cool on the baking sheet for a few minutes to firm up. Then, transfer them to a wire rack to cool completely. This step is super important, as it helps them maintain their soft, chewy texture. And trust me, the wait is totally worth it when you finally sink your teeth into those colorful, sweet morsels!
Nutritional Information Section
When it comes to enjoying our delightful spring cookies, it’s always good to know what you’re indulging in! Here’s a breakdown of the typical nutritional values for each cookie. Keep in mind that these are estimates based on standard ingredients and serving sizes, so your results may vary slightly depending on your specific ingredients and portion sizes.
- Serving Size: 1 cookie
- Calories: 120
- Total Fat: 5g
- Saturated Fat: 3g
- Trans Fat: 0g
- Cholesterol: 15mg
- Sodium: 50mg
- Total Carbohydrates: 17g
- Dietary Fiber: 0g
- Sugars: 8g
- Protein: 1g
These spring cookies are a treat worth enjoying in moderation, especially with their light and sweet flavor. So go ahead, indulge a little, and savor the joy of spring with each delicious bite!
Tips for Success with Spring Cookies Recipes
Making these spring cookies is a breeze, but I’ve gathered some pro tips to ensure you achieve cookie perfection every time! First off, make sure your butter is truly softened, but not melted. If it’s too warm, your cookies might spread too much, leading to flat cookies. I like to take my butter out a bit earlier than I start preparing other ingredients; it makes a huge difference!
Another tip? Don’t skip the chilling step! If you have extra time, chill the dough for about 30 minutes before baking. This helps the cookies maintain their shape and results in a thicker, chewier texture. Plus, it gives the flavors a chance to meld together beautifully.
Watch the baking time closely! Every oven is a bit different, so start checking at the 10-minute mark. You want the edges to be lightly golden while the centers still look a tad soft. They’ll firm up as they cool, giving you that perfect chewy texture.
Lastly, feel free to get creative with your sprinkles! Try different colors, shapes, or even flavored sprinkles to make your cookies stand out. The more colorful, the better—after all, it’s spring!
Variations on Spring Cookies Recipes
If you’re feeling adventurous, there are so many fun ways to switch up these delightful spring cookies! For starters, try swapping out the colorful sprinkles for different kinds—think chocolate chips, crushed nuts, or even dried fruit like cranberries or apricots for a chewy twist. You can also experiment with flavors by adding a teaspoon of almond extract or lemon zest to the dough for a refreshing zing.
Feeling fancy? Toss in some white chocolate chips or coconut flakes for an added layer of sweetness and texture. Or, if you want to go all out, roll the cookie dough in crushed nuts or coconut before baking for a beautiful, crunchy exterior. The possibilities are endless, and each variation brings a unique touch to your spring baking adventures!
Serving Suggestions
These delightful spring cookies are perfect on their own, but why not elevate your treat experience? Pair them with a refreshing glass of iced tea or lemonade for a sweet and tangy balance. If you’re hosting a gathering, serve them alongside a light fruit salad or a scoop of vanilla ice cream for a delightful dessert spread. You could even plate them with some fresh strawberries or raspberries to enhance that spring vibe! Trust me, these combinations will make your cookies shine even brighter and create a memorable treat for everyone to enjoy!
Storage & Reheating Instructions
Once you’ve baked your delicious spring cookies, it’s important to store them properly to keep them fresh and tasty! Simply place your leftover cookies in an airtight container at room temperature. They’ll stay soft and delightful for about a week. If you want to keep them even longer, you can store them in the refrigerator, where they’ll last up to two weeks. Just make sure to let them come to room temperature before enjoying!
If you find yourself with leftover cookies that need a little warm-up, reheating is a breeze. Preheat your oven to 350°F (175°C) and place the cookies on a baking sheet for about 5-7 minutes. This will revive their soft, chewy texture, making them taste as good as the day they were baked. Alternatively, you can microwave a cookie for about 10-15 seconds for a quick warm-up—just be careful not to overdo it, or you’ll end up with a tough cookie!
FAQ Section
Q1: Can I use whole wheat flour instead of all-purpose flour in the spring cookies recipes?
Absolutely! You can substitute whole wheat flour for all-purpose flour, but keep in mind it may change the texture slightly. The cookies might be a bit denser, but they’ll still be delicious! Just make sure to monitor the baking time as they might need a little longer.
Q2: What if I don’t have sprinkles on hand?
No worries at all! If you don’t have sprinkles, you can easily swap them out for chocolate chips, nuts, or even dried fruit like cranberries or raisins. Get creative with whatever you have in your pantry, and your spring cookies will still turn out amazing!
Q3: How can I make these spring cookies recipes gluten-free?
You can definitely make these cookies gluten-free! Just use a 1:1 gluten-free baking flour blend in place of the all-purpose flour. Make sure to check that your baking powder is also gluten-free. The rest of the recipe remains the same, and you’ll still get those delicious, cheerful cookies!
Q4: Can I freeze the cookie dough for later use?
Yes, you can! If you want to prepare ahead, just scoop the dough into balls and freeze them on a baking sheet. Once they’re frozen solid, transfer them to an airtight container or freezer bag. When you’re ready to bake, just add a couple of extra minutes to the baking time when you pop them in the oven!
Q5: How do I know when the cookies are done baking?
Great question! You’ll want to keep an eye on your cookies as they bake. They’re done when the edges are lightly golden, and the centers look just a touch soft. They’ll firm up as they cool, giving you that perfect chewy texture we all love. Remember, it’s better to underbake slightly than to overbake and end up with dry cookies!

Spring Cookies Recipes to Brighten Your Day with 7 Tips
- Total Time: 27 minutes
- Yield: 24 cookies 1x
- Diet: Vegetarian
Description
Delicious spring cookies perfect for any occasion.
Ingredients
- 2 cups all-purpose flour
- 1 cup sugar
- 1/2 cup butter, softened
- 1 large egg
- 1 teaspoon vanilla extract
- 1/2 teaspoon baking powder
- 1/4 teaspoon salt
- 1 cup colorful sprinkles
Instructions
- Preheat your oven to 350°F (175°C).
- In a bowl, cream together butter and sugar until smooth.
- Add egg and vanilla extract, mix well.
- In another bowl, combine flour, baking powder, and salt.
- Gradually add dry ingredients to the wet mixture, stir until blended.
- Fold in sprinkles gently.
- Drop spoonfuls of dough onto a baking sheet.
- Bake for 10-12 minutes until edges are lightly golden.
- Let cool before serving.
Notes
- Store cookies in an airtight container.
- Use any type of sprinkles you prefer.
- Adjust baking time for larger cookies.
- Prep Time: 15 minutes
- Cook Time: 12 minutes
- Category: Dessert
- Method: Baking
- Cuisine: American
Nutrition
- Serving Size: 1 cookie
- Calories: 120
- Sugar: 8g
- Sodium: 50mg
- Fat: 5g
- Saturated Fat: 3g
- Unsaturated Fat: 2g
- Trans Fat: 0g
- Carbohydrates: 17g
- Fiber: 0g
- Protein: 1g
- Cholesterol: 15mg
Keywords: spring cookies recipes


