
There’s something undeniably magical about a snow day, isn’t there? As the world outside turns into a winter wonderland, I can’t help but feel a cozy excitement brewing in the kitchen. Snow days are all about snuggling up with a warm blanket, a good movie, and, of course, delicious snacks! That’s where my favorite snow day snacks food ideas come into play. They’re quick to whip up, and they bring a burst of joy that transcends the chill in the air.
I remember one particularly snowy afternoon when my kids and I decided to get creative. We tossed together our popcorn, pretzels, and a sprinkle of marshmallows, all while giggling and sipping hot cocoa. The kitchen filled with the sweet aroma of melted chocolate, and I knew we were onto something special. It became our little tradition to make these snacks together every snow day. There’s just something about the crunch and sweetness that warms your heart, making it a perfect treat to enjoy while watching the snowflakes dance outside. Let’s dive into these easy, scrumptious snacks that will make your snow day feel extra special!
Why You’ll Love This Recipe
Trust me, these snow day snacks food ideas are a total game changer! Here’s why you’re going to fall in love with this recipe:
- Quick Preparation: You won’t need to spend hours in the kitchen. With just 10 minutes of prep and 5 minutes of cooking, you’ll have a delightful snack ready in no time!
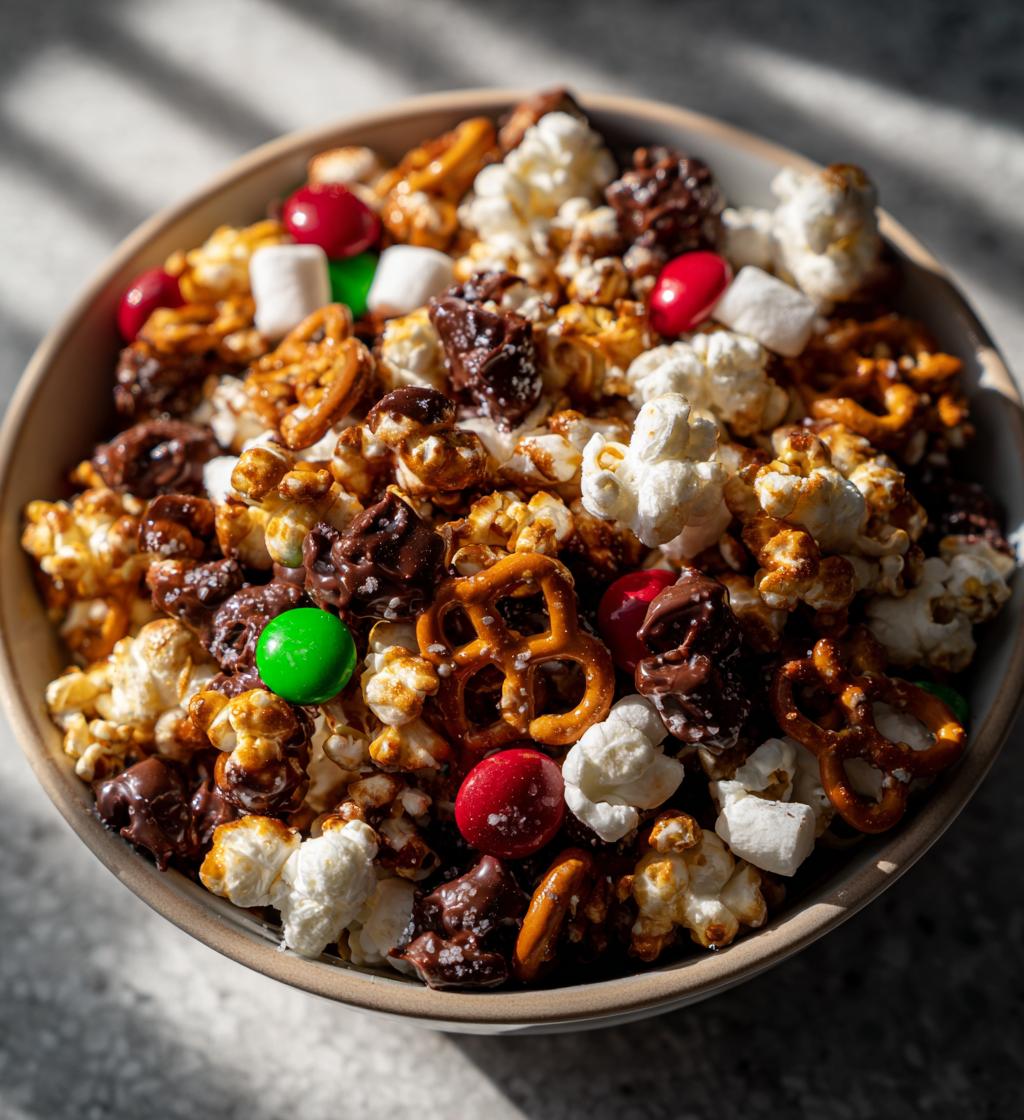
- Delicious Flavors: The combination of sweet chocolate, creamy peanut butter, crunchy pretzels, and soft marshmallows creates a delightful explosion of flavors and textures that will have your taste buds dancing.
- Family-Friendly Appeal: These snacks are perfect for everyone! Kids love the fun mix of ingredients, and adults will appreciate the nostalgic feel of munching on something so simple yet satisfying.
- Customizable: Feel free to get creative! You can easily add your favorite nuts or dried fruits to the mix, allowing everyone to personalize their snacking experience.
- Perfect for Sharing: Whether you’re enjoying a quiet afternoon at home or hosting friends for a snow day gathering, these snacks are perfect for sharing and spreading joy.
You’ll see, this recipe is not just about food; it’s about creating warm memories that you and your loved ones can cherish together during those snowy days. So grab your ingredients, and let’s make some magic happen in the kitchen!
Ingredients List
Gather up these simple yet delicious ingredients for your snow day snacks food ideas:
- 1 cup of popcorn kernels (unpopped)
- 1/2 cup of chocolate chips (semi-sweet)
- 1/4 cup of peanut butter (creamy)
- 2 cups of pretzels (mini or regular)
- 1/2 cup of marshmallows (mini or regular)
These ingredients blend together to create the perfect combination of crunch, sweetness, and coziness that is just ideal for those snowy afternoons! Make sure to have everything on hand before you dive into the fun of making these treats!
How to Prepare Instructions
Alright, let’s get cooking! Making these snow day snacks is a breeze, and I promise you’ll have a blast doing it. Just follow these steps, and soon enough, you’ll have a delicious treat ready to enjoy while watching the snow fall outside!
Step 1: Pop the Popcorn
First things first, let’s pop that popcorn! Grab a large pot with a lid or your trusty popcorn maker. If you’re using a pot, add about 1 tablespoon of oil (like coconut or vegetable oil) and heat it over medium-high heat. Once the oil is shimmering, toss in a few popcorn kernels to test if it’s hot enough – you’ll know it’s ready when they pop! Add the rest of your popcorn kernels, cover the pot, and shake it gently as it pops. This way, you avoid any burning and keep everything nice and fluffy! It should take about 3-4 minutes until you hear the popping slow down. When it’s done, carefully transfer the popped popcorn into a large mixing bowl.
Step 2: Melt the Chocolate and Peanut Butter
Now for the fun part – melting the chocolate and peanut butter! Grab a microwave-safe bowl and combine your chocolate chips and creamy peanut butter. Microwave the mixture in 30-second intervals, stirring in between to ensure it melts evenly. It usually takes about 1 to 1.5 minutes total, but keep an eye on it! You want it to be all smooth and glossy, not burnt! If you accidentally overheat it, don’t worry too much – just stir it gently, and it should come together.
Step 3: Combine the Snack Mix
With your popcorn popped and the chocolate-peanut butter mix ready, it’s time to bring everything together! In that large bowl with your popcorn, add the pretzels and marshmallows. Gently toss everything together to get an even distribution. You want those crunchy pretzels and fluffy marshmallows to be sprinkled throughout your popcorn. This step is all about the fun of mixing – get in there and enjoy the process!
Step 4: Coat the Mixture
Next, pour that delicious melted chocolate and peanut butter mixture over your snack mix. This is where the magic happens! Use a spatula or a wooden spoon to gently fold everything together, making sure every piece gets coated in that sweet, sticky goodness. It’s okay if it’s a little messy – that just adds to the charm! Just be careful not to crush the popcorn while mixing.
Step 5: Cool and Serve
Now, let’s get everything onto a baking sheet! Line one with parchment paper for easy cleanup, then spread your coated snack mixture evenly across it. This helps it cool and set properly. Allow it to cool for at least 15-20 minutes – I know, the waiting can be tough, but trust me, it’s worth it! Once it’s cool, break it into clusters and serve it up in bowls or snack bags. Enjoy your scrumptious snow day treats with family and friends!
Tips for Success
Want to make sure your snow day snacks food ideas are absolutely perfect? I’ve got you covered with some pro tips that will elevate your treat game to a whole new level!
- Use Fresh Ingredients: Always choose fresh popcorn kernels and quality chocolate chips. They make a world of difference in flavor and texture. Trust me, it’s worth it!
- Experiment with Mix-Ins: Don’t be afraid to get creative! Try adding nuts like almonds or walnuts for a satisfying crunch, or toss in dried fruits like cranberries or apricots for a chewy, sweet contrast. The sky’s the limit!
- Adjust the Sweetness: If you prefer less sweetness, you can reduce the amount of chocolate chips or peanut butter. It’s all about finding that perfect balance that suits your taste buds.
- Chill for Extra Crunch: For an extra crunchy texture, try placing the baking sheet in the fridge for about 30 minutes after it cools. This gives the chocolate a firmer bite, making it even more delightful to munch on!
- Double the Batch: If you’re expecting company or just want to stock up, double the recipe! These snacks disappear quickly, and having extra on hand is always a win on a snowy day.
- Portion Control: To avoid overindulging (though it’s hard not to!), consider pre-portioning the snacks into smaller bags or bowls. It makes for easy sharing and helps keep your snacking in check!
With these tips, you’ll be well on your way to creating the ultimate snow day snacks that your family and friends will rave about! Enjoy every moment in the kitchen, and don’t forget to savor those delicious bites together!
Variations
One of the best parts of these snow day snacks food ideas is how versatile they are! You can easily adapt this recipe to match your mood or what you have on hand. Here are some fun variations to inspire your creativity:
- Savory Twist: If you’re not in the mood for sweet, try adding some cheese-flavored popcorn instead of the traditional kind! You can also mix in some pretzel crisps or spicy nuts for a zesty kick that’s perfect for those who love a savory snack.
- Nutty Delight: Add your favorite nuts to the mix! Almonds, pecans, or cashews can give your snack an extra crunch and boost of protein. Just make sure to chop them up a bit if they’re large, so every bite is perfectly balanced.
- Fruit Fusion: Dried fruits like cranberries, raisins, or chopped apricots can add a chewy texture and a hint of natural sweetness. They’re a great way to introduce fruity flavors that complement the chocolate and peanut butter beautifully!
- Spiced Up: Want to warm things up a bit? Sprinkle in some cinnamon or pumpkin spice while mixing everything together. It adds a cozy, comforting flavor that’s perfect for winter days!
- Chocolate Variations: Experiment with different types of chocolate! Use white chocolate chips for a creamier flavor or dark chocolate for a richer, more decadent treat. You can even swirl in melted caramel for a sweet surprise!
- Seasonal Themes: For a festive touch, consider adding seasonal candies or sprinkles. Around the holidays, you can mix in red and green M&Ms, or during Halloween, use candy corn for a fun, colorful twist!
Feel free to mix and match these suggestions, and make this recipe your own! The beauty of cooking is that it’s all about experimenting and having fun. So, gather your favorite snacks and get creative in the kitchen. You’ll be amazed at the delightful combinations you can come up with!
Nutritional Information
Before we dive into the deliciousness, it’s worth noting that nutritional values can vary based on the specific ingredients and brands you choose. That said, here’s a general idea of what you can expect from a serving of these scrumptious snow day snacks:
- Calories: 250
- Total Fat: 10g
- Saturated Fat: 3g
- Unsaturated Fat: 5g
- Trans Fat: 0g
- Cholesterol: 0mg
- Sodium: 200mg
- Total Carbohydrates: 35g
- Dietary Fiber: 2g
- Sugars: 15g
- Protein: 3g
These snacks are not only packed with flavor but also provide a nice balance of carbs and protein, making them perfect for fuel on a cozy snow day. Enjoy every bite without guilt, knowing you’re munching on something that’s both delicious and enjoyable!
Storage & Reheating Instructions
So, you’ve made these delicious snow day snacks, and now you have some leftovers (if they last that long!). No worries, I’ve got you covered on how to store them properly and keep them tasting fantastic!
First off, let’s talk storage. Once your snack mix has fully cooled and set, transfer it to an airtight container. This is super important because it keeps the treats fresh and maintains that delightful crunch. Trust me, no one wants a soggy snack! You can keep them at room temperature for up to a week. If you’re like me and can’t resist snacking, they’ll probably be gone long before that!
If you want to enjoy them longer, you can also freeze the snack mix. Just make sure to use a freezer-safe container or a heavy-duty freezer bag. When you’re ready to dive back in, let the snacks thaw at room temperature for a few hours. This way, they’ll regain their texture, and you can enjoy them just like they were freshly made.
As for reheating, there’s usually no need for these snacks! They’re best enjoyed at room temperature. However, if you prefer a warm treat, you can pop a serving in the microwave for about 10-15 seconds to slightly soften the chocolate. Just be careful not to overheat, or you’ll end up with a melted mess!
With these storage and reheating tips, you can enjoy your snow day snacks whenever the craving hits. Happy snacking!
FAQ Section
Q1: How long can I store these snow day snacks?
You can store your snow day snacks in an airtight container at room temperature for up to a week. Just make sure they’re completely cooled before sealing them up to maintain their crunchiness!
Q2: Can I substitute any ingredients?
Absolutely! If you’re out of peanut butter, you can use almond butter or even sunflower seed butter for a nut-free option. Feel free to swap chocolate chips for other types like white chocolate or butterscotch chips too! The beauty of these snow day snacks food ideas is their flexibility.
Q3: What if I want to make these snacks healthier?
If you’re looking to lighten things up, consider using air-popped popcorn and reducing the amount of chocolate chips. You can also add more nuts or seeds for added nutrition without compromising on taste!
Q4: How many servings does this recipe make?
This recipe makes about 4 servings, but if you’re expecting company or just want to stock up for the week, feel free to double the recipe! These snacks disappear fast, especially on a cozy snow day.
Q5: Can I make these snacks ahead of time?
Yes, you can prepare these snow day snacks ahead of time! Just follow the recipe and store them in an airtight container. They’ll still taste amazing when you’re ready to enjoy them on a snowy afternoon!
Q6: Is it okay to use pre-packaged popcorn?
While I recommend popping your own popcorn for the best flavor and texture, using pre-packaged popcorn is perfectly fine if you’re in a pinch! Just make sure to choose a variety that’s low in salt and added flavors to keep things balanced.

snow day snacks food ideas for cozy winter delights
- Total Time: 15 minutes
- Yield: 4 servings 1x
- Diet: Vegetarian
Description
Delicious snacks to enjoy on a snow day.
Ingredients
- 1 cup of popcorn kernels
- 1/2 cup of chocolate chips
- 1/4 cup of peanut butter
- 2 cups of pretzels
- 1/2 cup of marshmallows
Instructions
- Pop the popcorn kernels according to package instructions.
- Melt the chocolate chips and peanut butter together in a microwave-safe bowl.
- In a large bowl, combine the popcorn, pretzels, and marshmallows.
- Pour the melted chocolate mixture over the snack mix and stir to coat evenly.
- Spread the mixture on a baking sheet and let it cool before serving.
Notes
- Feel free to add nuts or dried fruit for extra flavor.
- Store leftovers in an airtight container.
- Prep Time: 10 minutes
- Cook Time: 5 minutes
- Category: Snacks
- Method: Mixing and Melting
- Cuisine: American
Nutrition
- Serving Size: 1 serving
- Calories: 250
- Sugar: 15g
- Sodium: 200mg
- Fat: 10g
- Saturated Fat: 3g
- Unsaturated Fat: 5g
- Trans Fat: 0g
- Carbohydrates: 35g
- Fiber: 2g
- Protein: 3g
- Cholesterol: 0mg
Keywords: snow day snacks, snack ideas, winter snacks


