
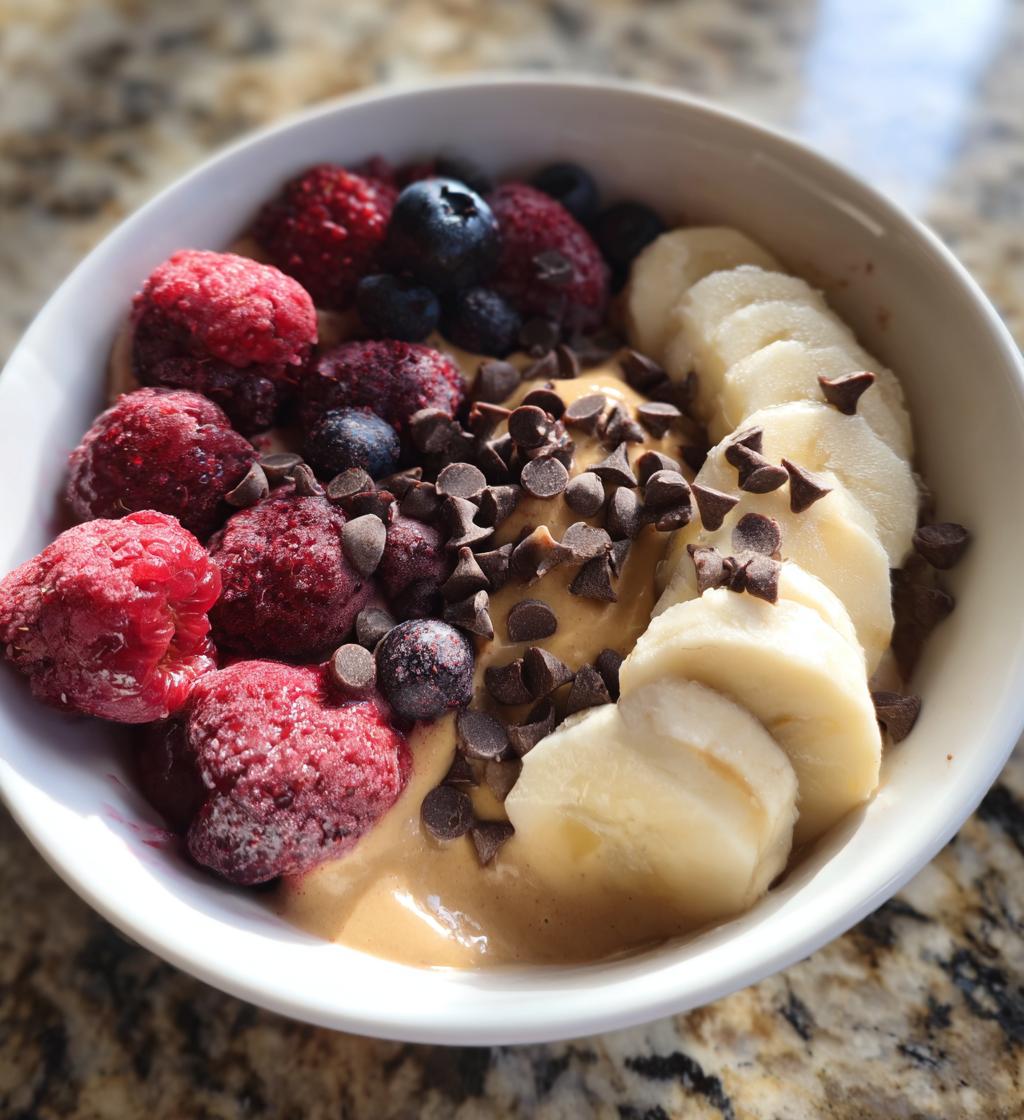
Who said healthy desserts can’t be delicious? I’ve always believed that indulging your sweet tooth doesn’t have to mean sacrificing your health. That’s where these Ninja ice cream recipes healthy come in! With just a handful of wholesome ingredients, you can whip up a creamy, dreamy dessert that feels like a treat but is packed with nutrients. I remember the first time I made ice cream using my Ninja blender—it was a hot summer day, and I just wanted something cold and refreshing. I tossed in some ripe bananas and frozen berries, and wow! The results were so good that I almost didn’t want to share with anyone. But the best part? It’s guilt-free, made without any artificial flavors or loads of sugar. Trust me, once you try this recipe, you’ll be hooked on making your own healthy ice cream right at home!
Ingredients List
Here’s what you’ll need to create your own deliciously healthy ice cream using your Ninja blender:
- 2 ripe bananas, sliced
- 1 cup unsweetened almond milk
- 1/2 cup Greek yogurt
- 1 tablespoon honey or maple syrup
- 1 teaspoon vanilla extract
- 1/2 cup frozen berries
- 1/4 cup dark chocolate chips
Make sure your bananas are nice and ripe for that perfect sweetness! And feel free to mix and match your favorite frozen fruits to suit your taste buds. Enjoy the process of creating something yummy and healthy!
How to Prepare Ninja Ice Cream Recipes Healthy
Getting started on your homemade healthy ice cream is super simple! Let’s break it down step-by-step, so you can enjoy this delightful treat in no time.
- Gather your ingredients: Make sure you have everything ready before you start. You’ll need your ripe bananas, unsweetened almond milk, Greek yogurt, honey or maple syrup, vanilla extract, frozen berries, and dark chocolate chips. It’s all about that prep!
- Blend it up: Place all the ingredients into your Ninja blender. Trust me, the order doesn’t matter much, but I like to put the liquids in first to help the blending process. This ensures everything mixes smoothly. Blend on high until you achieve a creamy, smooth consistency. You might need to stop and scrape down the sides a couple of times to get every last bit!
- Check the texture: Once blended, take a moment to taste the mixture! This is where you can adjust sweetness. If it needs a little more oomph, feel free to add more honey or syrup. Blend again briefly if you add anything.
- Chill it out: Pour the mixture into a bowl or a freezer-safe container. Here’s the crucial part—cover it tightly and place it in the freezer for about 2-3 hours. This step is key for achieving that firm ice cream texture. If you’re craving it right away, you can enjoy it soft-serve style right after blending, but trust me, the freeze makes a world of difference!
- Scoop and serve: After a few hours, check on your ice cream! It should be firm and ready to scoop. Use an ice cream scoop or a spoon to dish it out. I love topping mine with a few extra dark chocolate chips or a sprinkle of nuts for some crunch!
And there you go! It’s really that easy to whip up your own healthy ice cream. Just remember, if it seems a bit too hard after freezing, let it sit at room temperature for a few minutes before scooping. Enjoy your creamy creation!
Why You’ll Love This Recipe
- Quick Preparation: You can whip this up in just 10 minutes, making it the perfect last-minute dessert!
- Healthy Ingredients: Packed with wholesome ingredients like bananas, Greek yogurt, and berries, it’s a guilt-free treat.
- Deliciously Creamy: The blend of flavors creates an irresistibly smooth and creamy texture that you’ll crave.
- Customizable: Feel free to switch out fruits or sweeteners to match your taste preferences!
- Fun for Everyone: It’s a fantastic way to get kids involved in the kitchen while enjoying a healthy snack together.
Tips for Success
To get the best results when making your Ninja ice cream, I’ve got some handy tips that’ll elevate your creamy creation to new heights!
- Use super ripe bananas: The riper the bananas, the sweeter your ice cream will be! Look for ones with lots of spots for maximum flavor.
- Don’t skimp on the blending: A well-blended mixture is key to that smooth texture. If you find the mixture is too thick, add a splash more almond milk to help it along.
- Chill your ingredients: If you want to skip the freeze time, you can chill your almond milk and yogurt before blending. This helps achieve a nice, cold dessert right away!
- Experiment with textures: For a bit of crunch, consider folding in some chopped nuts or granola after blending, but do this gently to maintain that creaminess.
- Keep an eye on the freezing: Check your ice cream after 2 hours. If it gets too hard, just let it sit out for a few minutes before scooping!
With these tips in hand, you’re all set to create the most delicious and healthy ice cream using your Ninja blender!
Variations
One of the best parts about these Ninja ice cream recipes healthy is how easy it is to switch things up! Here are some fun variations to get your creative juices flowing:
- Berry Blast: Instead of just mixed berries, try using only strawberries or blueberries for a more pronounced flavor. You can even toss in a handful of spinach for a nutrition boost—trust me, you won’t taste it!
- Tropical Twist: Swap out the berries for pineapple and mango. This will give your ice cream a bright, tropical vibe that screams summer!
- Chocolate Peanut Butter Delight: Add 2 tablespoons of natural peanut butter and a few extra dark chocolate chips for a rich, indulgent treat that’s still on the healthier side.
- Spiced Apple Cinnamon: Blend in some cooked apples with a sprinkle of cinnamon for a cozy, fall-inspired ice cream.
- Minty Fresh: Add a few fresh mint leaves into the mix for a refreshing mint chocolate chip ice cream experience!
Feel free to mix and match your favorite ingredients and let your imagination run wild while keeping it healthy!
Storage & Reheating Instructions
Storing your homemade Ninja ice cream is a breeze! Simply transfer any leftovers into an airtight container and pop it in the freezer. It’ll stay fresh for about a week, although I bet it won’t last that long! If you find your ice cream has become too hard after freezing, just let it sit at room temperature for about 5-10 minutes before scooping. This will soften it up perfectly for that creamy texture you love. Don’t worry; it won’t lose its delicious flavor! Enjoy your guilt-free treat anytime you need a sweet pick-me-up!
Nutritional Information Section
When it comes to enjoying a sweet treat, knowing the nutritional details can help you feel even better about indulging! Here’s the estimated nutritional breakdown for one serving (1/2 cup) of this delicious Ninja ice cream:
- Calories: 150
- Fat: 5g
- Protein: 4g
- Carbohydrates: 25g
- Sugar: 10g
- Fiber: 3g
- Sodium: 50mg
Keep in mind that these values are estimates and can vary based on the exact ingredients you use. But one thing’s for sure—you’re treating yourself to something healthy and satisfying!
FAQ Section
Got questions about these Ninja ice cream recipes healthy? I’ve got answers! Here are some common queries that might pop up as you embark on your ice cream-making adventure.
- Can I use frozen bananas instead of fresh? Absolutely! Frozen bananas work great and will give your ice cream that creamy texture. Just make sure they’re fully ripe before freezing for maximum sweetness!
- Is this recipe vegan-friendly? Yes! With ingredients like almond milk and Greek yogurt, you can easily substitute the Greek yogurt for a plant-based yogurt to keep it completely vegan. Just make sure your sweetener is also vegan!
- How can I make this ice cream lower in sugar? You can reduce the amount of honey or maple syrup to your taste or even skip it altogether if your bananas are sweet enough. Adding more berries can also enhance flavor without extra sugar!
- Can I add protein powder to this recipe? Yes, you can! Adding a scoop of your favorite protein powder is a fantastic way to boost the protein content, making it a perfect post-workout treat.
- What if I don’t have a Ninja blender? No worries! Any high-speed blender will do the trick. Just ensure it’s powerful enough to blend frozen fruits smoothly.
Feel free to reach out if you have more questions—I love helping fellow ice cream enthusiasts!
Print
Ninja ice cream recipes healthy: 5 Guilt-Free Indulgences
- Total Time: 2 hours 10 minutes
- Yield: 4 servings 1x
- Diet: Vegan
Description
A collection of healthy Ninja ice cream recipes you can easily make at home.
Ingredients
- 2 ripe bananas, sliced
- 1 cup unsweetened almond milk
- 1/2 cup Greek yogurt
- 1 tablespoon honey or maple syrup
- 1 teaspoon vanilla extract
- 1/2 cup frozen berries
- 1/4 cup dark chocolate chips
Instructions
- Place all ingredients in the Ninja blender.
- Blend until smooth and creamy.
- Pour mixture into a bowl.
- Freeze for 2-3 hours for firmer ice cream.
- Scoop and serve.
Notes
- Use ripe bananas for sweetness.
- Adjust sweetness to taste.
- Try different fruits for variety.
- Prep Time: 10 minutes
- Cook Time: 0 minutes
- Category: Dessert
- Method: Blending and Freezing
- Cuisine: American
Nutrition
- Serving Size: 1/2 cup
- Calories: 150
- Sugar: 10g
- Sodium: 50mg
- Fat: 5g
- Saturated Fat: 1g
- Unsaturated Fat: 4g
- Trans Fat: 0g
- Carbohydrates: 25g
- Fiber: 3g
- Protein: 4g
- Cholesterol: 5mg
Keywords: ninja ice cream recipes healthy


