
There’s something undeniably magical about desserts to sell at markets or events. Picture it: a bustling crowd, the sweet aroma wafting through the air, and the sight of beautifully crafted treats beckoning passersby. I remember the first time I sold my homemade brownies at a local farmers’ market. The thrill of seeing people light up as they took a bite was simply unforgettable! These desserts aren’t just delicious; they create connections, bringing smiles and joy to everyone who tries them. The best part? They’re incredibly popular—everyone loves a sweet treat! Trust me, this recipe is a crowd-pleaser, perfect for any event or market stall. With just a handful of simple ingredients, you can whip up something that not only tastes amazing but also flies off the table. So, let’s dive in and get ready to impress your customers with the most delightful desserts!
Ingredients List
- 2 cups all-purpose flour, sifted
- 1 cup sugar
- 1 cup butter, softened at room temperature
- 4 large eggs
- 1 teaspoon vanilla extract
- 1/2 teaspoon baking powder
- 1/4 teaspoon salt
- 1 cup chocolate chips, semi-sweet or dark
How to Prepare Desserts to Sell
Getting your desserts ready for sale is a breeze when you follow these simple steps. Trust me, the joy of sharing your baked goods will be worth every minute spent in the kitchen! Let’s break it down into easy-to-follow steps:
Step-by-Step Instructions
- Preheat your oven: Start by preheating your oven to 350°F (175°C). This ensures that your desserts bake evenly and come out perfectly. Don’t skip this step; a hot oven is key!
- Cream the butter and sugar: In a large mixing bowl, cream together the softened butter and sugar until the mixture is light and fluffy. This usually takes about 2-3 minutes with a hand mixer. You want it to look pale and smooth—this step adds air, making your desserts light and tender.
- Add the eggs: Crack in the eggs one at a time, making sure to mix well after each addition. You want to fully incorporate each egg before adding the next. This keeps your batter from curdling and creates a nice, even texture.
- Stir in the vanilla: Pour in the vanilla extract and give it a good stir. The aroma of vanilla adds a lovely depth to your desserts!
- Mix the dry ingredients: In another bowl, whisk together the sifted flour, baking powder, and salt. Mixing them separately helps distribute the baking powder evenly throughout the batter.
- Combine wet and dry: Gradually add the dry ingredients to the wet mixture. Do this in three parts, alternating with a splash of milk if you like. This keeps the batter from getting too thick and ensures everything combines smoothly. Fold in the chocolate chips gently at the end, making sure they’re evenly distributed.
- Prepare your baking pan: Grease your baking pan with butter or cooking spray to prevent sticking. You can also line it with parchment paper for easier removal later.
- Pour and bake: Pour the batter into the prepared pan, spreading it evenly. Bake in your preheated oven for about 25-30 minutes. You’ll know it’s ready when a toothpick inserted in the center comes out clean!
- Cool before cutting: Once baked, remove the pan from the oven and let it cool in the pan for 10 minutes. Then transfer the baked goods to a wire rack to cool completely. Trust me, cutting them when they’re warm can lead to messy squares!
And there you have it! Easy peasy! Your delicious desserts are now ready to be packaged up and sold. Get ready to see those smiles when people taste your amazing creations!
Why You’ll Love This Recipe
- Quick and easy preparation: You can whip these delicious desserts up in just 45 minutes, making it perfect for last-minute events!
- Perfect for selling: With their rich flavor and appealing presentation, these treats are sure to attract customers at any market or event.
- Customizable: Feel free to experiment with different mix-ins like nuts or dried fruits to cater to various tastes.
- Deliciously satisfying: The combination of chocolate chips and buttery goodness makes each bite a delightful experience.
- Great for sharing: With 24 servings, these desserts are ideal for gatherings, ensuring there’s plenty to go around!
Tips for Success
To make sure your desserts turn out perfect every time, here are a few pro tips you won’t want to miss! First, always use fresh ingredients; the quality of your butter and eggs can make a big difference in taste and texture. When it comes to baking times, remember that every oven is different—start checking for doneness a few minutes early to avoid overbaking. And for presentation, consider cutting your treats into fun shapes or adding a sprinkle of sea salt on top for a gourmet touch. Trust me, a little extra effort goes a long way in making your desserts irresistible!
Serving Suggestions
When it comes to serving these delightful desserts to sell, pairing them with the right accompaniments can elevate the experience! Consider offering a scoop of creamy vanilla ice cream on the side; the cold, sweet treat balances the richness of your baked goods beautifully. A drizzle of caramel or chocolate sauce adds a touch of indulgence, making everything feel extra special. For a refreshing twist, serve with fresh berries or a light fruit salad, which brings a burst of color and freshness. And don’t forget to have coffee or tea available—nothing complements sweets quite like a warm beverage! Your customers will be raving about their experience!
Storage & Reheating Instructions
To keep your delicious desserts fresh, store them in an airtight container at room temperature. They’ll stay tasty for about 3-4 days, perfect for those sweet cravings! If you want to keep them longer, you can freeze them for up to 3 months. Just make sure to wrap them tightly in plastic wrap and then place them in a freezer-safe bag. When you’re ready to enjoy, thaw them overnight in the fridge or leave them at room temperature for a couple of hours. If you like them warm, pop them in the microwave for about 10-15 seconds. Enjoy your treats like they’re fresh out of the oven!
Nutritional Information
When you’re whipping up these delightful desserts to sell, it’s good to know what you’re getting in each delicious square! Here’s the estimated nutritional information per serving (1 square):
- Calories: 150
- Total Fat: 7g
- Saturated Fat: 4g
- Trans Fat: 0g
- Cholesterol: 40mg
- Sodium: 100mg
- Carbohydrates: 20g
- Fiber: 1g
- Sugar: 10g
- Protein: 2g
Keep in mind, these values are estimates based on typical ingredients and can vary slightly depending on what you use. Enjoy indulging in these sweet treats while knowing what’s in them!
FAQ Section
Q1. What types of desserts are best to sell at markets?
When it comes to desserts to sell, brownies, cookies, and bars are fantastic options! They’re easy to package and transport, plus people love grabbing them for a quick treat.
Q2. How should I price my desserts for sale?
Pricing can vary, but a good rule of thumb is to calculate your ingredient costs, then add a markup for your time and effort. Check what similar items are selling for at your local market to stay competitive!
Q3. Can I sell homemade desserts at local events?
Absolutely! Just make sure to check your local regulations regarding food sales. Many markets require permits or licenses, so it’s worth doing a little research before you start selling.
Q4. How can I keep my desserts fresh during events?
To keep your desserts fresh, store them in airtight containers and avoid exposing them to direct sunlight. If possible, use a cooler or insulated bag to maintain their quality.
Q5. What are some popular mix-ins to add to my dessert recipes?
Mix-ins like nuts, dried fruits, or even different types of chocolate can really elevate your desserts. Don’t be afraid to experiment—your customers will love the unique options!

Desserts to Sell: 5 Irresistibly Tasty Treats to Delight
- Total Time: 45 minutes
- Yield: 24 servings 1x
- Diet: Vegetarian
Description
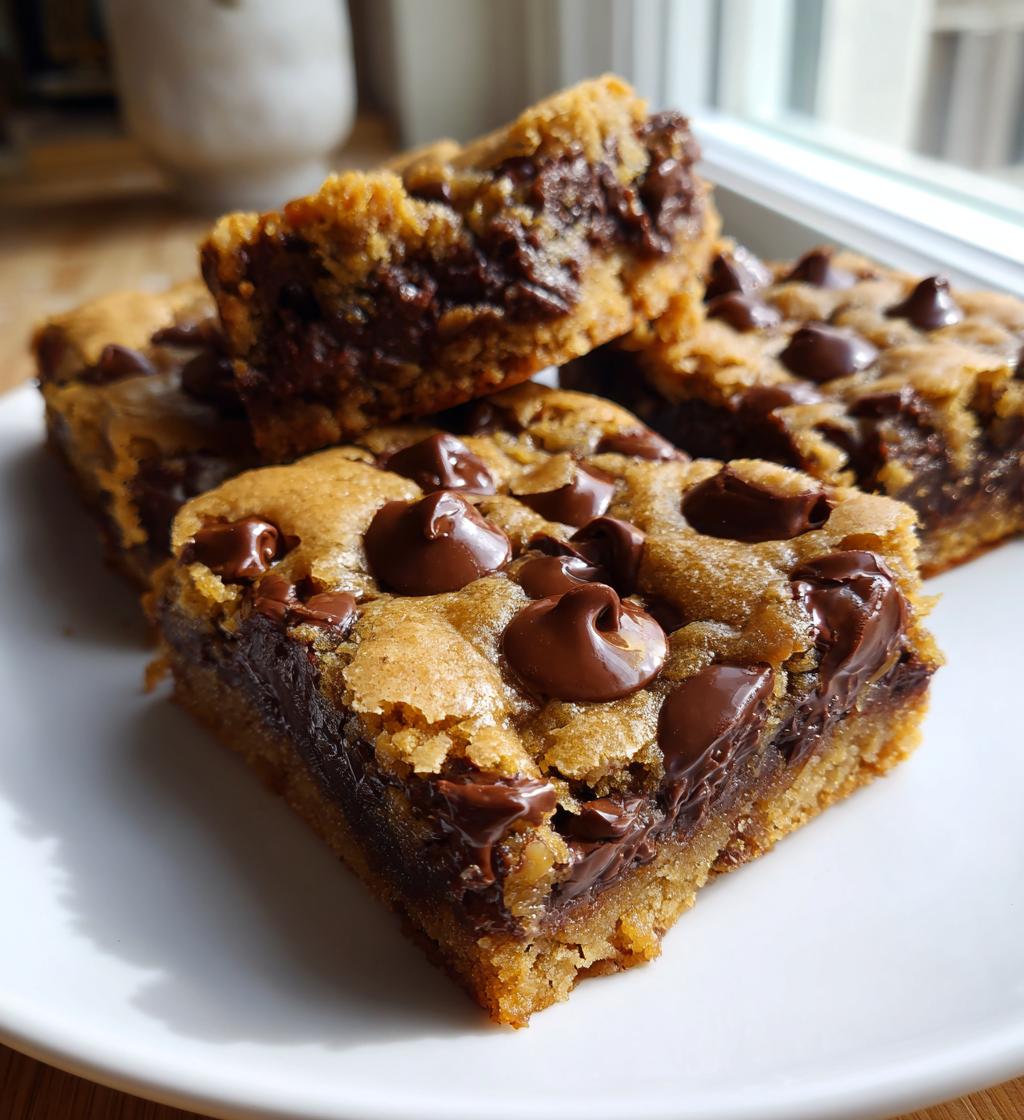
Delicious desserts that are perfect for selling at markets or events.
Ingredients
- 2 cups all-purpose flour
- 1 cup sugar
- 1 cup butter, softened
- 4 eggs
- 1 teaspoon vanilla extract
- 1/2 teaspoon baking powder
- 1/4 teaspoon salt
- 1 cup chocolate chips
Instructions
- Preheat the oven to 350°F (175°C).
- In a bowl, cream together the butter and sugar.
- Add eggs one at a time, mixing well after each addition.
- Stir in vanilla extract.
- In another bowl, mix flour, baking powder, and salt.
- Gradually add the dry ingredients to the wet mixture.
- Fold in the chocolate chips.
- Pour the batter into a greased baking pan.
- Bake for 25-30 minutes or until a toothpick comes out clean.
- Cool before cutting into squares.
Notes
- Store in an airtight container.
- These desserts can be frozen for up to 3 months.
- Experiment with different mix-ins like nuts or dried fruit.
- Prep Time: 15 minutes
- Cook Time: 30 minutes
- Category: Desserts
- Method: Baking
- Cuisine: American
Nutrition
- Serving Size: 1 square
- Calories: 150
- Sugar: 10g
- Sodium: 100mg
- Fat: 7g
- Saturated Fat: 4g
- Unsaturated Fat: 2g
- Trans Fat: 0g
- Carbohydrates: 20g
- Fiber: 1g
- Protein: 2g
- Cholesterol: 40mg
Keywords: desserts to sell, baked goods, sweet treats


