
Nothing says Christmas like the smell of freshly baked sugar cookies cooling on the counter, ready to be transformed into edible works of art. Every December, I turn my kitchen into a cookie decorating station, just like my mom did when I was little. I still remember the year I accidentally used green food coloring instead of red – we ended up with very festive Frankenstein cookies that became a running family joke! These decorated Christmas cookies are more than just treats; they’re tiny canvases for holiday cheer. Whether you’re making them with kids, gifting them to neighbors, or simply indulging in some festive baking therapy, these cookies deliver that magical holiday feeling in every sprinkle-covered bite.
Why You’ll Love These Christmas Cookies Decorated
These cookies aren’t just delicious – they’re pure holiday magic in edible form! Here’s why they’ve been my go-to for years:
- So simple – The dough comes together in minutes, even with little “helpers” in the kitchen
- Endlessly festive – Decorate them differently each year to match your holiday theme
- Perfect for gift-giving – Tie them with ribbon in cellophane bags for instant presents
- Kid-approved fun – Letting children decorate their own cookies creates the sweetest memories
- That homemade touch – Nothing beats the warmth of hand-decorated cookies on a holiday platter
Seriously, the first bite will transport you right back to childhood Christmases.
Ingredients for Christmas Cookies Decorated
Gather these simple ingredients – I promise you probably have most in your pantry already! The magic is in how they come together. I always measure everything before starting (my mom called this “mise en place” to sound fancy, but really it just prevents cookie disasters!).
Dry Ingredients
- 2 1/4 cups all-purpose flour (spooned & leveled – don’t pack it!)
- 1/2 teaspoon baking powder (make sure it’s fresh!)
- 1/4 teaspoon fine sea salt (or table salt if that’s what you have)
Wet Ingredients
- 3/4 cup unsalted butter, softened (this is KEY – leave it out for 30 mins)
- 3/4 cup granulated sugar (yes, the regular white kind)
- 1 large egg (room temperature blends better)
- 1 teaspoon pure vanilla extract (the good stuff – skip the imitation!)
For Decorating
- 1/2 cup powdered sugar (sifted if lumpy)
- 1 tablespoon milk (any kind works, I use whole)
- Food coloring gels (not liquid – the colors pop better!)
- Sprinkles galore! (I buy the holiday mix every Black Friday)
See? Nothing crazy here. Just good, simple ingredients that turn into edible Christmas magic. Now let’s get mixing!
Equipment You’ll Need
You don’t need fancy gadgets to make these Christmas cookies decorated – just a few basics from your kitchen. I always gather these first so I’m not scrambling mid-recipe:
- 2 mixing bowls (one for dry, one for wet ingredients)
- Wooden spoon or hand mixer (I’m team wooden spoon for tradition!)
- Rolling pin (a wine bottle works in a pinch!)
- Christmas cookie cutters (my snowman one has been used since 1997)
- Parchment paper (lifesaver for easy cleanup)
- Plastic squeeze bottles or piping bags (ziplock bags with a corner cut work too)
That’s it! Now let’s make some cookie magic.
How to Make Christmas Cookies Decorated
Oh, the fun part! Making these cookies is like creating edible holiday memories. I’ve made this recipe so many times I could probably do it in my sleep – but I’ll walk you through each step carefully. Trust me, once you smell these baking, you’ll understand why they’re my absolute favorite holiday tradition.
Preparing the Dough
First, preheat your oven to 375°F (190°C) – this gives it time to reach the perfect temperature while we mix. Line your baking sheets with parchment paper (game changer for easy cleanup!).
In your dry ingredients bowl, whisk together the flour, baking powder and salt until they’re completely combined. I like to give mine about 30 whisks – it’s my weird little ritual that ensures everything’s evenly distributed.
Now for the good stuff! In your larger bowl, beat the softened butter and sugar together until they’re light and fluffy. This takes about 2 minutes with a mixer, or 3-4 minutes of vigorous stirring by hand (great arm workout!). Add the egg and vanilla, mixing until just combined – don’t overdo it!
Here’s my secret: add the dry ingredients in three batches, mixing gently after each addition. The dough should come together nicely but not be sticky. If it is, just sprinkle in a tablespoon more flour. When it pulls away from the sides of the bowl cleanly, you’re golden!
Cutting and Baking
Flour your surface lightly – too much and your cookies become tough. Roll the dough to about 1/4 inch thickness. Pro tip: roll between two sheets of parchment to avoid sticking without extra flour!
Press those cookie cutters firmly straight down – no twisting! Twisting seals the edges and prevents rising. Transfer cutouts to your prepared sheets, leaving about 1 inch between them. Bake in the center rack for 8-10 minutes until the edges just begin to turn golden. They’ll still look soft in the middle – that’s perfect!
Let them cool 2 minutes on the sheet before moving to a rack. This patience prevents broken cookies (trust me, I’ve learned the hard way!).
Decorating Your Christmas Cookies
Now for the real magic! For the icing, whisk powdered sugar and milk until smooth. Divide into small bowls and add food coloring – gel works best for vibrant colors without thinning the icing.
I like to outline each cookie first with a piping bag (or ziplock with the corner snipped), then “flood” the centers with a spoon. Immediately add sprinkles so they stick! Let your kids go wild with designs – lopsided snowmen become family legends!
Let the icing set completely (about 2 hours) before stacking. The waiting is torture, but so worth it when you see your edible masterpieces!
Tips for Perfect Christmas Cookies Decorated
After years of cookie disasters (we don’t talk about The Great Sprinkle Explosion of 2018), I’ve learned a few tricks:
- Chill the dough for 30 minutes if it’s sticky – cold dough holds shapes better
- Rotate pans halfway through baking for even color
- Royal icing (powdered sugar + egg whites) dries harder for detailed work
- Less is more with sprinkles – they’ll slide right off if the icing’s too wet
- Underbake slightly – cookies continue cooking on the hot tray
My biggest tip? Have fun with it – perfect cookies are nice, but the messy ones tell the best stories!
Ingredient Substitutions & Notes
Life happens, and sometimes you need to swap ingredients – I’ve tried them all! Butter can be replaced with margarine in a pinch, though the flavor won’t be quite as rich. For vanilla extract, almond extract makes a lovely holiday twist (use half the amount). Need gluten-free? Just swap in your favorite 1:1 gluten-free flour blend – the texture stays perfect! And if you’re out of milk for the icing, orange juice adds a festive zing. My rule? Whatever gets cookies on the table counts as a holiday win!
Storing and Serving Suggestions
These Christmas cookies decorated stay fresh in an airtight container at room temperature for up to a week – if they last that long! For longer storage, freeze undecorated cookies in layers separated by parchment for up to 3 months. I love arranging them on vintage holiday platters or stacking them in clear cellophane bags tied with ribbon for gifts. Pro tip: Add a slice of bread to the container – it keeps the cookies soft by absorbing excess moisture!
Nutritional Information
Just so you know what you’re indulging in (because let’s be real – nobody eats just one!), here’s the scoop per cookie. Remember, these are estimates – your exact amounts might vary depending on how generous you are with the sprinkles!
- Calories: About 120 per cookie
- Sugar: 8g (mostly from that delicious icing!)
- Fat: 5g (worth every buttery bite)
- Carbs: 17g (holiday happiness in every gram)
But honestly? It’s Christmas – calories don’t count when they’re this festive!
Frequently Asked Questions
Can I freeze the undecorated cookies? Absolutely! These Christmas cookies freeze beautifully before decorating. Just bake them as usual, let them cool completely, then store in an airtight container with parchment between layers. They’ll keep for up to 3 months – perfect for getting ahead on your holiday baking!
How long does the icing take to dry? The simple powdered sugar icing usually sets completely in about 2 hours. If you’re using royal icing (egg white + powdered sugar) for detailed work, it’ll dry harder overnight. Pro tip: Set up a fan nearby to speed up the process if you’re impatient like me!
Why did my cookies spread? Oh honey, we’ve all been there! Usually it’s because the butter was too soft or the dough wasn’t chilled enough. Next time, try popping your cut-out cookies in the fridge for 10 minutes before baking – it makes all the difference!
Can I make the dough ahead? You bet! The dough keeps wrapped in the fridge for up to 3 days. Let it sit at room temp for 15 minutes before rolling though – cold dough cracks easier. Freeze the dough for up to a month if you’re really planning ahead!
Share Your Festive Creations
I’d love to see your cookie masterpieces! Snap a photo of your decorated Christmas cookies and tell me – did you have any hilarious decorating fails or brilliant creative breakthroughs? Your creations just might inspire next year’s batch!
Print
3 Simple Steps to Magical Christmas Cookies Decorated
- Total Time: 30 minutes
- Yield: 24 cookies 1x
- Diet: Vegetarian
Description
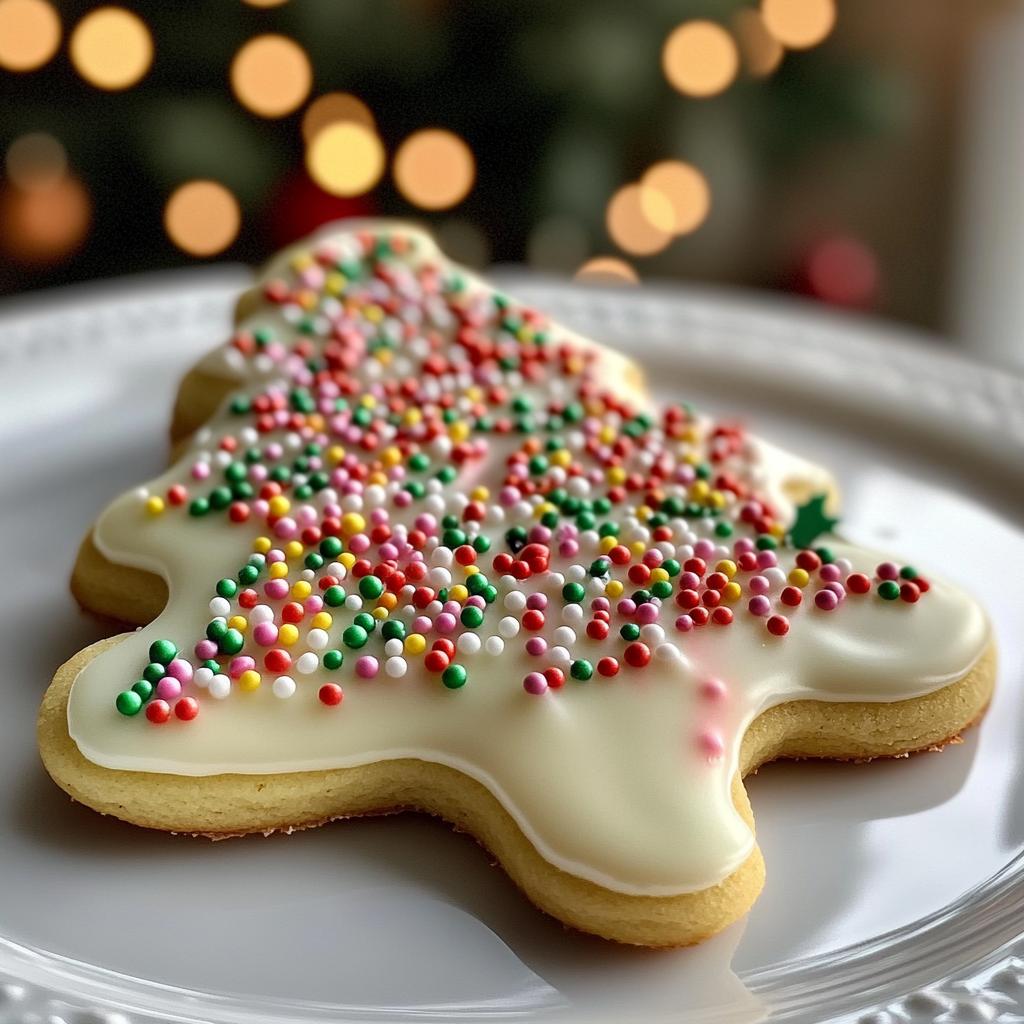
Delicious and festive Christmas cookies decorated with colorful icing and sprinkles. Perfect for holiday gatherings or as a sweet gift.
Ingredients
- 2 1/4 cups all-purpose flour
- 1/2 teaspoon baking powder
- 1/4 teaspoon salt
- 3/4 cup unsalted butter, softened
- 3/4 cup granulated sugar
- 1 large egg
- 1 teaspoon vanilla extract
- 1/2 cup powdered sugar (for icing)
- 1 tablespoon milk (for icing)
- Food coloring (optional)
- Sprinkles (optional)
Instructions
- Preheat your oven to 375°F (190°C). Line baking sheets with parchment paper.
- In a bowl, whisk together flour, baking powder, and salt.
- In another bowl, beat butter and sugar until fluffy. Add egg and vanilla, mixing well.
- Gradually add the dry ingredients to the wet mixture, mixing until combined.
- Roll out the dough on a floured surface to 1/4-inch thickness. Cut into shapes with cookie cutters.
- Place cookies on the prepared baking sheets and bake for 8-10 minutes, until edges are lightly golden.
- Let cookies cool completely before decorating.
- Mix powdered sugar and milk to make icing. Add food coloring if desired. Decorate cookies with icing and sprinkles.
Notes
- Store cookies in an airtight container for up to a week.
- For crispier cookies, bake for an extra minute or two.
- Use royal icing for more detailed decorations.
- Prep Time: 20 minutes
- Cook Time: 10 minutes
- Category: Dessert
- Method: Baking
- Cuisine: American
Nutrition
- Serving Size: 1 cookie
- Calories: 120
- Sugar: 8g
- Sodium: 35mg
- Fat: 5g
- Saturated Fat: 3g
- Unsaturated Fat: 2g
- Trans Fat: 0g
- Carbohydrates: 17g
- Fiber: 0g
- Protein: 1g
- Cholesterol: 20mg
Keywords: Christmas cookies, decorated cookies, holiday baking, festive treats


