
There’s something magical about chocolate cake decoration—it’s where baking meets art, and suddenly, your dessert becomes the star of the table. I remember the first time I tried decorating a chocolate cake; it was a messy, lopsided disaster, but oh, the joy of swirling that frosting and seeing it come to life! Whether you’re prepping for a birthday, a cozy dinner party, or just treating yourself, a beautifully decorated chocolate cake feels like a little celebration all on its own. And the best part? You don’t need fancy skills—just a few simple tricks, a bit of creativity, and, of course, plenty of chocolate. Let’s make your cake as gorgeous as it is delicious!
Ingredients for Chocolate Cake Decoration
Gathering the right ingredients is half the battle when it comes to cake decorating! Here’s what you’ll need to make your chocolate cake shine:
- 1 chocolate cake (baked and completely cooled – trust me, warm cakes make for frosting disasters)
- 2 cups of chocolate frosting (homemade or store-bought – no judgment here)
- 1/2 cup chocolate shavings (I like using a vegetable peeler on a chocolate bar for perfect curls)
- 1/4 cup fresh berries (strawberries or raspberries add gorgeous color)
- 1/4 cup edible glitter or sprinkles (because everything’s better with sparkle)
Pro tip: If your berries are wet, pat them dry first – nobody likes runny decorations!
Essential Tools for Chocolate Cake Decoration
You don’t need a ton of fancy equipment to make your chocolate cake look amazing, but these tools are total game-changers:
- An offset spatula (for smoothing frosting like a pro)
- A piping bag and tips (perfect for adding swirls or writing)
- A cake turntable (this makes decorating so much easier, trust me)
- A bench scraper (for those sharp, clean edges)
- A serrated knife (to level your cake layers evenly)
With these basics, you’ll be ready to create a masterpiece—no stress, just fun!
How to Decorate a Chocolate Cake Step-by-Step
Preparing the Cake Base
First things first – let’s get that cake ready for its makeover! Grab your serrated knife and gently slice off any domed top to create a perfectly flat surface. (Save those scraps for a cook’s snack – my favorite part of baking!) Pop the cake in the fridge for about 15 minutes to chill – this makes it much easier to handle and prevents those pesky crumbs from mixing into your beautiful frosting. A cold cake is your best friend when decorating!
Applying the Frosting
Now for the fun part – frosting! Start with a thin “crumb coat” layer all over the cake. This seals in crumbs and creates a smooth base. Don’t worry about perfection here – just get it covered. Chill again for 15 minutes (patience is key!). Then, add your final frosting layer using your offset spatula. Hold it at a 45-degree angle and turn your turntable slowly for even coverage. Pro tip: Dip your spatula in hot water and dry it quickly for super-smooth finishes!
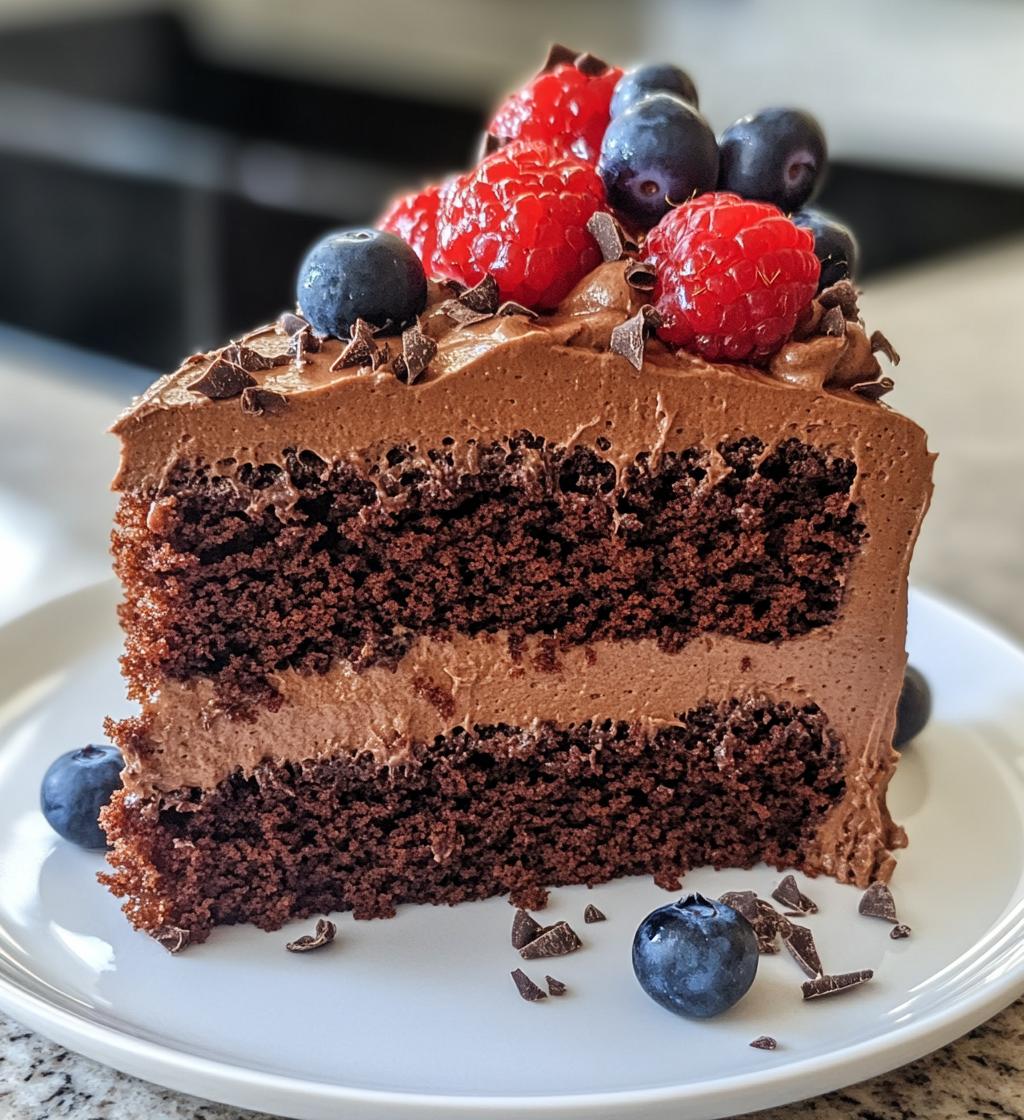
Adding Chocolate Shavings and Toppings
Time to make it pretty! Hold your cake over a baking sheet to catch spills and gently press chocolate shavings onto the sides. For the top, I like to create a little pile of shavings in the center and let some tumble naturally. Scatter berries artfully – odd numbers always look more pleasing to the eye. Finally, grab those sprinkles and hold them about a foot above the cake as you sprinkle – this gives you perfect, even coverage without clumps. Step back and admire your masterpiece!
Pro Tips for Perfect Chocolate Cake Decoration
After years of trial and error (and a few frosting disasters I’d rather forget), here are my hard-earned secrets for flawless chocolate cake decoration:
First – that crumb coat I mentioned earlier? It’s everything. Think of it like primer before painting – it creates the perfect canvas for your final frosting layer. And speaking of frosting, keep it at room temperature! Too cold and it’ll tear your cake, too warm and it’ll slide right off. The sweet spot? When a finger pressed in leaves a slight indentation but doesn’t sink all the way through.
For chocolate shavings, freeze your chocolate bar for 10 minutes first – it’ll give you those gorgeous, clean curls instead of crumbly bits. And when adding toppings, work quickly but gently – nothing’s worse than squishing your beautiful frosting with clumsy fingers!
Creative Variations for Chocolate Cake Decoration
Oh, the possibilities! Once you’ve mastered the basics, chocolate cake decoration becomes your playground. My favorite twist? Swapping classic chocolate frosting for a mocha version – just add a shot of espresso to your buttercream. Instant sophistication! For birthdays, I love piping little chocolate ruffles around the edges – they look fancy but are surprisingly easy with a petal tip.
Feeling adventurous? Try crushed peppermint candies for a holiday vibe or toasted coconut flakes for tropical flair. Kids adore “drip cakes” with ganache cascading down the sides – bonus points for adding malted milk balls on top! The secret? Let your frosting be your canvas and have fun with it. Every cake tells a story – what will yours say?
Serving and Storing Your Decorated Chocolate Cake
Now for the best part—showing off your creation! Let your decorated cake sit at room temperature for about 30 minutes before slicing; this lets the frosting soften just enough for perfect, clean cuts. If you’re not serving it right away, pop it in the fridge (covered loosely with plastic wrap) for up to 3 days. For longer storage, freeze whole or in slices—just thaw overnight in the fridge when the craving strikes. Pro tip: Add fresh berries right before serving to keep them looking their brightest!
Nutritional Information for Chocolate Cake Decoration
Let’s be real – we’re not decorating chocolate cake for its health benefits! But for those curious minds, here’s the scoop per slice (based on 12 servings): about 350 calories, 15g fat, and 25g sugar. Remember, these numbers can change based on your specific ingredients – homemade frosting versus store-bought, extra sprinkles (no regrets!), or swapping in different toppings. Everything in moderation, right? Now go enjoy that beautiful slice!
Common Questions About Chocolate Cake Decoration
I get asked all the time about chocolate cake decoration – here are the questions that pop up most often in my kitchen (and my honest answers!):
“Can I use whipped cream instead of frosting?” Absolutely! Just know it won’t hold up as long – perfect for same-day parties. Chill your cake well first, and maybe skip the heavy decorations on top.
“How far in advance can I decorate?” My sweet spot is 1-2 days max. Frosting acts like a protective shield, but berries and delicate toppings should wait until the last minute.
“Why does my frosting tear the cake?” Oh honey, your cake’s too warm or your frosting’s too cold! Let them both sit until they’re just right – like Goldilocks’ porridge.
“Can I freeze a decorated cake?” You bet! Wrap it tight in plastic first. The decorations might dull slightly, but the taste stays perfect.
Remember – there are no stupid questions when it comes to chocolate cake! What else are you wondering about?
Share Your Chocolate Cake Decoration Creations
I’d absolutely love to see what you create! Snap a photo of your gorgeous chocolate cake and share it in the comments below – even the “happy accidents” (we’ve all been there!). Got questions or need decorating advice? Ask away! This is our little cake-loving community, and I’m here to cheer you on.
Print
3 Epic Chocolate Cake Decoration Secrets You Need
- Total Time: 15 minutes
- Yield: 1 decorated cake 1x
- Diet: Vegetarian
Description
Learn how to decorate a chocolate cake with simple yet effective techniques to make it visually appealing and delicious.
Ingredients
- 1 chocolate cake (baked and cooled)
- 2 cups chocolate frosting
- 1/2 cup chocolate shavings
- 1/4 cup fresh berries (optional)
- 1/4 cup edible glitter or sprinkles
Instructions
- Place the cooled cake on a flat surface.
- Spread a thin layer of chocolate frosting evenly over the cake.
- Smooth the frosting with a spatula for a clean finish.
- Sprinkle chocolate shavings on top.
- Add fresh berries for color and freshness.
- Finish with edible glitter or sprinkles.
Notes
- Use a serrated knife for smooth cake layers.
- Chill the cake before frosting for easier handling.
- Adjust decorations to suit your preference.
- Prep Time: 15 minutes
- Cook Time: 0 minutes
- Category: Dessert
- Method: No-Bake
- Cuisine: International
Nutrition
- Serving Size: 1 slice
- Calories: 350
- Sugar: 25g
- Sodium: 200mg
- Fat: 15g
- Saturated Fat: 8g
- Unsaturated Fat: 5g
- Trans Fat: 0g
- Carbohydrates: 45g
- Fiber: 3g
- Protein: 4g
- Cholesterol: 30mg
Keywords: chocolate cake, cake decoration, easy dessert, frosting techniques


